Connect Insightly Education CRM to Dyl with LeadsBridge
In this article, you'll learn how to set up the bridge and connect Insightly Education CRM to My CRM Example using LeadsBridge.
How to set up your bridge step-by-step tutorial
Before you start
- Head over to the left sidebar and click on the Create new Bridge green button
- You'll be taken to the first step of the bridge creation
Step 1: Choose the apps you want to connect
- Choose Insightly Education CRM as the source for your bridge
- Choose Dyl as the destination for your bridge
- Click on the Continue button
- At this point you can choose a name for your bridge (this will only be visible inside LeadsBridge and you can also edit it later)
Step 2: Configure your Insightly Education CRM with Dyl
Step 2.A: Setup your Insightly Education CRM integration
- Click on Connect Insightly Education CRM
- Click on Create new integration to connect your Insightly Education CRM (or select an existing one from the dropdown if you already connected it)
- A popup wil be opened where you can authorize the Insightly Education CRM integration
- Fill API Key field to connect Insightly Education CRM with LeadsBridge
- Click on the Authorize button
- You can choose a name for this Insightly Education CRM and LeadsBridge integration (you can also edit it later)
- Once done, click on Continue button and you will get back to the bridge experience where you could choose additional integration settings
- Now that your Insightly Education CRM is connected, you can continue with the set-up of your bridge

Step 2.B: Configuration details for Insightly Education CRM
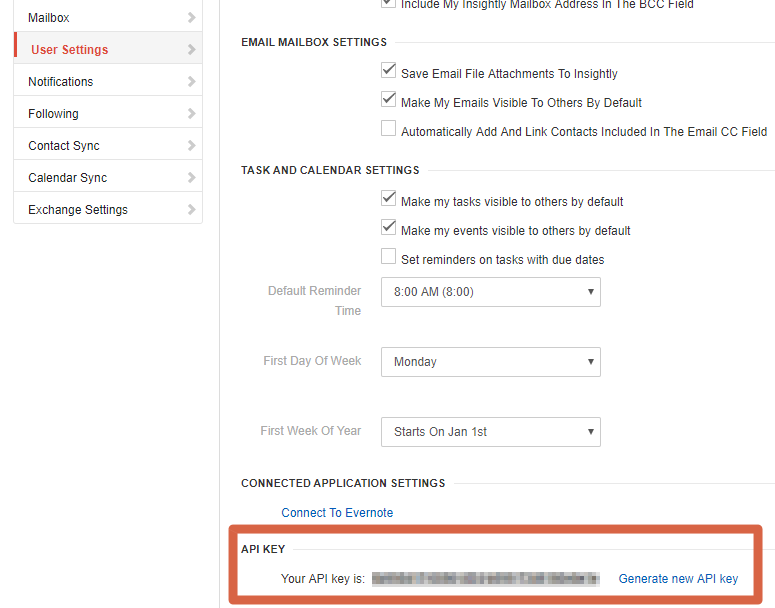
How to get API Key
To find the API Key follow these steps:
1. Login inside your Insightly account
2. Go on the top right menu and select User Settings
3. Scroll down the tab till you find the API Key
4. Paste the API Key in the LeadsBridge integration
1. Login inside your Insightly account
2. Go on the top right menu and select User Settings
3. Scroll down the tab till you find the API Key
4. Paste the API Key in the LeadsBridge integration
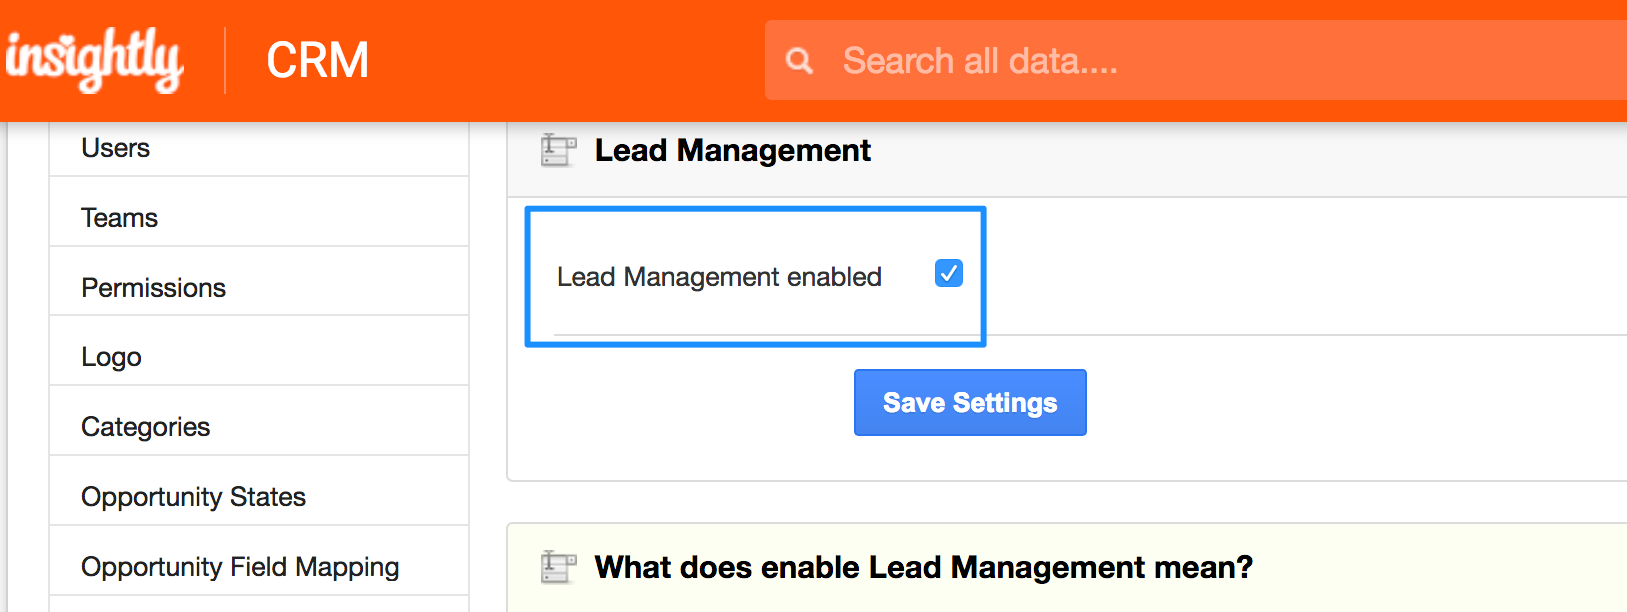
Other Info
Enable the Lead Management option for each user.
1. Login to your Insightly account,
2. Go on the top right menu >> System settings
3. Click on the left menu >> Leads Management tab
4. Check the Leads Management box.
1. Login to your Insightly account,
2. Go on the top right menu >> System settings
3. Click on the left menu >> Leads Management tab
4. Check the Leads Management box.
Step 2.C: Setup your Dyl integration
- Click on Connect Dyl
- Click on Create new integration to connect your Dyl (or select an existing one from the dropdown if you already connected it)
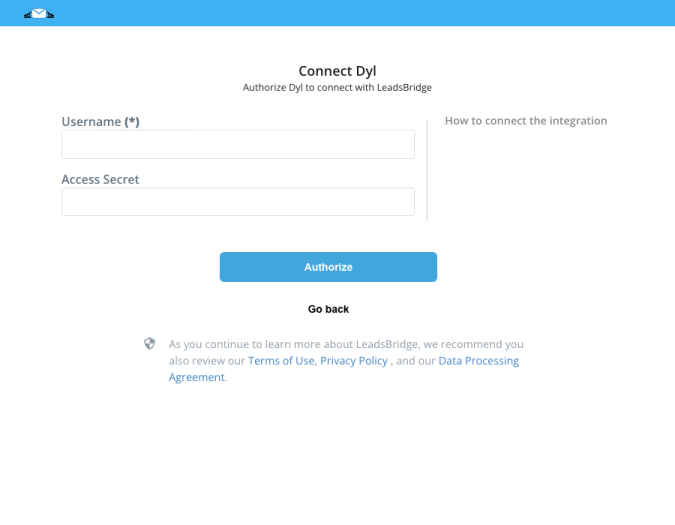
- A popup wil be opened where you can authorize the Dyl integration
- Fill Username, Access Secret field to connect Dyl with LeadsBridge
- Click on the Authorize button
- You can choose a name for this Dyl and LeadsBridge integration (you can also edit it later)
- Once done, click on Continue button and you will get back to the bridge experience where you could choose additional integration settings
- Now that your Dyl is connected, you can continue with the set-up of your bridge
Step 2.D: Configuration details for Dyl
How to get Username, Access Secret
To get your Username you should search for your Source ID by following the steps below:
1. Log into your DYL account
2. Go into Account > Settings on the top right of the website
3. Then click on Manage Lead Sources under Account area
4. Under Send Leads To column search for the email address ending with @dialyourleads.com
5. Your Source ID is the portion of the email before the @ (at) symbol
Using that Source ID as your Username inside your DYL integration settings will allow LeadsBridge to automatically send information every time a lead comes into your DYL account.
The Access Secret is provided by DYL's support, you should get in touch with them in order to get it.
Step 2.E: Email Receipt (Optional)
You may choose to receive an email receipt for each incoming lead.
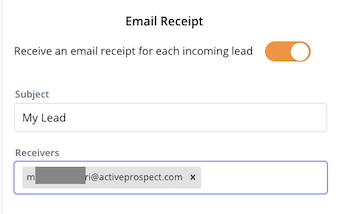
- Type the address(es) where you'd like to receive the receipt
- You may also modify the Subject line of the email
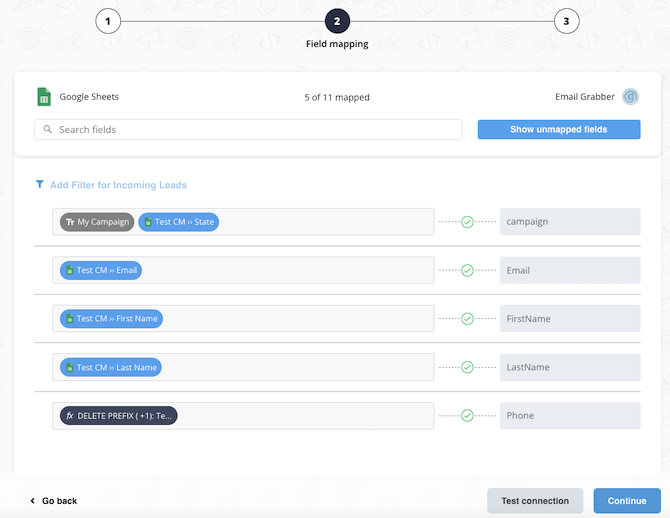
Step 3: Fields Mapping
Here you'll be able to map your Insightly Education CRM information with your Dyl fields.
- You will have Dyl fields on the left. Match the information you wish to pass align from Insightly Education CRM
- Based on Dyl functionality, some fields might be required; if this is the case, you can identify those fields with a * (star), so be sure to map all them
- You can also use the functions to customize information like reformatting dates and times or modifying text, phone numbers and so on.
- You may leave blank the box of a field's information you don't want to send through. Clicking on the Show unmapped fields button you will have visibility on all the available fields still not mapped
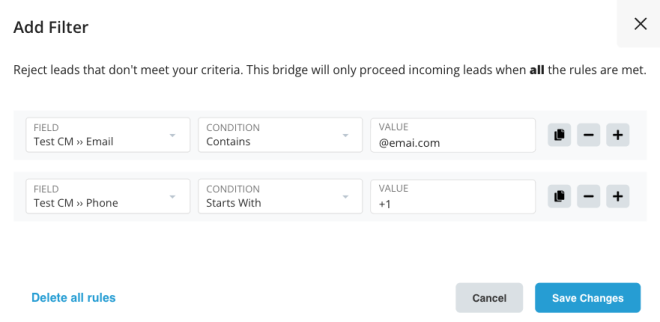
Step 3.A: Leads Filter (Optional)
If you'd like you could add a filter for incoming leads. This filter will sync only leads that meet the configured conditions
- Click on the link Add Filter for Incoming Leads on the top left
- A popup wil be opened where you can configure the filter
- You can define a series of condition to filter the leads. The lead will be synced only when all the conditions will be met
- Once finished, click the Save Changes button to switch back to the Fields Mapping to continue with the bridge configuration
Step 3.B Test Connection (Optional)
Once you’ve mapped all the fields that you need, if available, you can run a test of your connection by clicking on the Test Connection button.

Step 4: Save and Publish
- Click on the Save and publish button
Congratulations! Now your bridge is up and running
Do you need help?
Here some additional resources:
- Insightly Education CRM documentation page and common questions
- Dyl documentation page and common questions
- LeadsBridge KNOWLEDGE BASE
- Contact support from your account clicking on the top right Support button