Integrate Cliengo with LeadsBridge
Intro
Cliengo is a friendly Chatbot that converts the visitors into leads, automatically. Cliengo is a multi-language chatbot with a built-in contact tracking for the sales team. This chatbot platform helps user to convert website visitor into customer.
In this article, you'll learn how to connect your LeadsBridge account with Cliengo.
Connect Cliengo integration
Before you start
- Head over to the left sidebar and click on the Create new Bridge button
- Select your integrations in the selectors
- Click on the Continue button at the bottom right
Authorize Cliengo integration
Setup your Cliengo integration
- Click on Connect Cliengo
- Click on Create new integration to connect your Cliengo (or select an existing one from the dropdown if you already connected it)
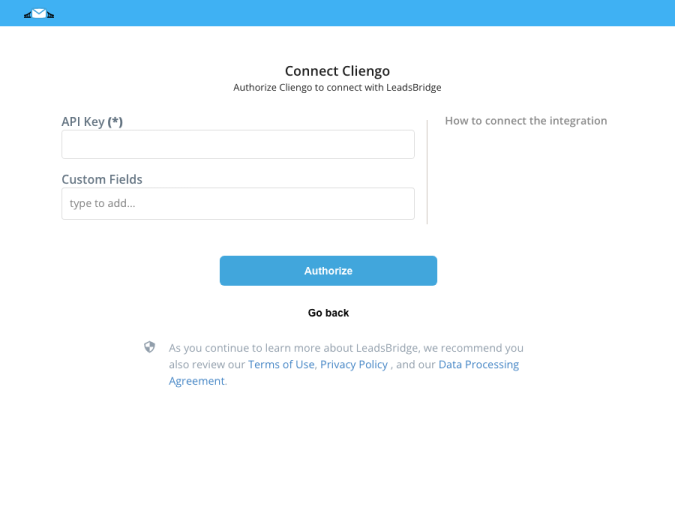
- A popup wil be opened where you can authorize the Cliengo integration
- Fill API Key field to connect Cliengo with LeadsBridge
- Click on the Authorize button
- You can choose a name for this Cliengo and LeadsBridge integration (you can also edit it later)
- Once done, click on Continue button and you will get back to the bridge experience where you could choose additional integration settings
- Now that your Cliengo is connected, you can continue with the set-up of your bridge
Configuration details for Cliengo
How to get API Key
The Cliengo Content API gives you access to the content management features you see in our web app and lets you extend them for use in your own app.
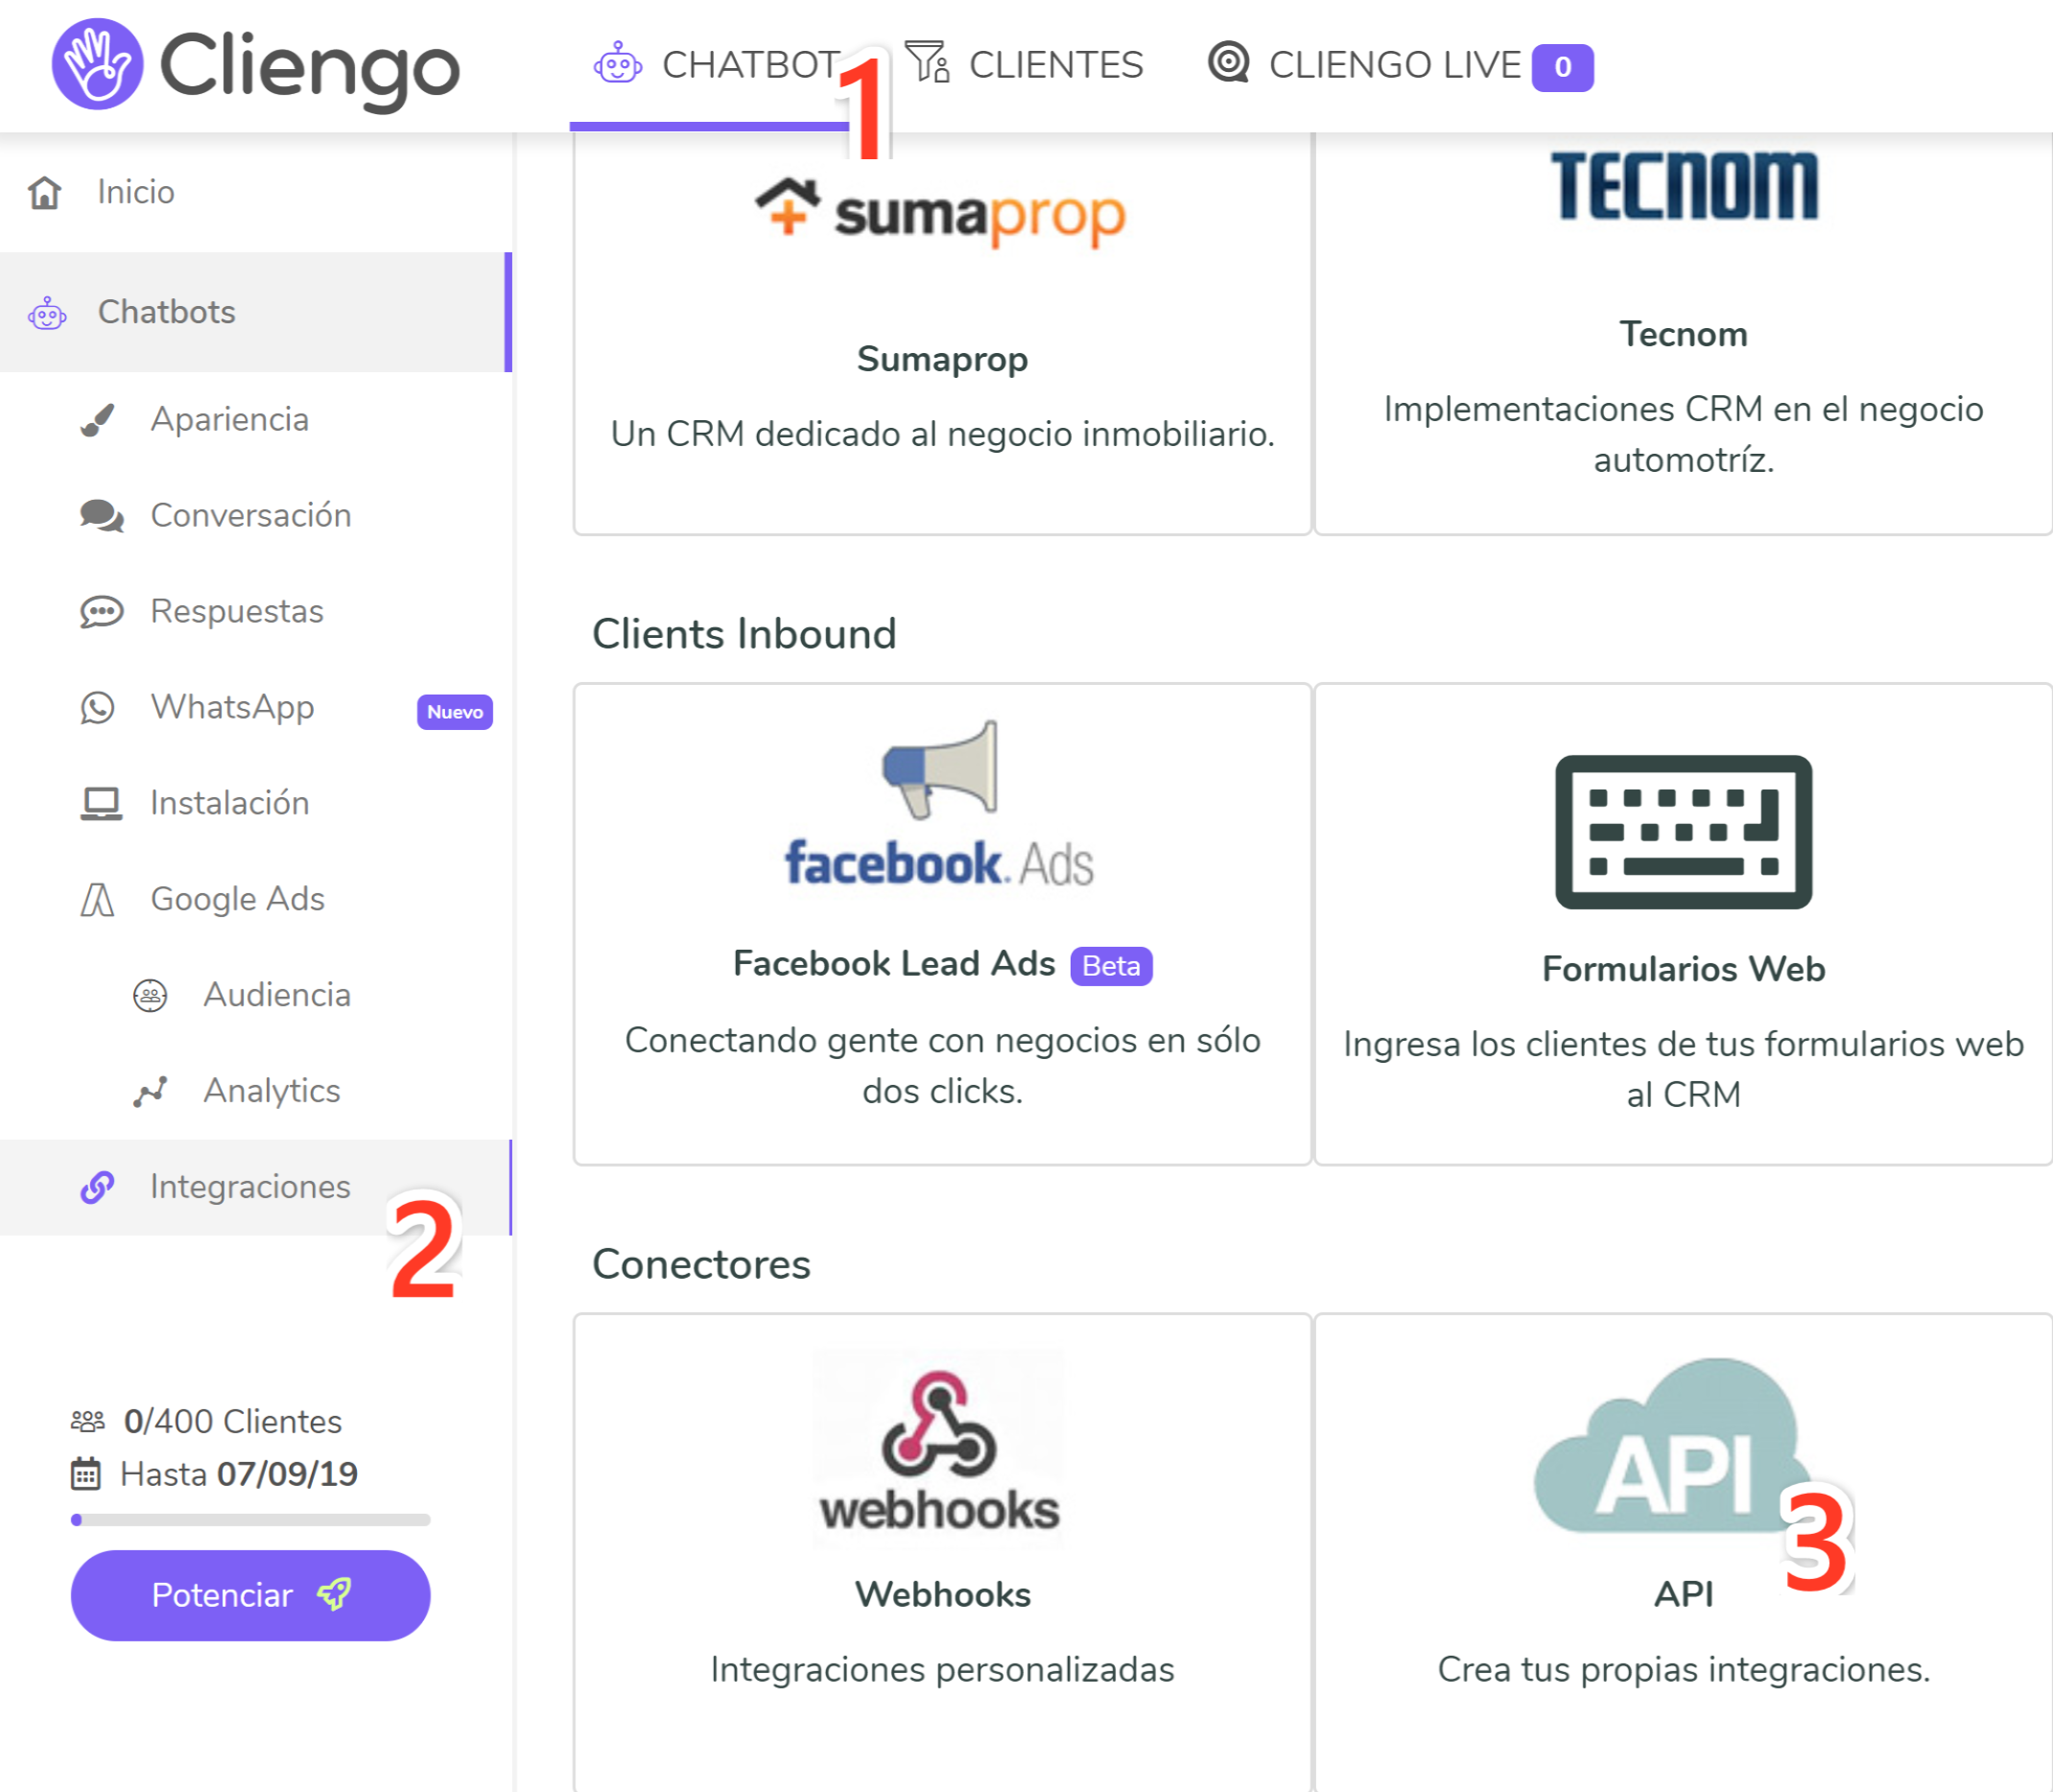
To find API KEY go in the menu Chatbot » Integraciones » API
To find API KEY go in the menu Chatbot » Integraciones » API
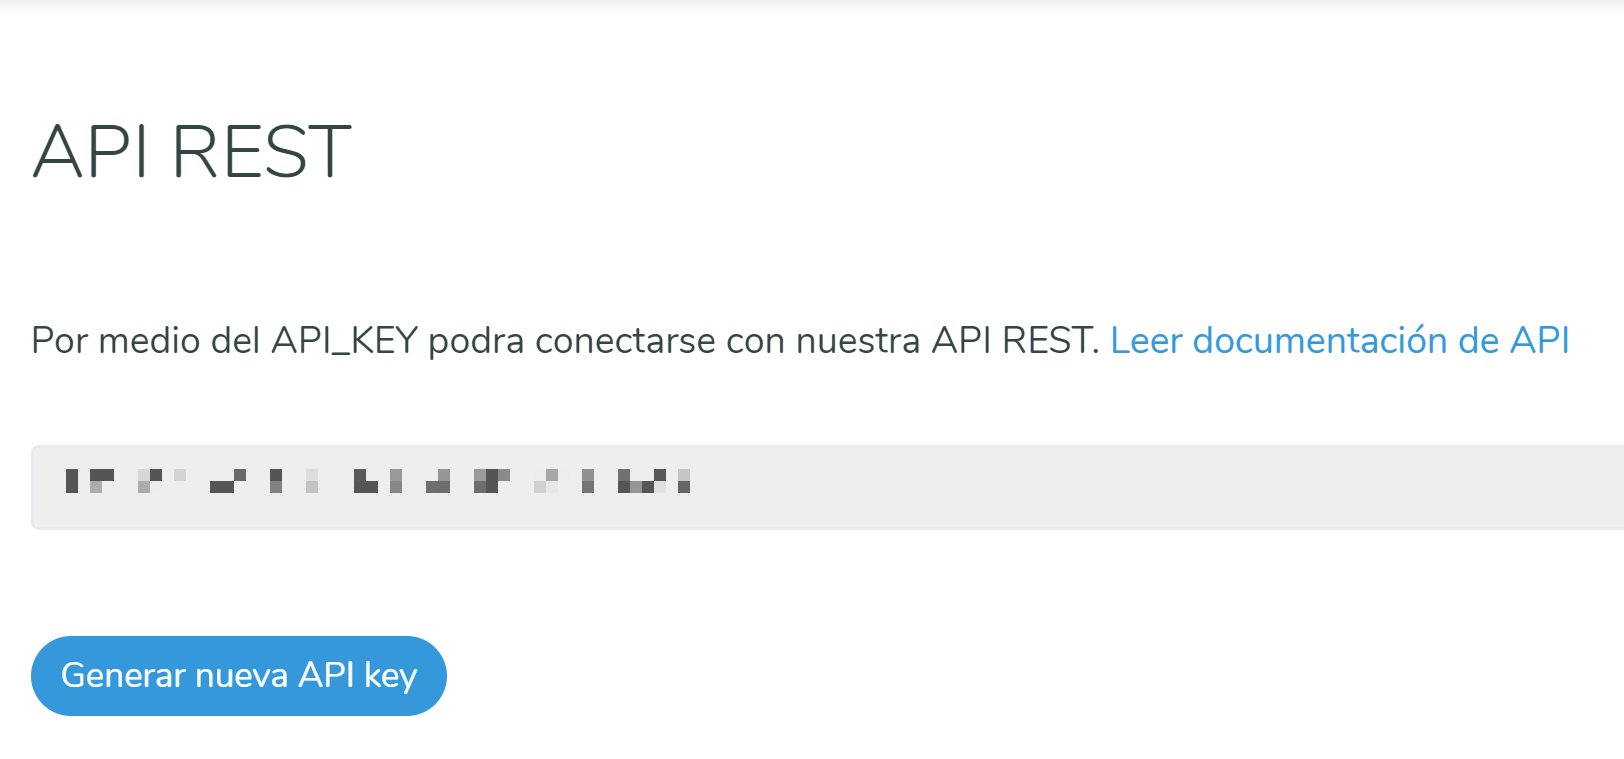
Then click on "Generar nueva API Key". You can find more info here: https://developers.cliengo.com/
Which entity concepts we support for Cliengo
With LeadsBridge you may use these entity concepts for Cliengo.
Contact
Contacts are the users who have left their personal data. For example, customers
Which segmentation concepts we support for Cliengo
With LeadsBridge you may use these segmentation concepts for Cliengo.
Site
Your websites.
Do you need help?
Here some additional resources:
- LeadsBridge KNOWLEDGE BASE
- Contact support from your account clicking on the top right Support button