Integrate Routes.tech with LeadsBridge
Intro
ROUTES.tech is a system made specifically for affiliates and traders.
In this article, you'll learn how to connect your LeadsBridge account with Routes.tech.
Connect Routes.tech integration
Before you start
- Head over to the left sidebar and click on the Create new Bridge button
- Select your integrations in the selectors
- Click on the Continue button at the bottom right
Authorize Routes.tech integration
Setup your Routes.tech integration
- Click on Connect Routes.tech
- Click on Create new integration to connect your Routes.tech (or select an existing one from the dropdown if you already connected it)
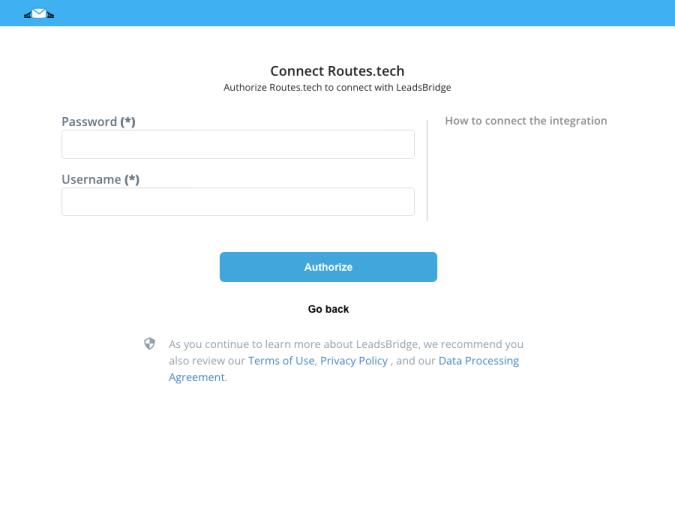
- A popup wil be opened where you can authorize the Routes.tech integration
- Fill Username, Password field to connect Routes.tech with LeadsBridge
- Click on the Authorize button
- You can choose a name for this Routes.tech and LeadsBridge integration (you can also edit it later)
- Once done, click on Continue button and you will get back to the bridge experience where you could choose additional integration settings
- Now that your Routes.tech is connected, you can continue with the set-up of your bridge
Which entity concepts we support for Routes.tech
With LeadsBridge you may use these entity concepts for Routes.tech.
Lead
A lead is a prospective consumer of a product or service, created when an individual or business shows interest and provides contact information.
Common questions for Routes.tech
Settings required to get your leads into ROUTES.tech
To get your leads into ROUTES.tech, you should match (*)ProjectID and (*)SupplierID fields with defined values.
To enter a value inside these fields, you should follow these steps:
1.Go to left menu >> Lead Ads
2.Select the bridge that you want to edit
3.Go to the “Hidden Fields” step
4.Select the following fields from the dropdown on the left (CRM/autoresponder field) and enter the value in the right column (Value):
– (*)ProjectID and enter the value defined by your CRM
– (*)SupplierID and enter the value defined by your CRM
5.Complete the bridge steps until the “Summary”
6.Re-publish it by clicking on the “Publish” button.
Do you need help?
Here some additional resources:
- LeadsBridge KNOWLEDGE BASE
- Contact support from your account clicking on the top right Support button