Integrate Smartsupp with LeadsBridge
Intro
In this article, you'll learn how to connect your LeadsBridge account with Smartsupp.
Connect Smartsupp integration
Before you start
- Head over to the left sidebar and click on the Create new Bridge button
- Select your integrations in the selectors
- Click on the Continue button at the bottom right
Authorize Smartsupp integration
Setup your Smartsupp integration
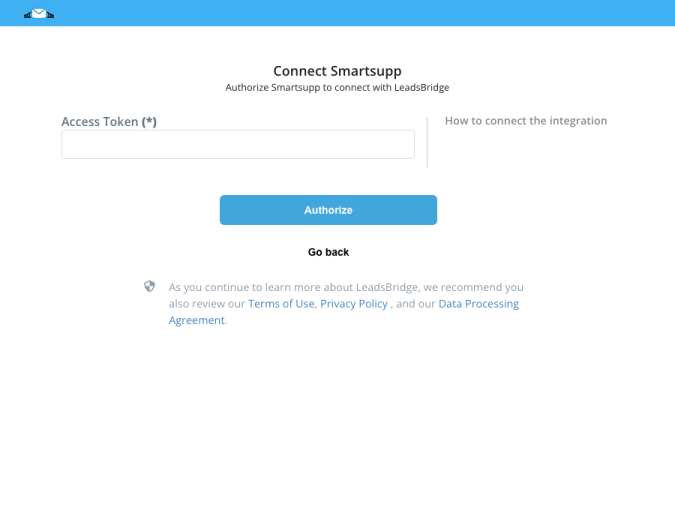
- Click on Connect Smartsupp
- Click on Create new integration to connect your Smartsupp (or select an existing one from the dropdown if you already connected it)
- A popup wil be opened where you can authorize the Smartsupp integration
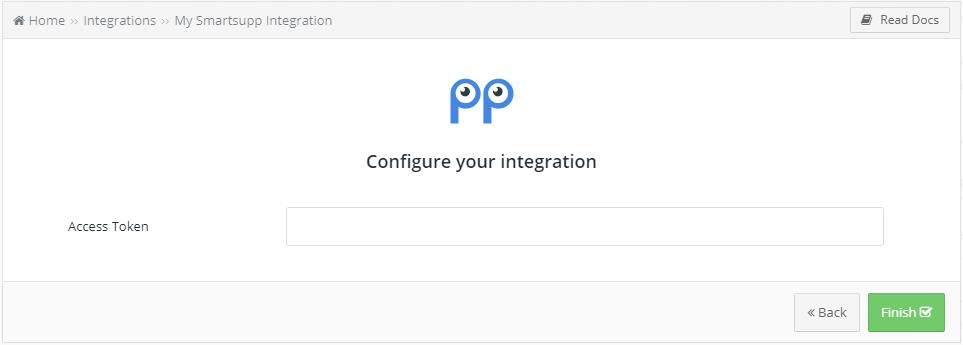
- Fill Access Token field to connect Smartsupp with LeadsBridge
- Click on the Authorize button
- You can choose a name for this Smartsupp and LeadsBridge integration (you can also edit it later)
- Once done, click on Continue button and you will get back to the bridge experience where you could choose additional integration settings
- Now that your Smartsupp is connected, you can continue with the set-up of your bridge


Configuration details for Smartsupp
Which entity concepts we support for Smartsupp
With LeadsBridge you may use these entity concepts for Smartsupp.
Contact
A person, or company, that has reached out to you in some way leaving their information so you can get in touch.
Do you need help?
Here some additional resources:
- LeadsBridge KNOWLEDGE BASE
- Contact support from your account clicking on the top right Support button


