Integrate Typeform with LeadsBridge
Intro
Typerform is a service specialized in forms. These forms have several uses, such as surveys, order forms, quizzes, and lead generation forms.
In this article, you'll learn how to connect your LeadsBridge account with Typeform.
Connect Typeform integration
Before you start
- Head over to the left sidebar and click on the Create new Bridge button
- Select your integrations in the selectors
- Click on the Continue button at the bottom right
Authorize Typeform integration
Setup your Typeform integration
- Click on Connect Typeform
- Click on Create new integration to connect your Typeform (or select an existing one from the dropdown if you already connected it)
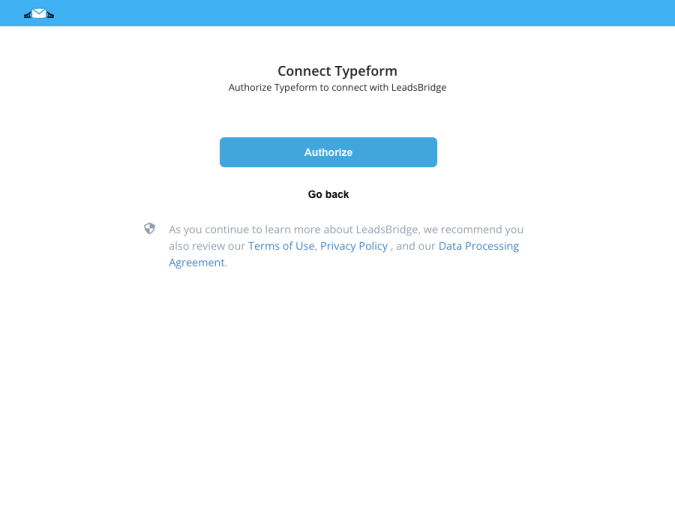
- A popup wil be opened where you can authorize the Typeform integration
- Click on Authorize and you will be prompted to the Typeform authorization experience
- Here you will need to provide the info required and grant access to LeadsBridge
- Once done, you will be get back to LeadsBridge application
- You can choose a name for this Typeform and LeadsBridge integration (you can also edit it later)
- Once done, click on Continue button and you will get back to the bridge experience where you could choose additional integration settings
- Now that your Typeform is connected, you can continue with the set-up of your bridge
Which entity concepts we support for Typeform
With LeadsBridge you may use these entity concepts for Typeform.
Webform
Dynamic online forms, asking one question at a time like a real conversation, engaging and fun to complete.
Which segmentation concepts we support for Typeform
With LeadsBridge you may use these segmentation concepts for Typeform.
Form
A way to pass information from one person to another.
Common questions for Typeform
Can I use Typeform as a Source though a Webhook?
Yes, Typeform can also be used as a Source though a Webhook to send lead's information to LeadsBridge.
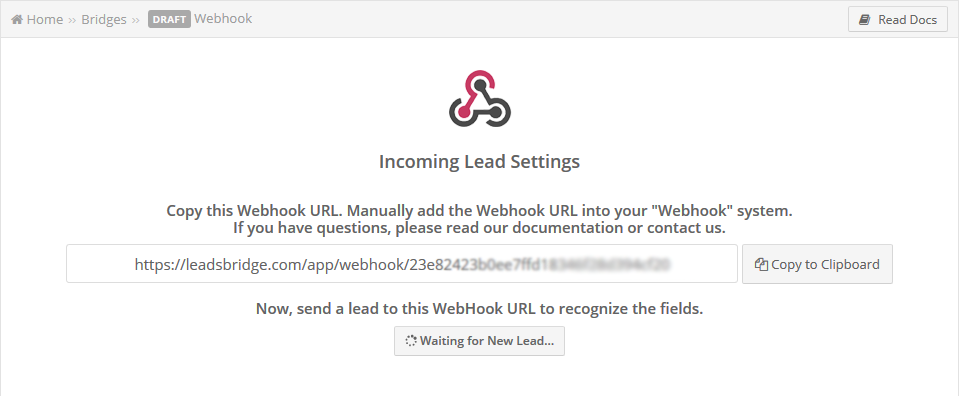
Head to the Source step of the bridge configuration, copy the Webhook that you see and add this as endpoint inside your Typeform settings.
![]() Then follow the steps below:
1. Open your Typeform form from your Workspace.
2. Go to the Connect panel and click on the WEBHOOKS tab
3. Click on Add a webhook
Then follow the steps below:
1. Open your Typeform form from your Workspace.
2. Go to the Connect panel and click on the WEBHOOKS tab
3. Click on Add a webhook ![]() 4. Paste the webhook URL you got on LeadsBridge while creating your bridge
5. Now click Save webhook, and you’ll be taken back to the webhooks tab. By default, your new webhook will be set to OFF until you turn it on by clicking the toggle
4. Paste the webhook URL you got on LeadsBridge while creating your bridge
5. Now click Save webhook, and you’ll be taken back to the webhooks tab. By default, your new webhook will be set to OFF until you turn it on by clicking the toggle ![]() 6. To test your webhook, click View deliveries button, followed by Send test request button that appears. You can see your delivery IDs on the left. All test deliveries are marked TEST. You can click REQUEST or RESPONSE to view the webhook requests or responses. If you want to redeliver the test, make sure your webhook is set to ON
6. To test your webhook, click View deliveries button, followed by Send test request button that appears. You can see your delivery IDs on the left. All test deliveries are marked TEST. You can click REQUEST or RESPONSE to view the webhook requests or responses. If you want to redeliver the test, make sure your webhook is set to ON ![]()
![]() 7. Go back into your LeadsBridge bridge setup and wait till the sample data arrives
8. Then, after you've received the sample data on LeadsBridge, go back into Typeform and click the X in the top right corner to return to the webhooks tab
9. To edit your webhook, click the Edit button next to it
10. A new window will appear where you can edit the Endpoint URL, add a Secret, toggle SSL verification and delete your webhook. If you choose to delete the webhook, a warning message will appear to double check you want to do this
11. When you’ve finished editing your webhook, click Save changes to return to the webhooks tab
7. Go back into your LeadsBridge bridge setup and wait till the sample data arrives
8. Then, after you've received the sample data on LeadsBridge, go back into Typeform and click the X in the top right corner to return to the webhooks tab
9. To edit your webhook, click the Edit button next to it
10. A new window will appear where you can edit the Endpoint URL, add a Secret, toggle SSL verification and delete your webhook. If you choose to delete the webhook, a warning message will appear to double check you want to do this
11. When you’ve finished editing your webhook, click Save changes to return to the webhooks tab ![]() You can find further information in the following link:
( Learn more)
You can find further information in the following link:
( Learn more)
 Then follow the steps below:
1. Open your Typeform form from your Workspace.
2. Go to the Connect panel and click on the WEBHOOKS tab
3. Click on Add a webhook
Then follow the steps below:
1. Open your Typeform form from your Workspace.
2. Go to the Connect panel and click on the WEBHOOKS tab
3. Click on Add a webhook  4. Paste the webhook URL you got on LeadsBridge while creating your bridge
5. Now click Save webhook, and you’ll be taken back to the webhooks tab. By default, your new webhook will be set to OFF until you turn it on by clicking the toggle
4. Paste the webhook URL you got on LeadsBridge while creating your bridge
5. Now click Save webhook, and you’ll be taken back to the webhooks tab. By default, your new webhook will be set to OFF until you turn it on by clicking the toggle  6. To test your webhook, click View deliveries button, followed by Send test request button that appears. You can see your delivery IDs on the left. All test deliveries are marked TEST. You can click REQUEST or RESPONSE to view the webhook requests or responses. If you want to redeliver the test, make sure your webhook is set to ON
 7. Go back into your LeadsBridge bridge setup and wait till the sample data arrives
8. Then, after you've received the sample data on LeadsBridge, go back into Typeform and click the X in the top right corner to return to the webhooks tab
9. To edit your webhook, click the Edit button next to it
10. A new window will appear where you can edit the Endpoint URL, add a Secret, toggle SSL verification and delete your webhook. If you choose to delete the webhook, a warning message will appear to double check you want to do this
11. When you’ve finished editing your webhook, click Save changes to return to the webhooks tab
7. Go back into your LeadsBridge bridge setup and wait till the sample data arrives
8. Then, after you've received the sample data on LeadsBridge, go back into Typeform and click the X in the top right corner to return to the webhooks tab
9. To edit your webhook, click the Edit button next to it
10. A new window will appear where you can edit the Endpoint URL, add a Secret, toggle SSL verification and delete your webhook. If you choose to delete the webhook, a warning message will appear to double check you want to do this
11. When you’ve finished editing your webhook, click Save changes to return to the webhooks tab  You can find further information in the following link:
( Learn more)
You can find further information in the following link:
( Learn more)
Do you need help?
Here some additional resources:
- LeadsBridge KNOWLEDGE BASE
- Contact support from your account clicking on the top right Support button