Integrate Teamleader with LeadsBridge
Intro
Teamleader is a user-friendly tool and a cloud-based solution for CRM, project management and invoicing. LeadsBridge is a Teamleader's partner, find us on the marketplace.
In this article, you'll learn how to connect your LeadsBridge account with Teamleader.
Connect Teamleader integration
Before you start
- Head over to the left sidebar and click on the Create new Bridge button
- Select your integrations in the selectors
- Click on the Continue button at the bottom right
Authorize Teamleader integration
Setup your Teamleader integration
- Click on Connect Teamleader
- Click on Create new integration to connect your Teamleader (or select an existing one from the dropdown if you already connected it)
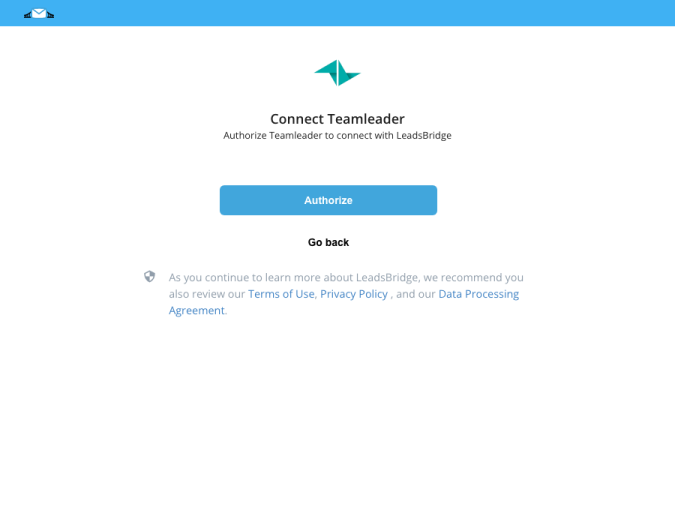
- A popup wil be opened where you can authorize the Teamleader integration
- Click on Authorize and you will be prompted to the Teamleader authorization experience
- Here you will need to provide the info required and grant access to LeadsBridge
- Once done, you will be get back to LeadsBridge application
- You can choose a name for this Teamleader and LeadsBridge integration (you can also edit it later)
- Once done, click on Continue button and you will get back to the bridge experience where you could choose additional integration settings
- Now that your Teamleader is connected, you can continue with the set-up of your bridge


Which entity concepts we support for Teamleader
With LeadsBridge you may use these entity concepts for Teamleader.
Contact
Contacts are qualified leads or basically, people that are ready to buy.
For further information check the following link: ( Learn more)Deal
A deal basically shows the steps that need to be taken to convert an incoming lead into a client.
For further information check the following link: ( Learn more)Company
There’s a difference between individual contacts and companies, as you can have different contacts in the same company. Teamleader recommends to use the contact tag for individual people and use the company tag for businesses.
For further information check the following link: ( Learn more)
Which segmentation concepts we support for Teamleader
With LeadsBridge you may use these segmentation concepts for Teamleader.
Deal Phase
The deal phase is basically the steps that are taken before a potential customer converts into a client.
In order to Add or Edit a deal phase, simply log in on your Teamleader account and follow the steps below:- Navigate to "Settings" » "Deals" » "Deal phases"
- Click on "+" sign, or click on the pencil next to the deal phase you would like to edit
- Fill in a name and how soon deals in this phase will require action, or edit the name or the amount of time before an action needs to be taken for this phase.
- Click "Save"
- The deal phase will be added above/before the phase "Quotation sent"
Deal Source
The Deal sources give you an overview of the origin of all your deals.
For example: Are opportunities mostly coming from your website? Or are you scoring particularly well at events?.
To manage your deal sources you should follow the steps below:- Go to "Settings"
- And then to "Add deal sources"
Tag
A tag is a nifty way to add a certain characteristic to your contacts or companies. Doing this allows you to easily divide them into categories: when creating a segment, you can filter based on your own created tags.
Examples of tags can be "Customer", "Supplier", "Prospect", but as with the segments, you’re only limited by your imagination!
To create and assign a tag you should follow the steps below:- Navigate to "Settings" and click "CRM"
- Click on the "+" symbol next to "Tags"
- Give your newly created tag a name
- Click "Save"
- Now you can assign the tag to a contact or company.
- Go to "Contacts" or "Company"
- Choose a contact and click on the pencil next to "Contact information"
- In the pop-up screen, you can choose a tag from the drop-down menu next to "Tags"
- Click on "Save"
Common questions for Teamleader
How do I add a Custom Field?
Teamleader's Custom Fields are managed by their interface so you just simply need to login on your Teamleader account and follow the steps below:
1. Navigate to “Settings” and click on “Custom Fields”
2. Click on the “+” symbol next to “Custom fields”
3. Name your custom field. Make sure it’s recognizable and easily interpretable.
4. Using ‘For’ we define to which part of Teamleader the custom field belongs. This is also where you’ll find it later.
5. There are multiple types of custom fields. Some of them have special properties such as email address and URL: Teamleader will recognize these fields for what they are and will interpret the value as an email address or a hyperlink.
6. Click on “Save”
For advanced options and further information check the following link:
( Learn more)
Why I can't see the client Address values in Teamleader?
The Address fields are grouped in a single set, all the values that make the set must be populated.
The set group includes the following fields:
- Address Primary City
- Address Primary Postal Code
- Address Primary Country
- Address Primary Line 1
If you don’t map all of these fields, LeadsBridge won’t be able to sync them to the CRM due to Teamleader API limitations.
So, in order to receive the Address field you should map each of the 4 fields listed above, in order to receive the Address value inside Teamleader. In case you don't have some of those values from your Source, we suggest setting a fixed text, like N/A.
Do you need help?
Here some additional resources:
- LeadsBridge KNOWLEDGE BASE
- Contact support from your account clicking on the top right Support button

