Connect TikTok Lead Generation to Facebook Conversion Leads with LeadsBridge
In this article, you'll learn how to set up the bridge and connect TikTok Lead Generation to My CRM Example using LeadsBridge.
How to set up your bridge step-by-step tutorial
Before you start
- Head over to the left sidebar and click on the Create new Bridge green button
- You'll be taken to the first step of the bridge creation
Step 1: Choose the apps you want to connect
- Choose TikTok Lead Generation as the source for your bridge
- Choose Facebook Conversion Leads as the destination for your bridge
- Click on the Continue button
- At this point you can choose a name for your bridge (this will only be visible inside LeadsBridge and you can also edit it later)
Step 2: Configure your TikTok Lead Generation with Facebook Conversion Leads
Step 2.A: Setup your TikTok Lead Generation integration
- Click on Connect TikTok Lead Generation
- Click on Create new integration to connect your Ad account (or select an existing one from the dropdown if you already connected it)
- You will be prompted to the Ad platform authorization experience. Here you will need to grant LeadsBridge access on click on the Authorize button
- Once done, you can choose a name for this TikTok Lead Generation and LeadsBridge integration (you can also edit it later)
- Once the authorization pop up is closed, you are ready to select from the dropdown the Ad Account and all the required parameters, including the form used to generate the leads.
- Now that your TikTok Lead Generation is connected, you can set-up your bridge destination
Step 2.B: Setup your Facebook Conversion Leads integration
- Click on Create new integration to connect your Ad account (or select an existing one from the dropdown if you already connected it)
- You will be prompted to the Ad platform authorization experience. Here you will need to grant LeadsBridge access on click on the Authorize button
- Once done, you can choose a name for this Facebook Conversion Leads and LeadsBridge integration (you can also edit it later)
- Once the authorization pop up is closed, you are ready to select from the dropdown the Ad Account and all the required parameters, including the sync frequencies.
- Use Simulation functionality in order to test the source data and receive a report to verify the information processed
- Now that your Facebook Conversion Leads integration is fully set up too, you can click on the Continue button
Notes for the simulation mode: A published bridge with simulation ON is not sending any data, the simulation has to be switched off to have the audience being created, up and running on the Advertising platform. You can edit it later from inside the bridge if you want to go live and send the data.
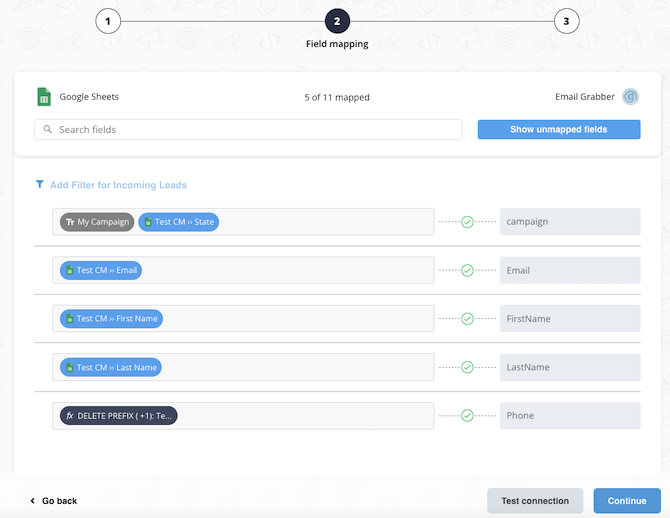
Step 3: Fields Mapping
Here you'll be able to map your TikTok Lead Generation information with your Facebook Conversion Leads fields.
- You will have Facebook Conversion Leads fields on the left. Match the information you wish to pass align from TikTok Lead Generation
- Based on Facebook Conversion Leads functionality, some fields might be required; if this is the case, you can identify those fields with a * (star), so be sure to map all them
- You can also use the functions to customize information like reformatting dates and times or modifying text, phone numbers and so on.
- You may leave blank the box of a field's information you don't want to send through. Clicking on the Show unmapped fields button you will have visibility on all the available fields still not mapped
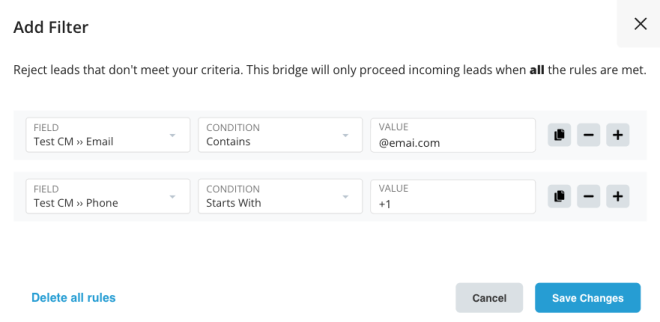
Step 3.A: Leads Filter (Optional)
If you'd like you could add a filter for incoming leads. This filter will sync only leads that meet the configured conditions
- Click on the link Add Filter for Incoming Leads on the top left
- A popup wil be opened where you can configure the filter
- You can define a series of condition to filter the leads. The lead will be synced only when all the conditions will be met
- Once finished, click the Save Changes button to switch back to the Fields Mapping to continue with the bridge configuration
Step 4: Save and Publish
- Click on the Save and publish button
Congratulations! Now your bridge is up and running
Common questions for Facebook Conversion Leads
How to set up Facebook Conversion Ads using Lead Ads?
To set up Facebook Conversion Ads using Lead Ads, follow these straightforward steps:
- Step 1: Open Facebook Business Manager and go to Ads Manager.
- Step 2: Select "Lead Ad" as your Facebook Ad objective, and create the ad as usual until you reach the Delivery section.
- Step 3: In the "Optimization & delivery" section, choose what you want to prioritize.
- Step 4: Ensure "Conversions" is selected (if not the default) to enable Conversion Leads Optimization.
- Step 5: Add a "Cost per result goal" to specify the desired average CPA. This helps you stay within budget.
Note: Before diving into the optimization process, make sure to set up Facebook Conversions API if you haven't already. This is crucial as it allows the gathering of performance feedback and enhances targeting through Facebook's powerful machine-learning capabilities.
What is the difference between Facebook Lead Ads vs. Conversion Ads?
The main difference between Facebook Lead Ads and Conversion Optimization Ads lies in their focus. Facebook Lead Ads prioritize generating a high volume of leads by showing your ad to people in your target audience who are likely to contact you. It emphasizes quantity.
On the other hand, Conversion Optimization Ads prioritize the quality of leads. Instead of simply reaching as many people as possible who may fill out the lead form, it aims to target individuals who are most likely to become actual customers. This approach focuses not only on the number of completed lead forms but also on driving qualified leads who have a higher potential of progressing through the sales funnel.
How can I retrieve the events I need from my CRM for this optimization?
What is the CRM Integration?
The Facebook CRM integration is a way to retrieve events from a CRM and send them via CAPI. According to Facebook, CRM Integration can be performed either manually (with internal technical support) or with the help of a partner (such as LeadsBridge).
With the CRM integration, the only valid leads that will be considered for the Conversion Leads optimization are leads that come from Facebook. In other words, leads generated with a Facebook Lead Generation paid campaign, ones that have a Facebook Lead ID. In fact, all leads generated, for instance, on a Web form or that come into the CRM from sources that are not Facebook campaigns, will not be considered for the Conversion Leads optimization.
How to check that my campaign is using Conversion Leads Optimization?
Once all of this has been done, you should follow the steps listed at Meta’s Business Help Center and make sure to:
- Configure the Pixel you used in LeadsBridge as a CRM connection.
- Set up the Sales Funnel and choose which Conversion Leads event you want to optimize for.
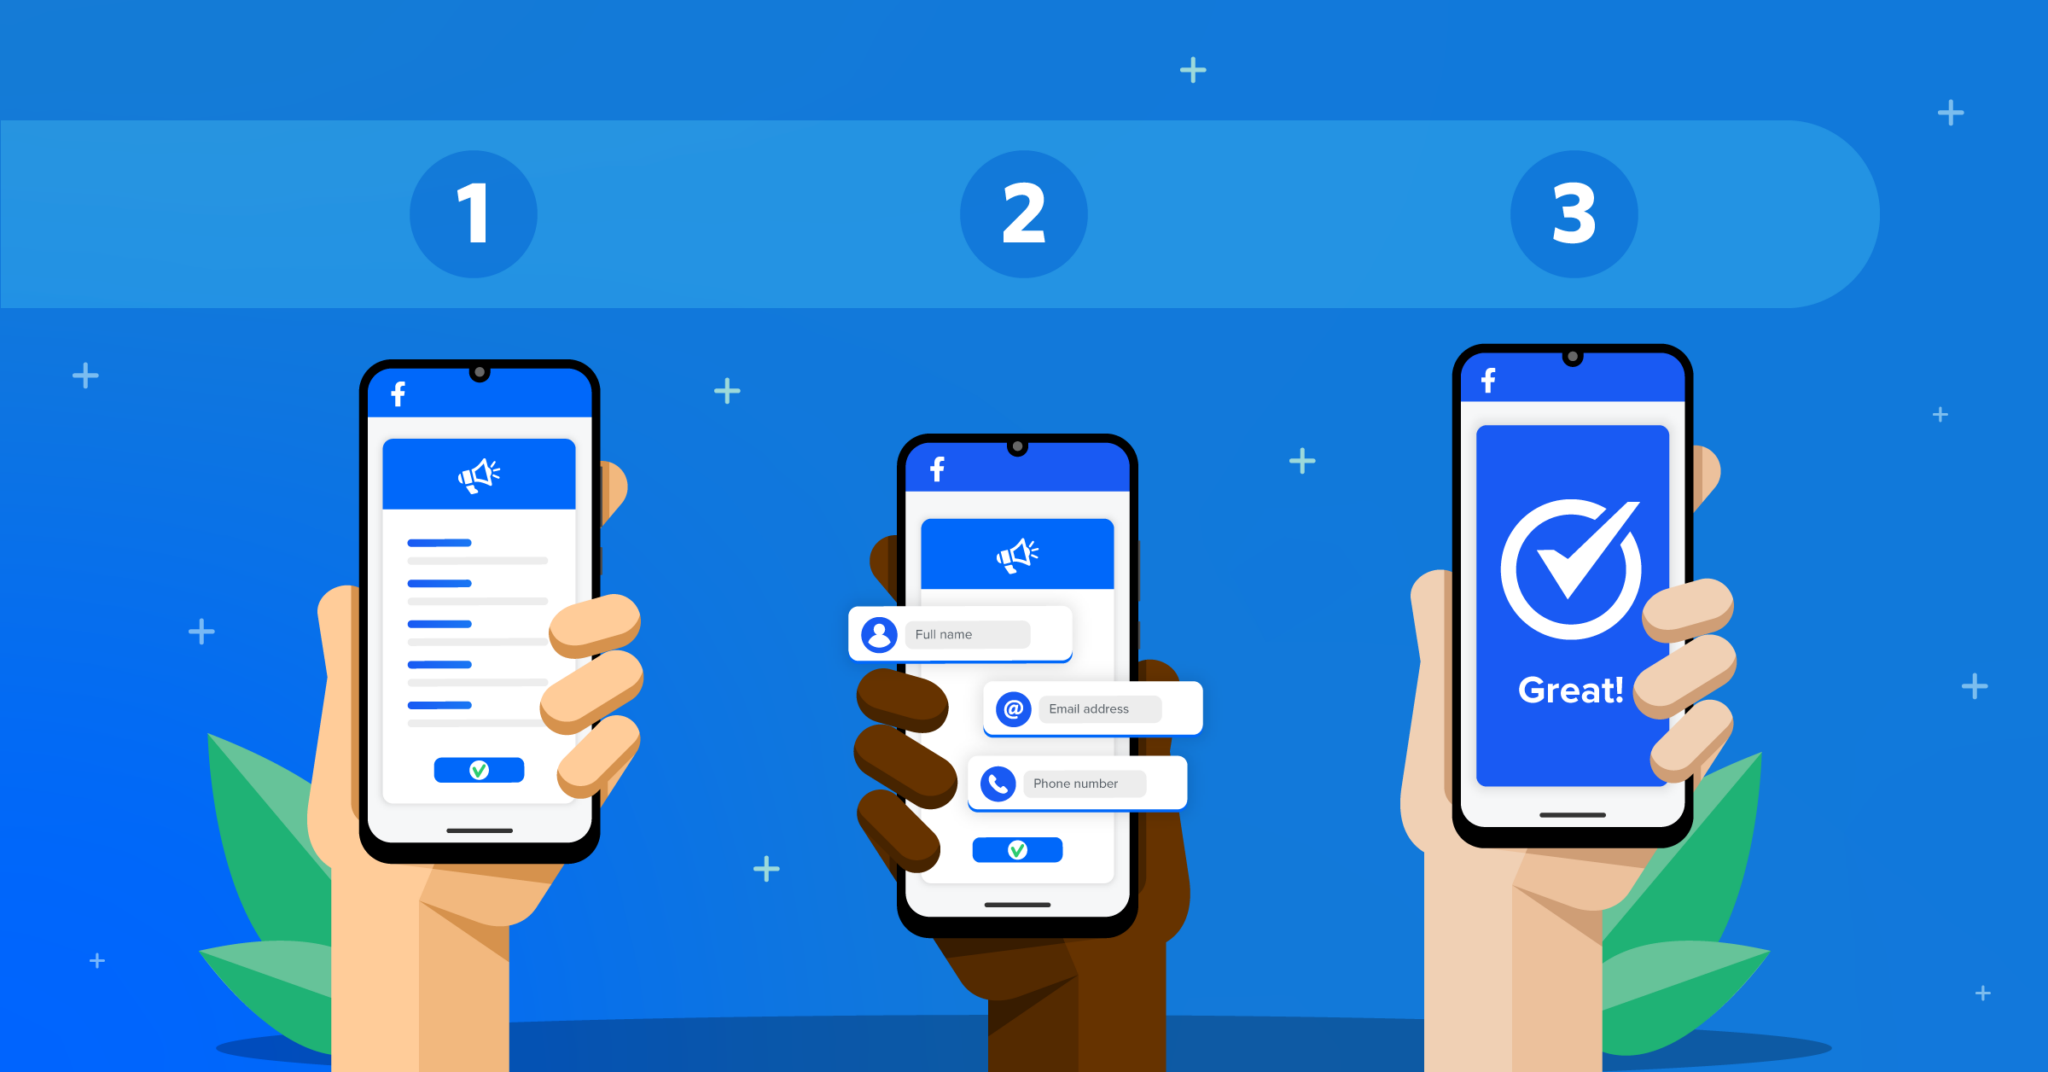
If you did this correctly, in Meta’s Events Manager, your Pixel will show up.
By going into Settings, you should see three blue checkmarks proving that the Sales Funnel was set up correctly.
Do you need help?
Here some additional resources:
- TikTok Lead Generation documentation page and common questions
- Facebook Conversion Leads documentation page and common questions
- LeadsBridge KNOWLEDGE BASE
- Contact support from your account clicking on the top right Support button