Advertising is all about timing. You need to reach out at the perfect time, on the ideal platform, and to the right people. It’s an art to say the least, and one that not a whole lot of people have mastered. This is where Facebook Conversions API comes in handy.
Facebook Conversions API (or CAPI, as it’s been called) is a powerful tool with loads of possibilities. With that said, we’ve already covered everything you need to know about Facebook Conversions API.
The purpose of this article is a little different in the fact that we now want to go over how to set up Facebook Conversions API and provide some use cases with how people are using CAPI with LeadsBridge integrations to get the absolute most out of their incoming marketing data. Along the way, we will discuss some helpful details. Let’s start with the basics.
The benefits of Facebook’s CAPI
In truth, there are many benefits to Facebook’s Conversions API. As we discussed at the beginning of this article, CAPI is capable of letting you share data directly from your server to Facebook’s. Sharing data like this allows you to do a number of things:
- Accurately measure actions in multiple ways – With CAPI, you can share things like delayed values and user/lead scores so that you can use them for further optimization with Facebook’s other tools.
- Improve targeting data accuracy with measurements and optimizations when paired with Pixel.
- Gain complete control over the data you share – CAPI is designed specifically to give you complete control over what data you share and when you share it when implemented separately from Facebook’s Pixel.
This is all made possible because server events are linked to your pixel and behave like browser events. This is how they do it:
- They’re used for the same ad optimization, including conversion and value.
- They appear on almost all of the same surfaces. Two of which include Ads Manager and Events Manager.
- They abide by the same controls and restrictions implemented by Facebook, like with the Off-Facebook Activity tool and the Facebook Business Tool Terms.
When using Facebook’s Conversions API along with another tool from Facebook’s arsenal, you have the ability to gain massive insight that would otherwise be impossible.
It is important to note that with the iOS 14 update, it will be required of apps in the App Store to ask for specific permission before using customer’ data. This will take form as an in-app prompt that will detail how the data is being used, and give the user explicit permission to opt-out if they want to.
That being said, advertising and marketing as we know it is changing drastically. With the implementation of the GDPR’s data privacy laws and regulations, businesses can no longer rely on cookie-based tracking, and instead must revert to server-side tracking.
This is where Facebook pixel + CAPI come into play. Although it’s uncertain exactly how this will immediately affect the marketing industry, it is almost guaranteed to make it evolve quickly. Facebook’s solution to this is, of course, server-side tracking with their lineup of tools.
How to connect your data with Facebook’s Conversions API
There’s a lot of information above. It’s easy to see how important CAPI is and will continue to be in the marketing world. But, how do you connect your data with Facebook’s Conversion API? All-in-all, there are 2 ways:
Direct connection
With a direct connection, there are pros and cons to weigh:
- Pro – Full control over your connection. No middle man and complete customization capabilities.
- Pro – Direct connection could mean saving money when it comes to upkeep.
- Con – Requires access to server codebase and in-house developer resources.
- Con – Requires setup and management of customer information parameters
Partner connection
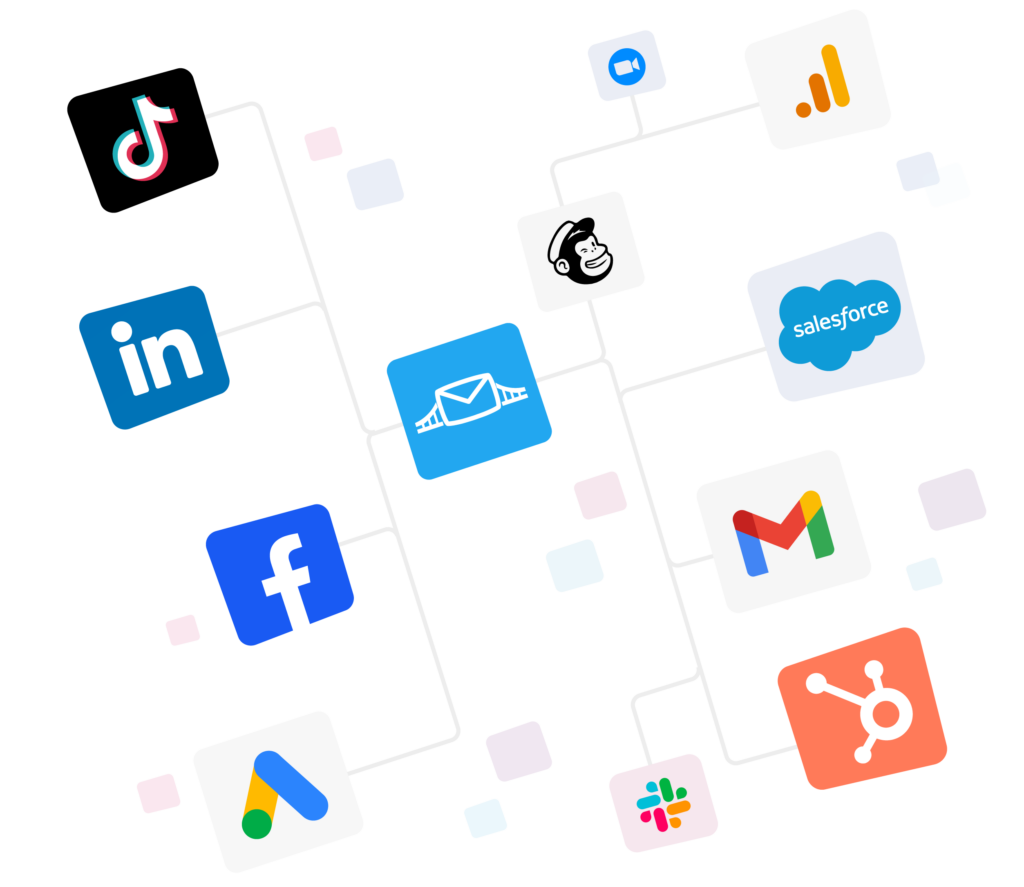
Using a partner connection means using a platform like LeadsBridge to provide an integration between CAPI and a data destination.
- Using a partner like LeadsBridge gives you a much faster set-up and a turn-key feel, allowing you to skip all the technical aspects of connecting CAPI, and jumping right to collecting lead data.
- When using a partner, you have access to a team of experts that keep up with anything and everything related to CAPI, again allowing you to focus on what’s most important to you: New leads.
- One of the only downsides to this approach is that you don’t have full control, nor do you have customization options. Instead, you have a quick and easy connection made by an intuitive tool, allowing you to focus your efforts on your expertise.
- Although a direct connection (at face value) is free, it can cost a decent amount when it comes to maintaining. With LeadsBridge, with your monthly or annual subscription, you will have full access to experts, ready to help you at any time.
How does LeadsBridge help with Facebook’s CAPI?
At LeadBridge, we pride ourselves on easy and helpful integrations with your marketing stack. One of those integrations being CAPI.
The biggest setback any marketer can face is the need for repetitive, manual, and time-consuming tasks. We aim to fix that. With simple integration, you can forget about manually importing CSV files every few days, and get the important marketing data instantly.
By automating your Facebook CAPI experience, you’re able to jump on lead data as soon as it comes in, giving a boost to their journey through the funnel, and giving you precious insight throughout the entire process.
Since LeadsBridge is an official Facebook Marketing Partner, you’re guaranteed the best service with direct support and data straight from Facebook themselves.
 How to setup Facebook Conversions API with LeadsBridge
Just like any integration on LeadsBridge, it really only takes a few clicks. The first thing you’ll want to do is login to your LeadsBridge account. If you don’t have one, don’t worry, you can check out all of our pricing packages here.
Once you’re signed up and signed in, you’ll be taken to the main dashboard, and it will look something like this:

As you can see on the left-hand side, highlighted in blue, it says ‘Bridges’. This is where we will begin creating the connection between Facebook Conversions API and your CRM. To start, simply click ‘Add New’.
Now, a new pop-up will appear in the middle on the screen, and it’ll be time to start working on your data source and destination.
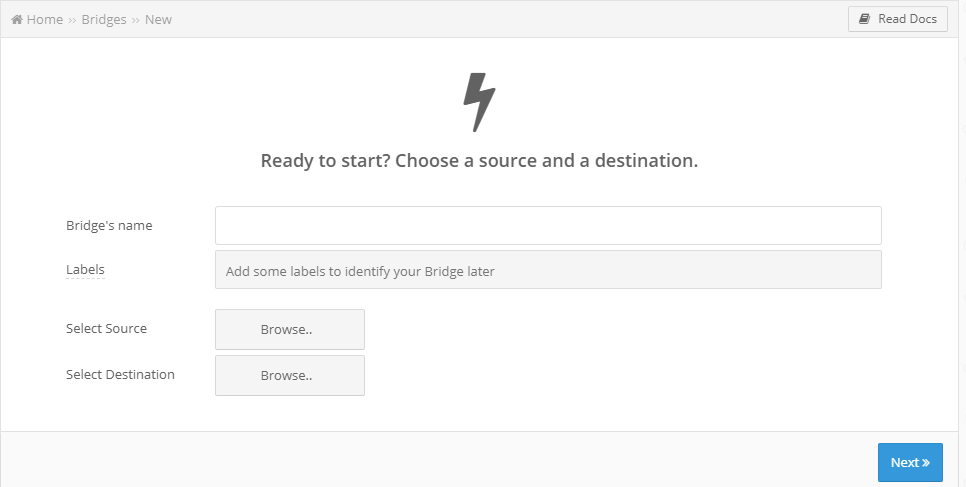
First, you’ll want to name this bridge. If you only plan on making 1 bridge, this really isn’t all that important. But, for the sake of finding it among several bridges, it’s best to name it thoroughly so that it can be found later.
Below that field, you can also add tags to this bridge. Again, not 100% necessary, but it is there to help you identify this bridge later.
Now, you’ll want to select a data source. This will be the place where data is collected and imported from. For this case, we will select Facebook Lead Ads.
Next, you’ll want to select a data destination. Once all the data is collected, it needs to be sent somewhere. In this case, your CRM is what you would choose. We provide easy integrations with most of the major marketing CRMs out there. But, if you don’t see yours listed, let our customer service team know. It’s possible that we can create a tailor-made integration just for you.
Once all that information is filled in, select the blue ‘Next’ button at the bottom right.
Setting up the data source
Now you’ll see a new pop-up, asking for information about Facebook. The form will look something like this:

Here, you’ll fill in all your important Facebook data that can only be found on your Facebook account. If you haven’t used LeadsBridge before, then the top field will automatically be empty. If you click the box to the bottom right of that top field, you’ll be asked to fill out the information about your Ad Account on Facebook. But, once that information is filled in, it will always be there for you to select in the future.
Setting up the destination
Now that we have set up the data source, it’s time to configure the destination. Depending on where you want to send the data collected by CAPI, this screen might look slightly different. Essentially, you’re going to need to name the destination and then select a new segment from the drop-down tab.

Now, if you so choose, you can receive email receipts with each incoming lead. In order to set this up, make sure it says ‘yes’ next to active. Then, simply input the email address you want them receipts to go to, and create a subject line for those emails.
Fields mapping
Configuring the field for any form that the leads need to fill out is very important. As you can see by this image below, it can be as simple or as complex as you need it to be.

A good piece of advice in this sense would be to make it as simple as you possibly can. Any sort of unnecessary friction can easily send a potential lead packing. You can start with the basics like name, email, and phone number, and then add a custom field if needed.
Testing the CAPI integration
Once all is said and done, you can test your new integration in your LeadsBridge dashboard. If you want, you can choose to test the integration with either a new (made-up) lead or an existing one. For the sake of this article, we’ll make one up.
And once you input all that information, simply click the blue, test-now button. Now head over to your inbox, and see if all the information has been sent. If the integration was set-up correctly, you should have an email describing all the information you put in in the testing stage.
Just like that, your integration is ready to go live, and you’re ready to receive new leads!
Conclusions and takeaways
This whole cookie-less marketing world is a fairly new idea as of writing this article. Although we’ve been well aware of the importance of server-side tracking and tools like Facebook’s Conversions API, the effects of the new data regulations have really just started to get serious.
As a marketer, there’s no need to worry. Although things will change as we know them, that doesn’t mean we won’t be able to do our jobs. With tools like Facebook’ CAPI and LeadsBridge, all the headache of cookies and accurately tracking customer data can be left alone. For you, all you really need to worry about is setting up an integration ASAP. But, as we’ve explained above, it’s easy, too.

