Google lead form extensions have been one of the most reliable lead generation tools over the past decade.
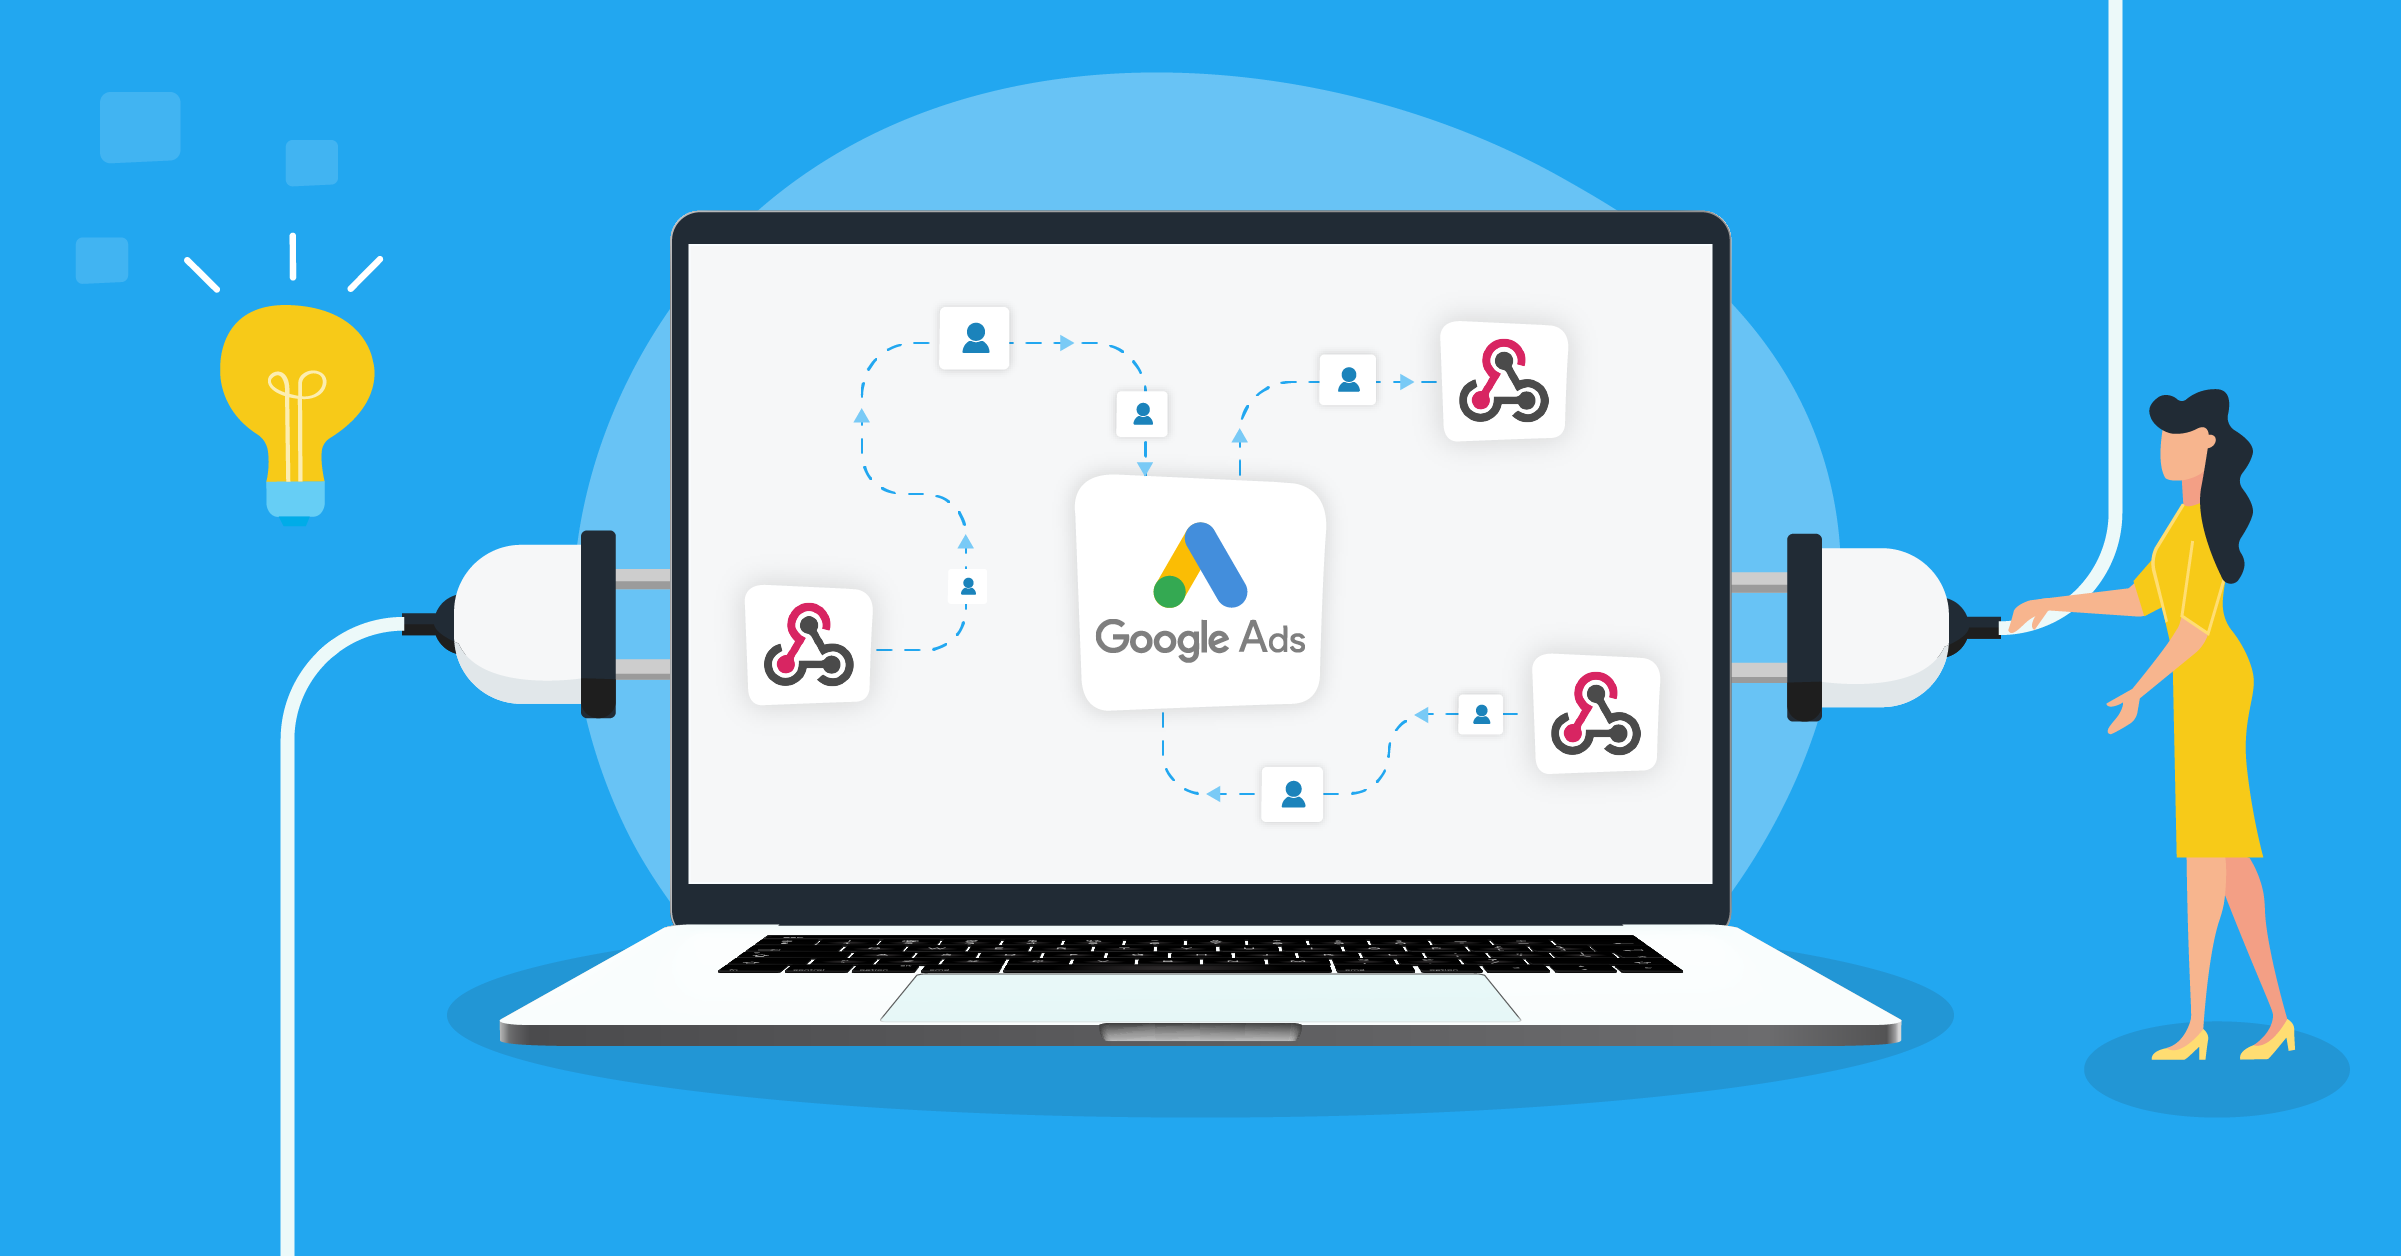
When coupled with webhook integrations, these extensions become even more potent. This connection allows you to streamline your entire lead capture and management process.
- What are Google lead form extensions?
- What is a webhook?
- Features of a Google Ads webhook integration
- Setting up a webhook integration for Google Ads lead forms
- Leveraging LeadsBridge as a third-party integration
- Benefits of Google lead form Extension webhook integrations
- Integrating Google lead form extensions with CRMs
- Final thoughts
This article covers how to set up Google lead form extension – webhook integrations and shows you why LeadsBridge is a reliable option to help you build your integrations.
What are Google lead form extensions?
First, let’s discuss what Google lead form extensions are, now known as Lead form assets.
These extensions are a feature within Google Ads that help advertisers collect valuable leads directly from their ads.
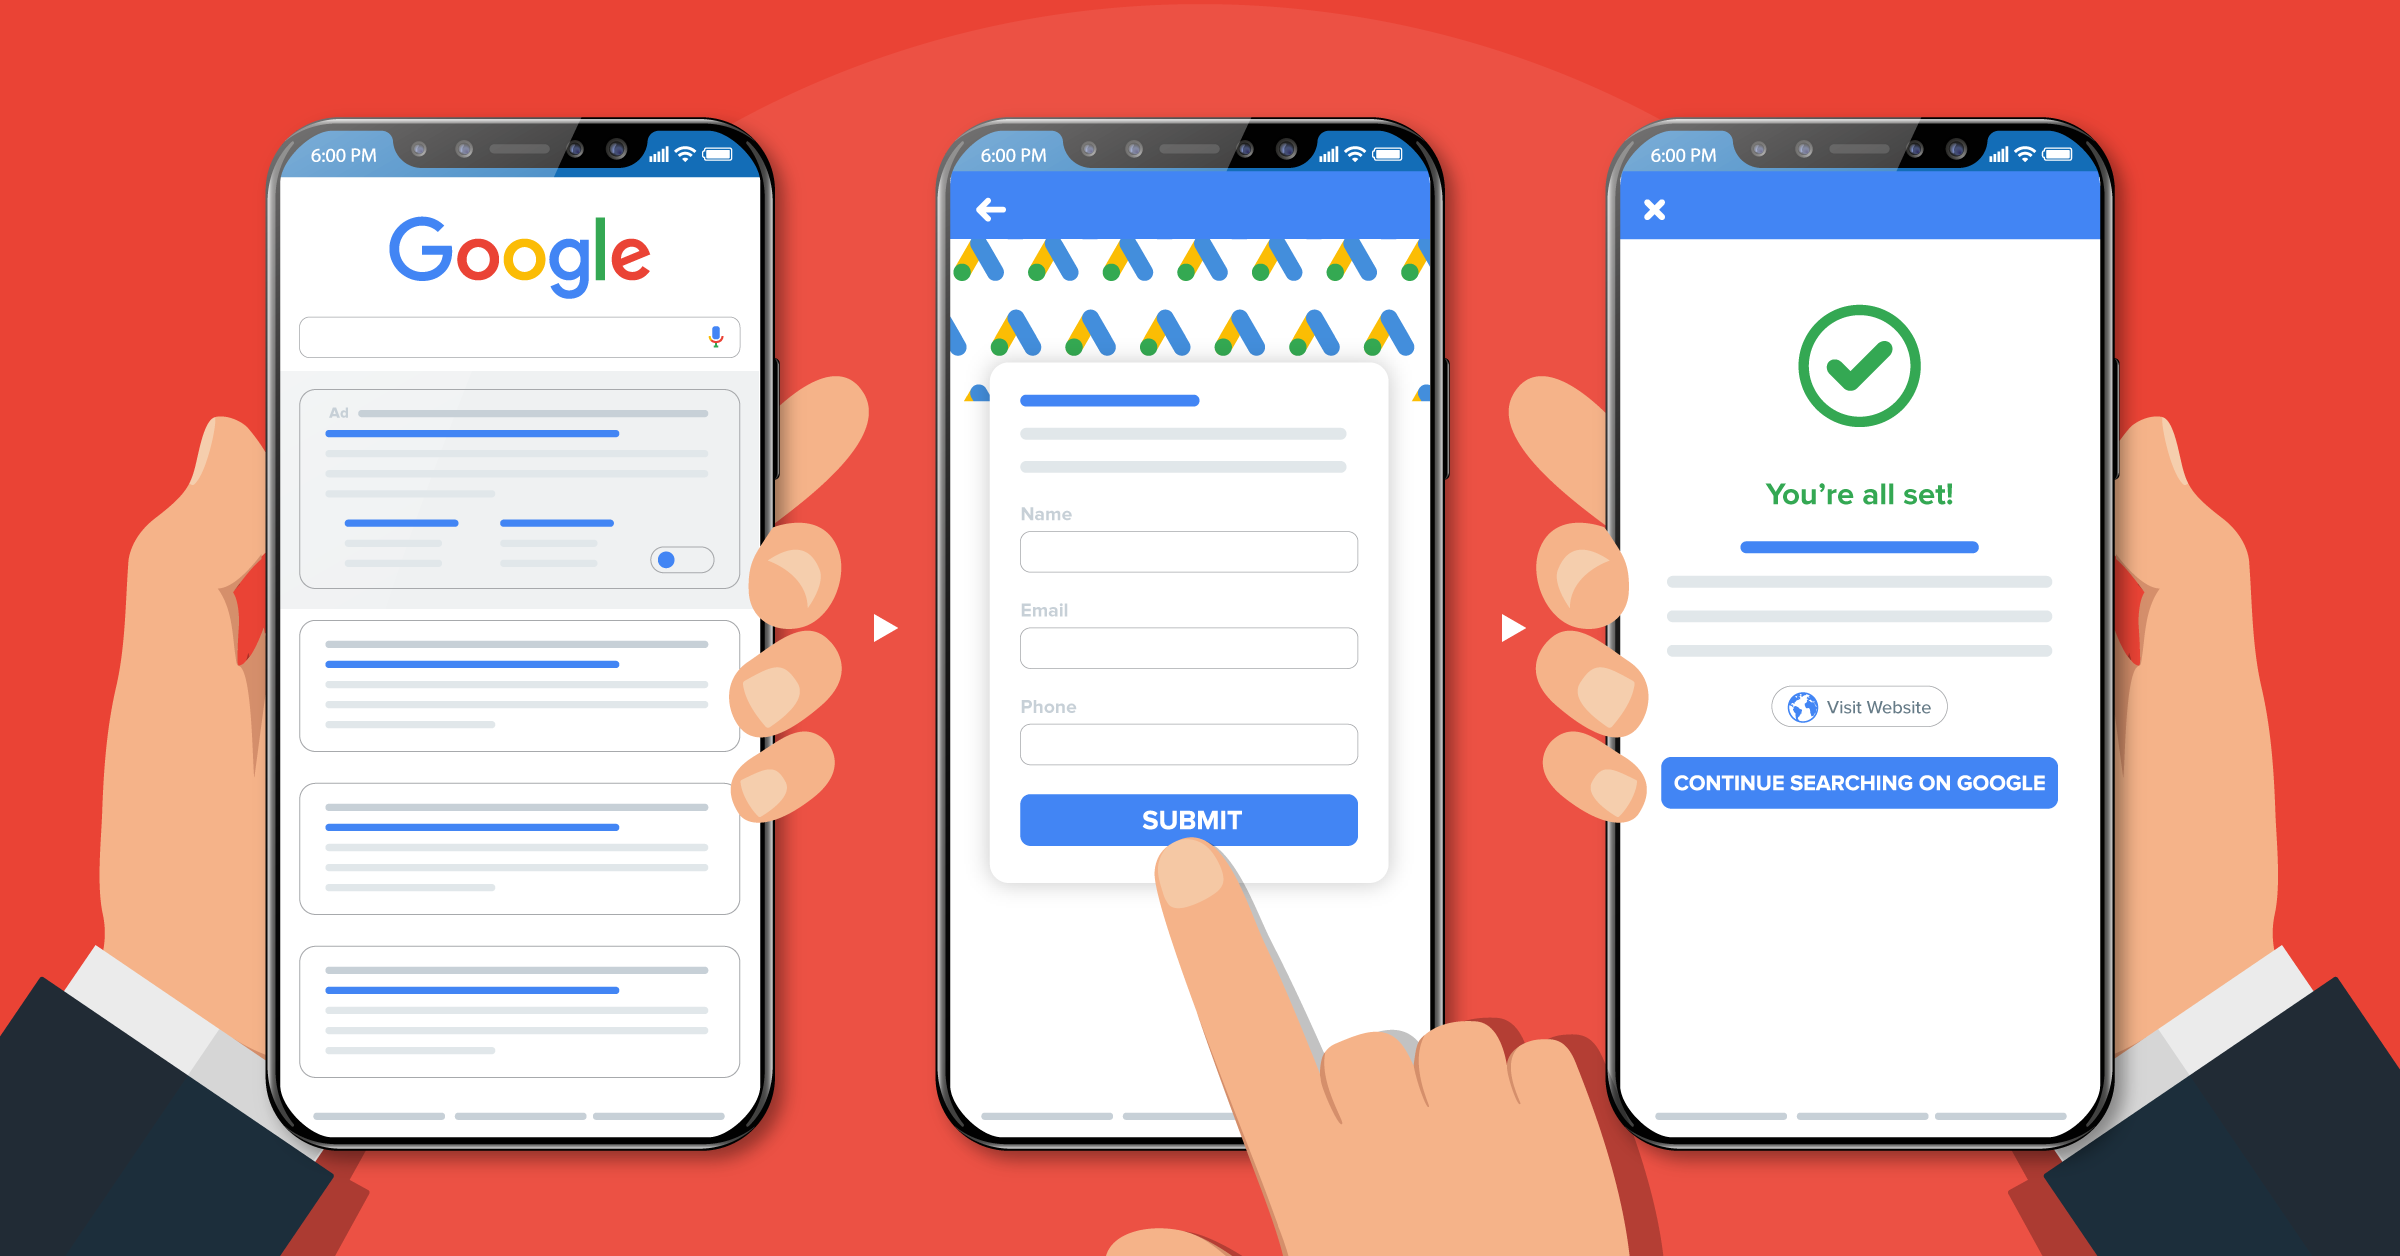
When users engage with your ad (if it’s structured right) and express interest, they’re presented with a pre-filled form containing their Google profile information. The ease with which they can submit their info encourages higher conversion rates.
What is a webhook?
A webhook is a method of communication used by applications to send real-time data to other applications or servers.
It acts as a bridge between different systems, allowing instant data transfer without a hands-on approach.
As soon as an event occurs in one system, a webhook triggers the transmission of the event information to the designated endpoint of another system.
This seamless flow of data enables teams to set up rapid response workflows and automated segmentation.
Features of a Google Ads webhook integration
A webhook integration is an instant transfer of data from Google Ads to your systems. The value is speed and reliability:
- Real-time delivery into your CRM/CDP
- No manual exports
- Immediate triggers for emails, tasks, or scoring
Good setups include versioned payloads (basic or enriched data), authentication via keys and headers, selective triggers so you only send what you need, and clear logs and alerts to catch any slips quickly.
You get cleaner attribution, faster follow-ups, and less operational overhead, so more budget goes into your growth drivers.
Why Google lead forms webhook integrations are particularly important
When someone submits a Google Ads lead form, Google fires a POST to your webhook URL with the lead’s details (e.g., name, email, phone). You add the URL and a key in the lead form asset, send a test to verify, and you’re live.
Leads then flow straight into your CRM in seconds, kick off automations like routing, nurture, and sales alerts. Keep in mind that brands that get in touch with interested prospects close at a 70% higher conversion rate than others.
If you want, you can also pass your campaign and form metadata for better scoring and reporting.
With monitoring and retries in place, the integration turns lead forms from simple capture into actionable data your team can work with immediately.
Learn how to automate your email workflow here.
Setting up a webhook integration for Google Ads lead forms
A webhook that merely “receives something” will work in a demo but might fail in production. Here’s how to do it properly.
Pre-steps
Here’s what you need to have prepared in advance:
- A public HTTPS endpoint that accepts POST with JSON.
- A way to authenticate/verify requests (token, HMAC, IP allowlist—pick one you’ll actually enforce).
- CRM objects/fields ready for mapping (lead/person + custom fields).
- Somewhere to store raw payloads and delivery logs.
Step 1: Create a robust webhook endpoint
Follow these steps:
- Accept Content-Type: application/json. Return 413/415 for anything else.
- Parse safely; reject bodies larger than a sane limit (e.g., 256–512 KB).
- Return 200 only after you persist the lead (or queue it). Use 4xx for client errors (bad auth and shape) and 5xx when you can’t process.
- Make it idempotent: if you see the same lead_id (or same payload hash) again, don’t create duplicates.
Step 2: Map fields explicitly
You need to store the raw payload (aka the actual data itself) as-is for audit.
When you create a deterministic mapping table (form field to CRM field), include type coercion (phone, email, and date), timezone normalization, and allowed values for dropdowns.
Remember to validate essentials before insertion: email OR phone, form ID, timestamp.
Step 3: Configure in Google Ads
In the campaign or ad group using Lead form extension, set the HTTP POST URL to your endpoint.
Here, add any required header(s) (e.g., Authorization: Bearer <token>). Your endpoint must implement it.
You can also use the built-in Test button to run a sample lead and make sure everything runs smoothly.
Step 4: Secure and validate requests
There are three major aspects you need to manage:
- Auth: Require a shared secret in a header, HMAC signature, or both.
- Schema: Validate required keys; reject unknown shapes loudly (4xx).
- Rate limits: Defend with a simple leaky bucket (e.g., 50 req/min) as well as retries.
Step 5: Handle retries & errors correctly
First, consider that Google (or any other sender) may retry on non-200s. So, you need to construct reliable processing.
Write raw payload and create/update lead in one transaction, or queue the job (e.g., message broker) and respond 202, then finalize asynchronously.
Once completed, log all correlation IDs (request ID, lead_id) so you can track them down the line.
Step 6: Test end-to-end
Use the Google Ads Test lead to verify:
- Endpoint receives payload, passes auth, validates schema.
- Lead lands in CRM with correct field values and ownership.
- Duplicate test doesn’t create a second record.
In addition, you can run a live test with a real submission to confirm attribution and timestamps.
This process is tech-heavy and complex. For a much more user-friendly and easier option, you can set up an automated integration via LeadsBridge.
It’s easy to build, and you can use it for free if you need only one bridge and you handle up to 50 contacts.
Once you are sure, you can scale to higher tiers. Until then, you can use the bridge for free, forever.
Leveraging LeadsBridge as a third-party integration
LeadsBridge enables seamless integration between various tools and systems, streamlining the integration process via automation.
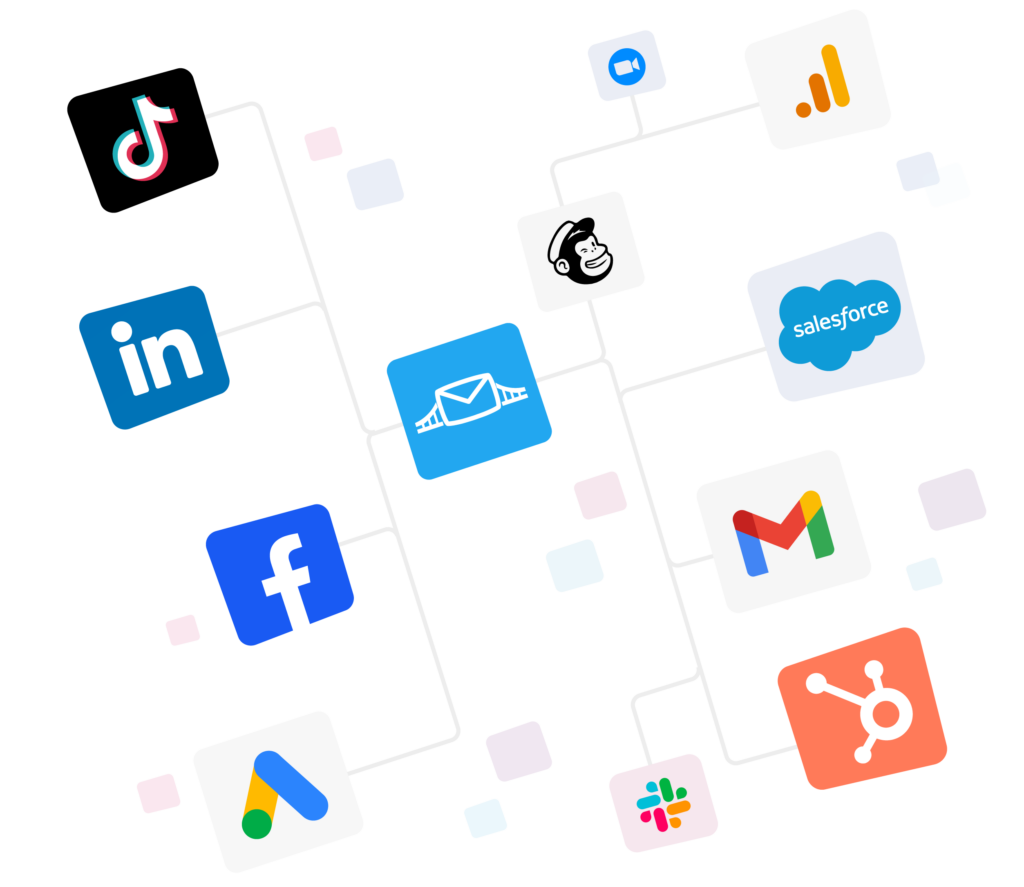
This means automating lead data transfer from Google Ads to your CRM. The best part is that you can effortlessly set up connections without having to code or pass through complicated processes.
Benefits of Google lead form Extension webhook integrations
The automated data bridges approach saves time, reduces the risk of manual errors, and more, including:
1. Real-time data transfer: Instant data transfer ensures that leads are captured and sent to your CRM without delay. This real-time approach improves your odds of closing more conversions by responding promptly.
2. Higher data efficiency and accuracy: The integration also eliminates the need for manual entry. This leads to fewer errors and frees up resources for creating a high-performing Google Ads strategy for lead generation.
3. Enhanced lead nurturing: Automated lead management also allows for timely follow-up with leads, while increasing the chances of successful conversion.
4. More accurate campaign optimization: Access to real-time data gives you visibility over your processes. This means optimizing your campaigns based on real insights and improving their overall performance.
Integrating Google lead form extensions with CRMs
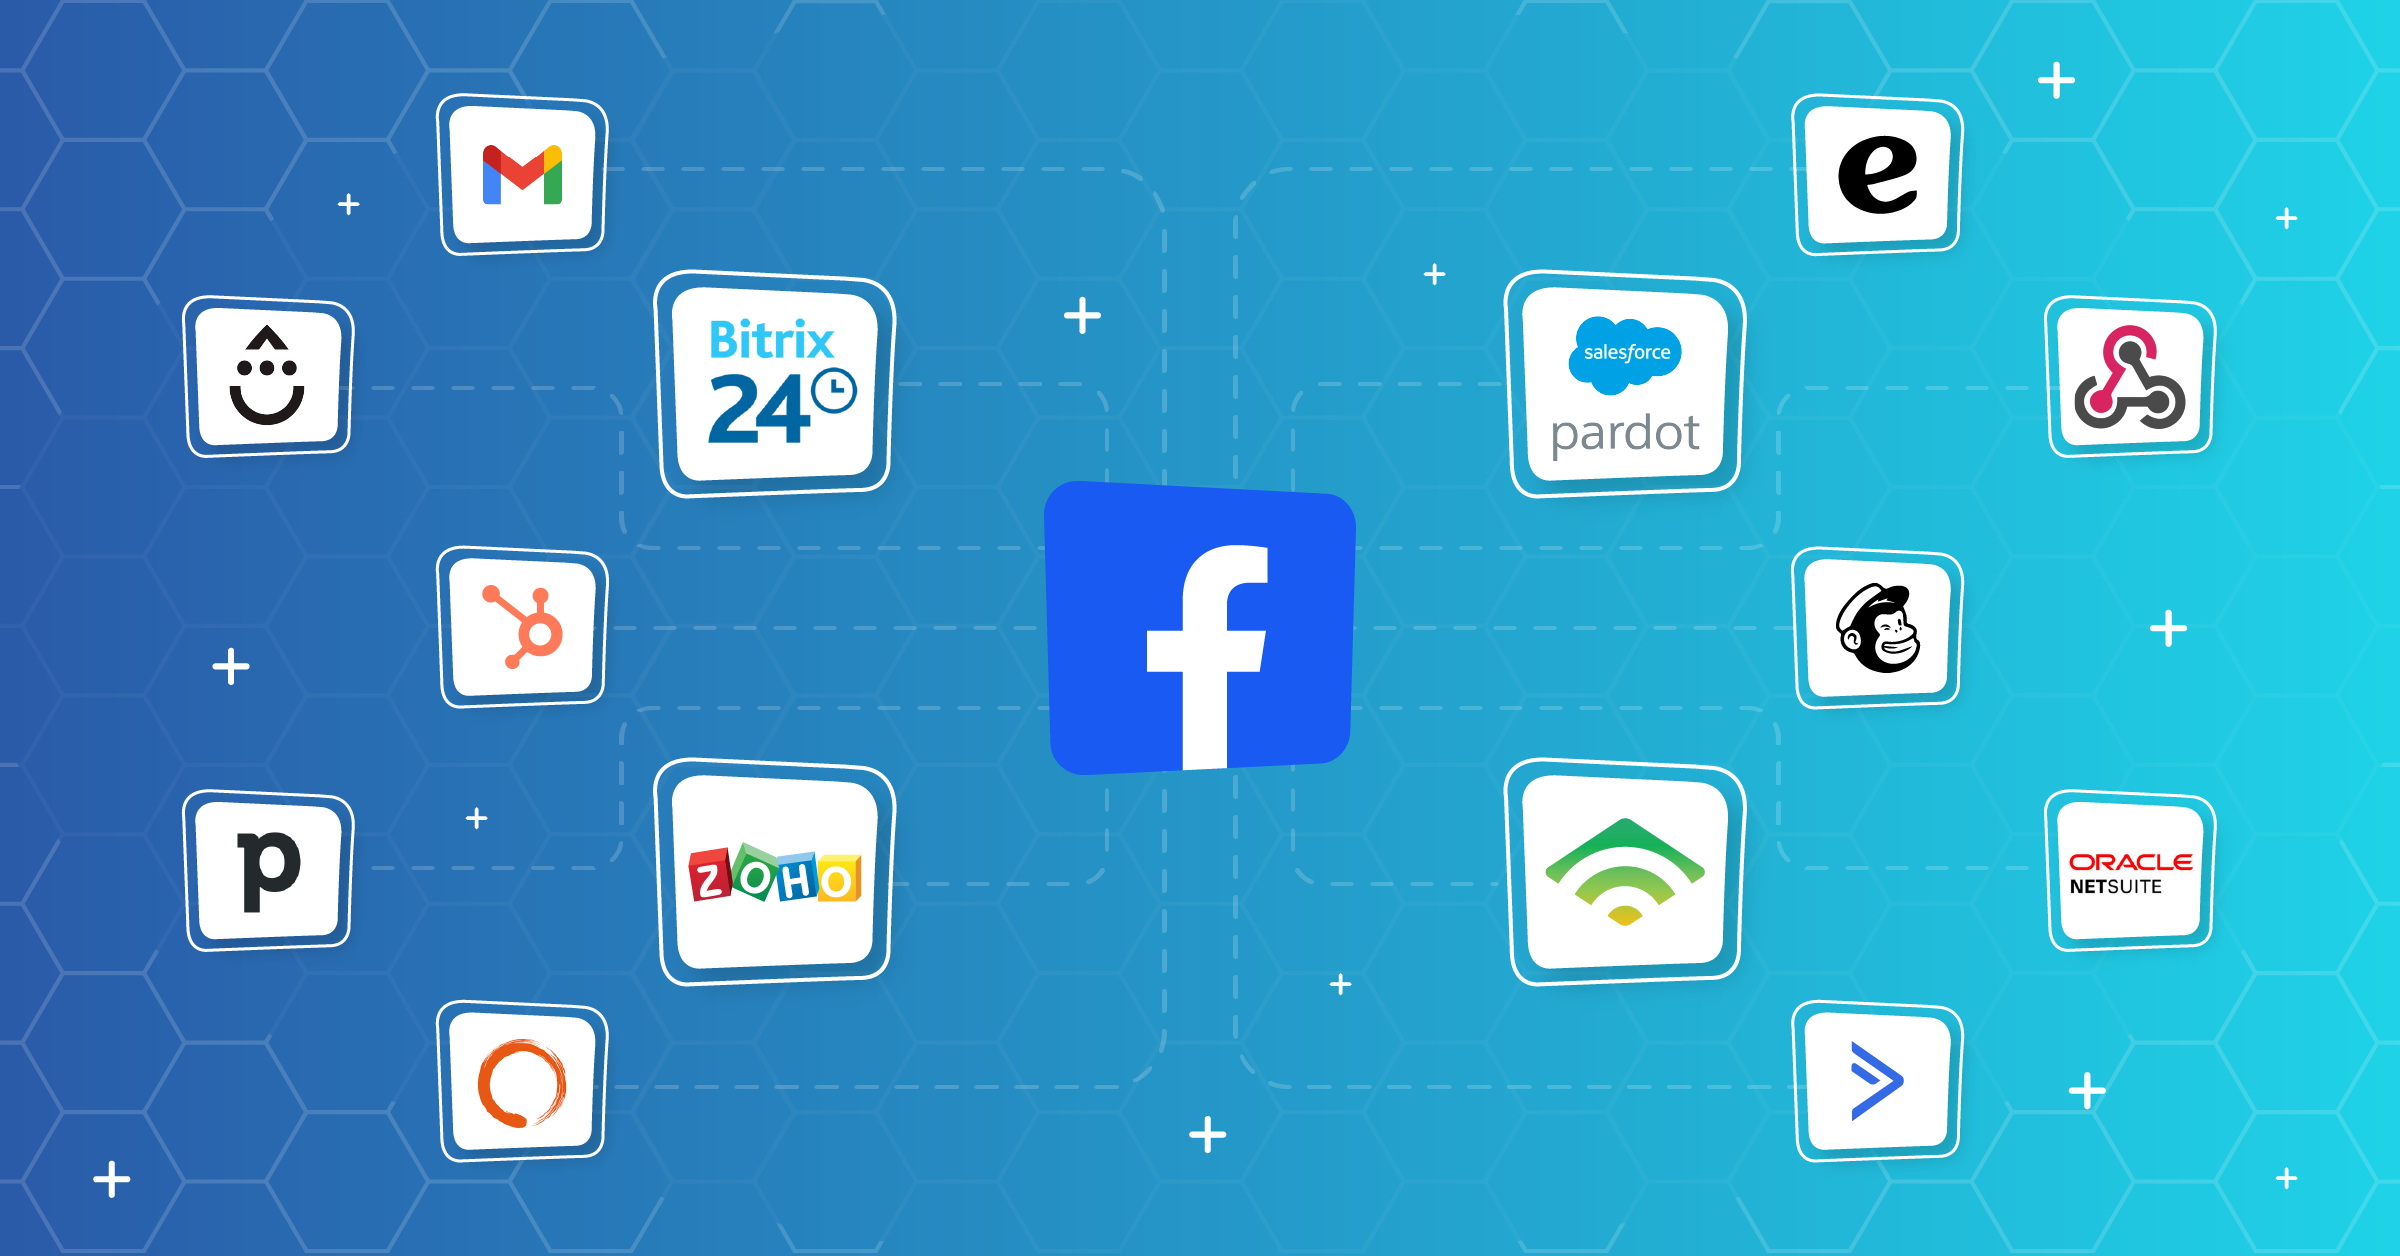
Here are the most popular examples of how Google lead form extensions can be seamlessly integrated with various CRMs using webhooks:
Final thoughts
If you’re choosing between building a webhook and using a connector, LeadsBridge is both easier to set up and more reliable.
It’s automated and code-free, so you can connect Google Lead Form Extensions to your CRM in minutes and spend your time on conversations instead of maintenance.
Let LeadsBridge do the heavy lifting for you. Set up a bridge today!


