Facebook Lead Generation Ads have been released just a few months ago, but they’re already showing great results for marketers who started experimenting with them right from the begin. This new ad format is performing great in this mobile first world, thanks to its main benefits: speed and simplicity.
One thing not everyone realizes though is that Facebook Lead Ads are really versatile as well and can go beyond their core mission. We’ve already seen for example how they can be used to get answers from your user base in our post about the Net Promoter Score. In that scenario, we already knew the email address because the ad was targeted to our customers, so the goal of the ad was not lead generation, but to gather valuable feedbacks.
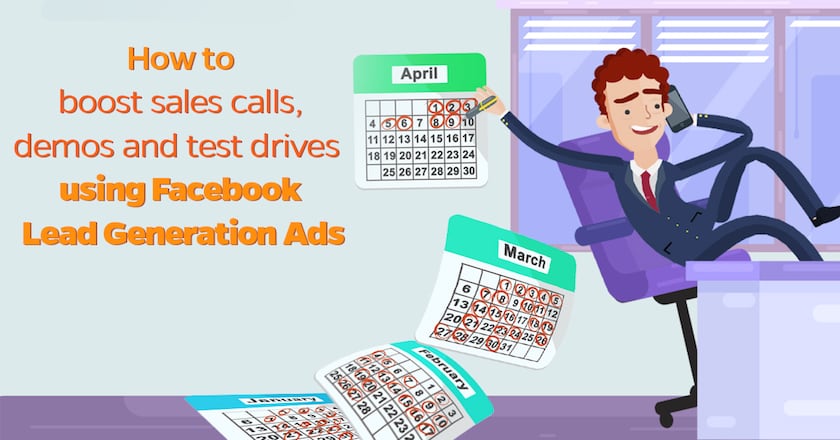
In this post, we’re going to see how Facebook Lead Ads can help sales people to increase calls, demos of a product or test drives, which will be very interesting to all business people working in the enterprise industry.
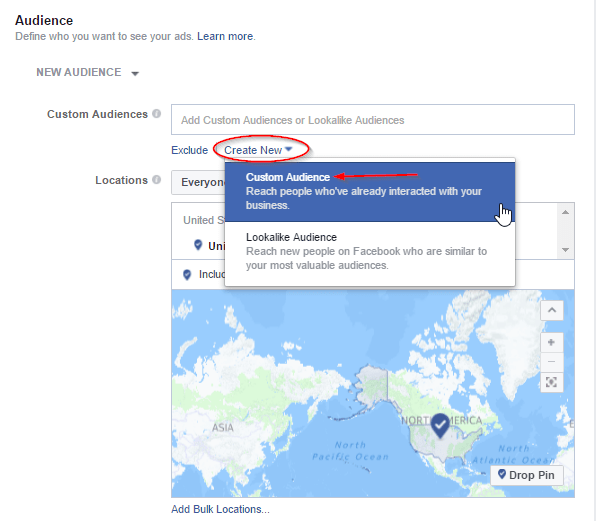
1) Choose an audience
The first step as usual with Facebook advertising is to specify a target for your ads. In this case, we’ll take the basic (but nonetheless powerful) one: website visitors.
If retargeting is a new topic for you I suggest to take a look at our recent post where we examined in depth 6 type of retargeting campaigns, the second one is exactly about Website Custom Audiences (WCA).
So what we are doing here??
Since the goal of the campaign is basically to give a strong acceleration to a sales process we’re targeting all those people who have already demonstrated interests in our product by visiting our website. They already know us and they might for sure be interested to know something more with a quick call.
2) Lead Ad creation
Here we go through the process of creating the ad. So, access the Ads creation page from the Facebook top menu:

Here you’ll have to choose the “Collect leads for your page” option and then set a name for your campaign:

Time to choose your custom audience, which as we said will include all the persons who visited your website. If you haven’t created this custom audience yet now is the time!
In the next window select Website traffic.

Now you have a few options. You can choose to include all the pages of your website or only some of them, which might be helpful if you’re selling more than one product/service or if you have some pages that are not attracting high-quality traffic. We’ve left the standard rule that we are targeting people who visited us in the last 30 days, but it can be changed up to 180 days. It’s up to you, depending on the size of your traffic and the value of what you’re trying to sell, but usually, if you’re targeting fresh contacts you’ll have the higher percentage of success.
Remember that to create a Website Custom Audience you need to install the Facebook Pixel on your site. Here a quick guide to do it.

When you’ve got your audience set you can go directly down to the budget window, since the placements is ok set on automatic – Lead ads are only shown on the news feed anyway. Choose how much you want to spend, you can start slow and then increase the daily budget if everything is working fine. Just keep in mind that you should increase it gradually, don’t go from 10$ to 100$ because it might mess the Facebook algorithm up and you’ll see the ad performance go down.
Then give a name to your adset for future reference and proceed to the actual ad creation. Here you’ll have to choose an image or a video and work on the copywriting. Later on, you might want to try running similar ads at the same time with a different image or title to see what works best. That’s what everyone calls a/b testing.
When you’re done with the ad creation you have to click on the “Create lead form button”.

Choose a name for your form and then answer yes when Facebook will ask you if you want to use a context card. We’ve already talked about context cards in a recent post and how they can be really useful for getting better results and higher leads quality. Since we’re trying to get some good commitment from people clicking on our ads we’d better explain them thoroughly what’s happening next.

This is just an example of how you might want to fill the context card and keep in mind that we’re using a really long text with the goal of getting high-quality leads, but usually long texts means lower conversion rates. We are also asking to control that the email they’re sending us with the pre-filled form is a good one, since sometimes people are registered to Facebook with an old email they don’t check very often anymore. Again, A/B testing is the key of Facebook advertising success so you can try different context cards as well with alternative texts and images (a different image from the one already used in the ad is, for example, another good practice).
When you’ve done with the context card go on and choose the information you want to get from your target audience. Just the email and the name should be fine since you’re probably going to make a video call with some online service, but you might want to ask the phone number as well (recommended) depending on your workflow.

3) From the Facebook ad to a scheduled appointment
And here you come to the last step: add a link that points directly to a booking page on a service like Calendly to get the user see your schedule and choose the best time for the call.

This way clicking on the view website button the user will land directly on a screen like this one:

Here you go, save your form and then click on the place order button to get your ad finally running!

4) Send a Welcome Email
What if someone goes through all the process and at the end doesn’t schedule the appointment? Maybe it wasn’t the right time for him, he was on the subway, or got just distracted from something else… you know how things go in this amazing digital era.
Well, we’ve got his/her email, right? That was actually the purpose of the Lead Ad choice in the first place!
You should always welcome your new leads with an email right after they’ve completed the form on Facebook and in this case you’ll also remind them to schedule their call if they haven’t done it already.
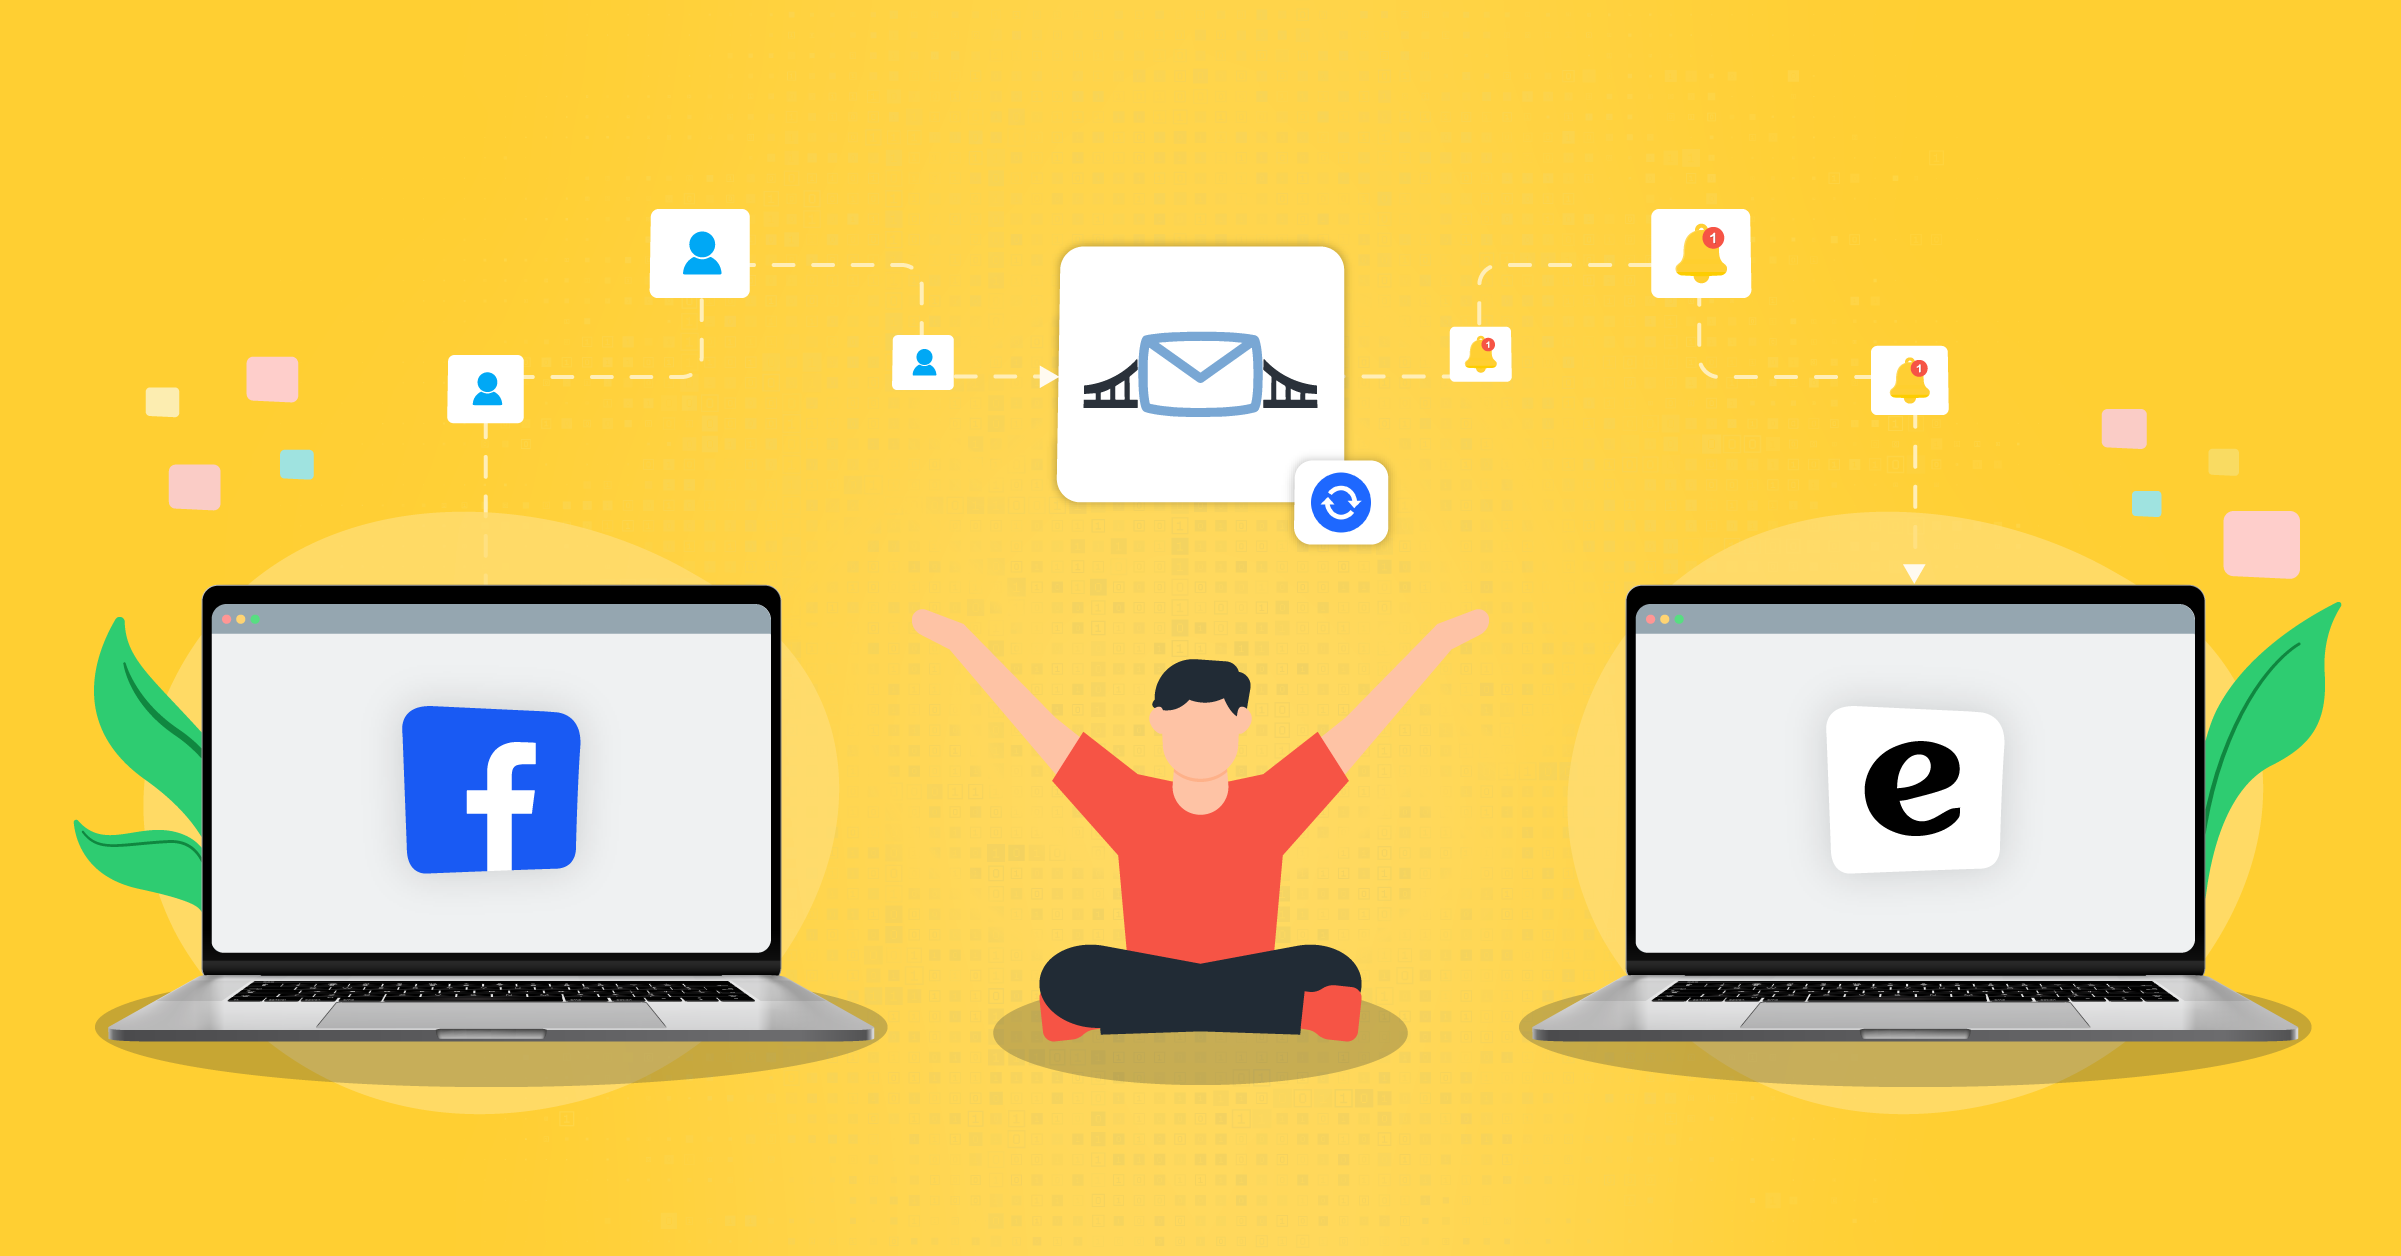
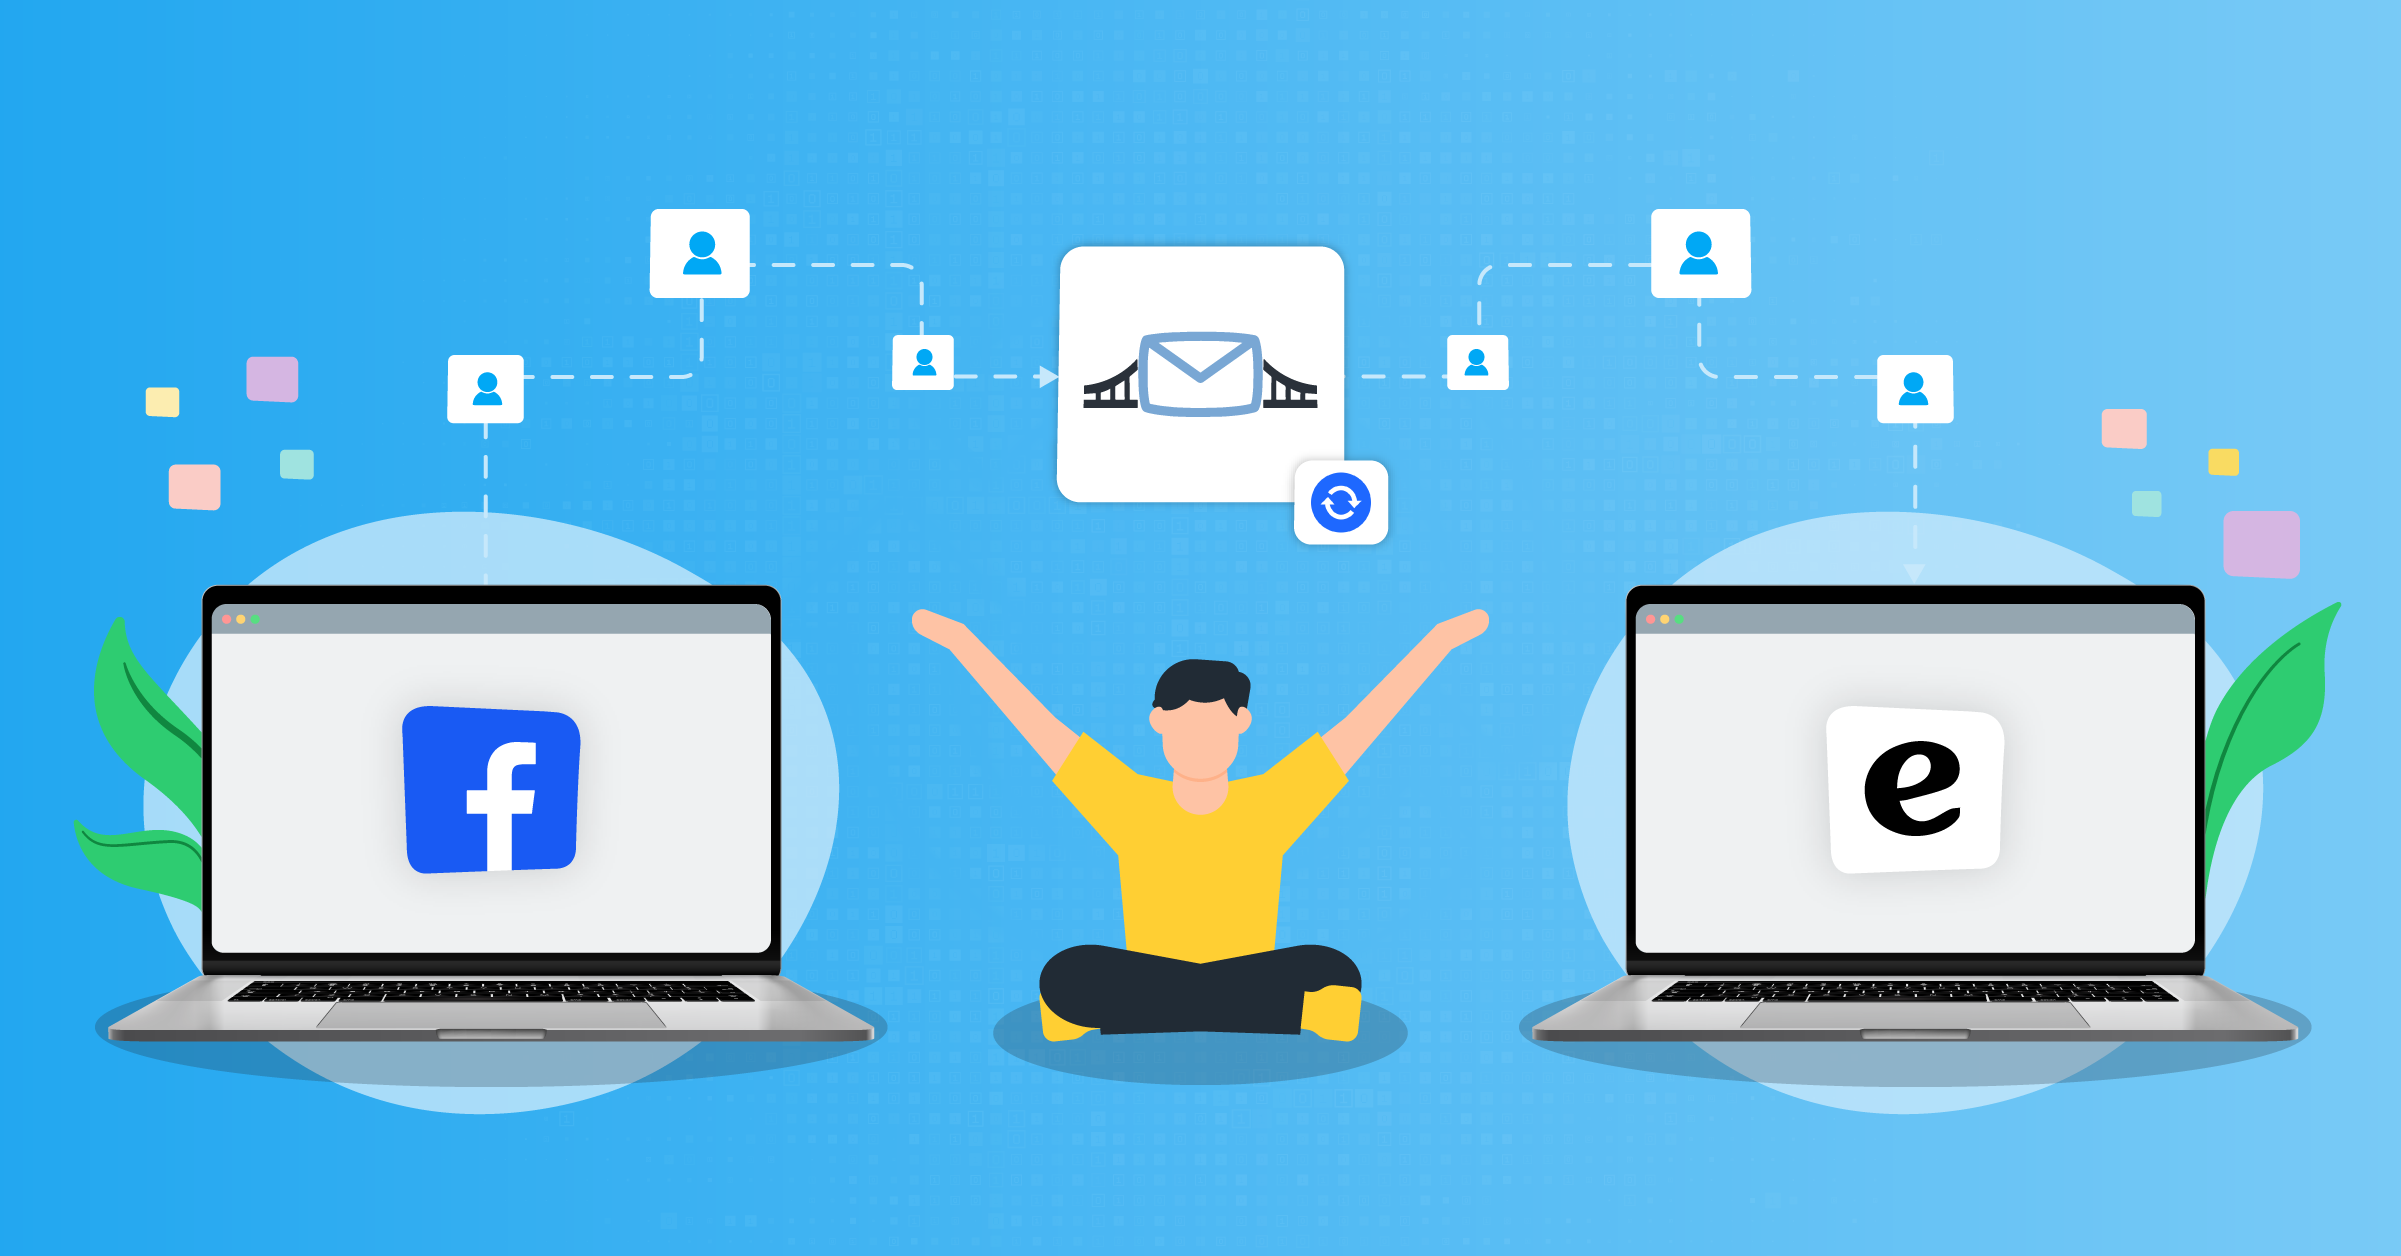
With LeadsBridge is really easy to accomplish this thanks to our real-time sync of Facebook data with over 55 CRM/Email marketing software. And for those who don’t use a CRM there is our Welcome Email feature, so no worries 😉
To keep high the conversions in booked calls, just send a Welcome Email through your Autoresponder like Mailchimp or through LeadsBridge Inbox Notifier and that’s all, good luck with sales!!! 🙂
Final thoughts
Facebook lead generation ad format is an exciting new addition to the advertising tools that Facebook already provides marketers and as we’ve seen it can be easily used in many creative ways.
When you combine this with the fact that Lead generation Ads take away the necessity for you to create different landing pages for different campaigns, it’s easy to see why many marketers are eagerly jumping on them.
Have you already started working with Lead ads? Hae you tried to use them in some strange way like we did? 🙂
Share your thoughts, knowledge, and experience in a comment below!