Facebook’s own interface doesn’t stream data into Google Sheets in real time, and there’s still no simple, first-party Meta Ads and Sheets connector designed for marketers.
Workarounds like scheduled CSV exports, generic iPaaS tools, or one-size-fits-all connectors fill the gaps, but most weren’t designed specifically for marketing telemetry.
- Frequency limits can leave you hours (or days) out of sync.
- Field caps often ignore custom conversions or breakdowns.
- Error handling is opaque, so you only notice data loss when the client asks for a report.
So, how should you handle these issues?
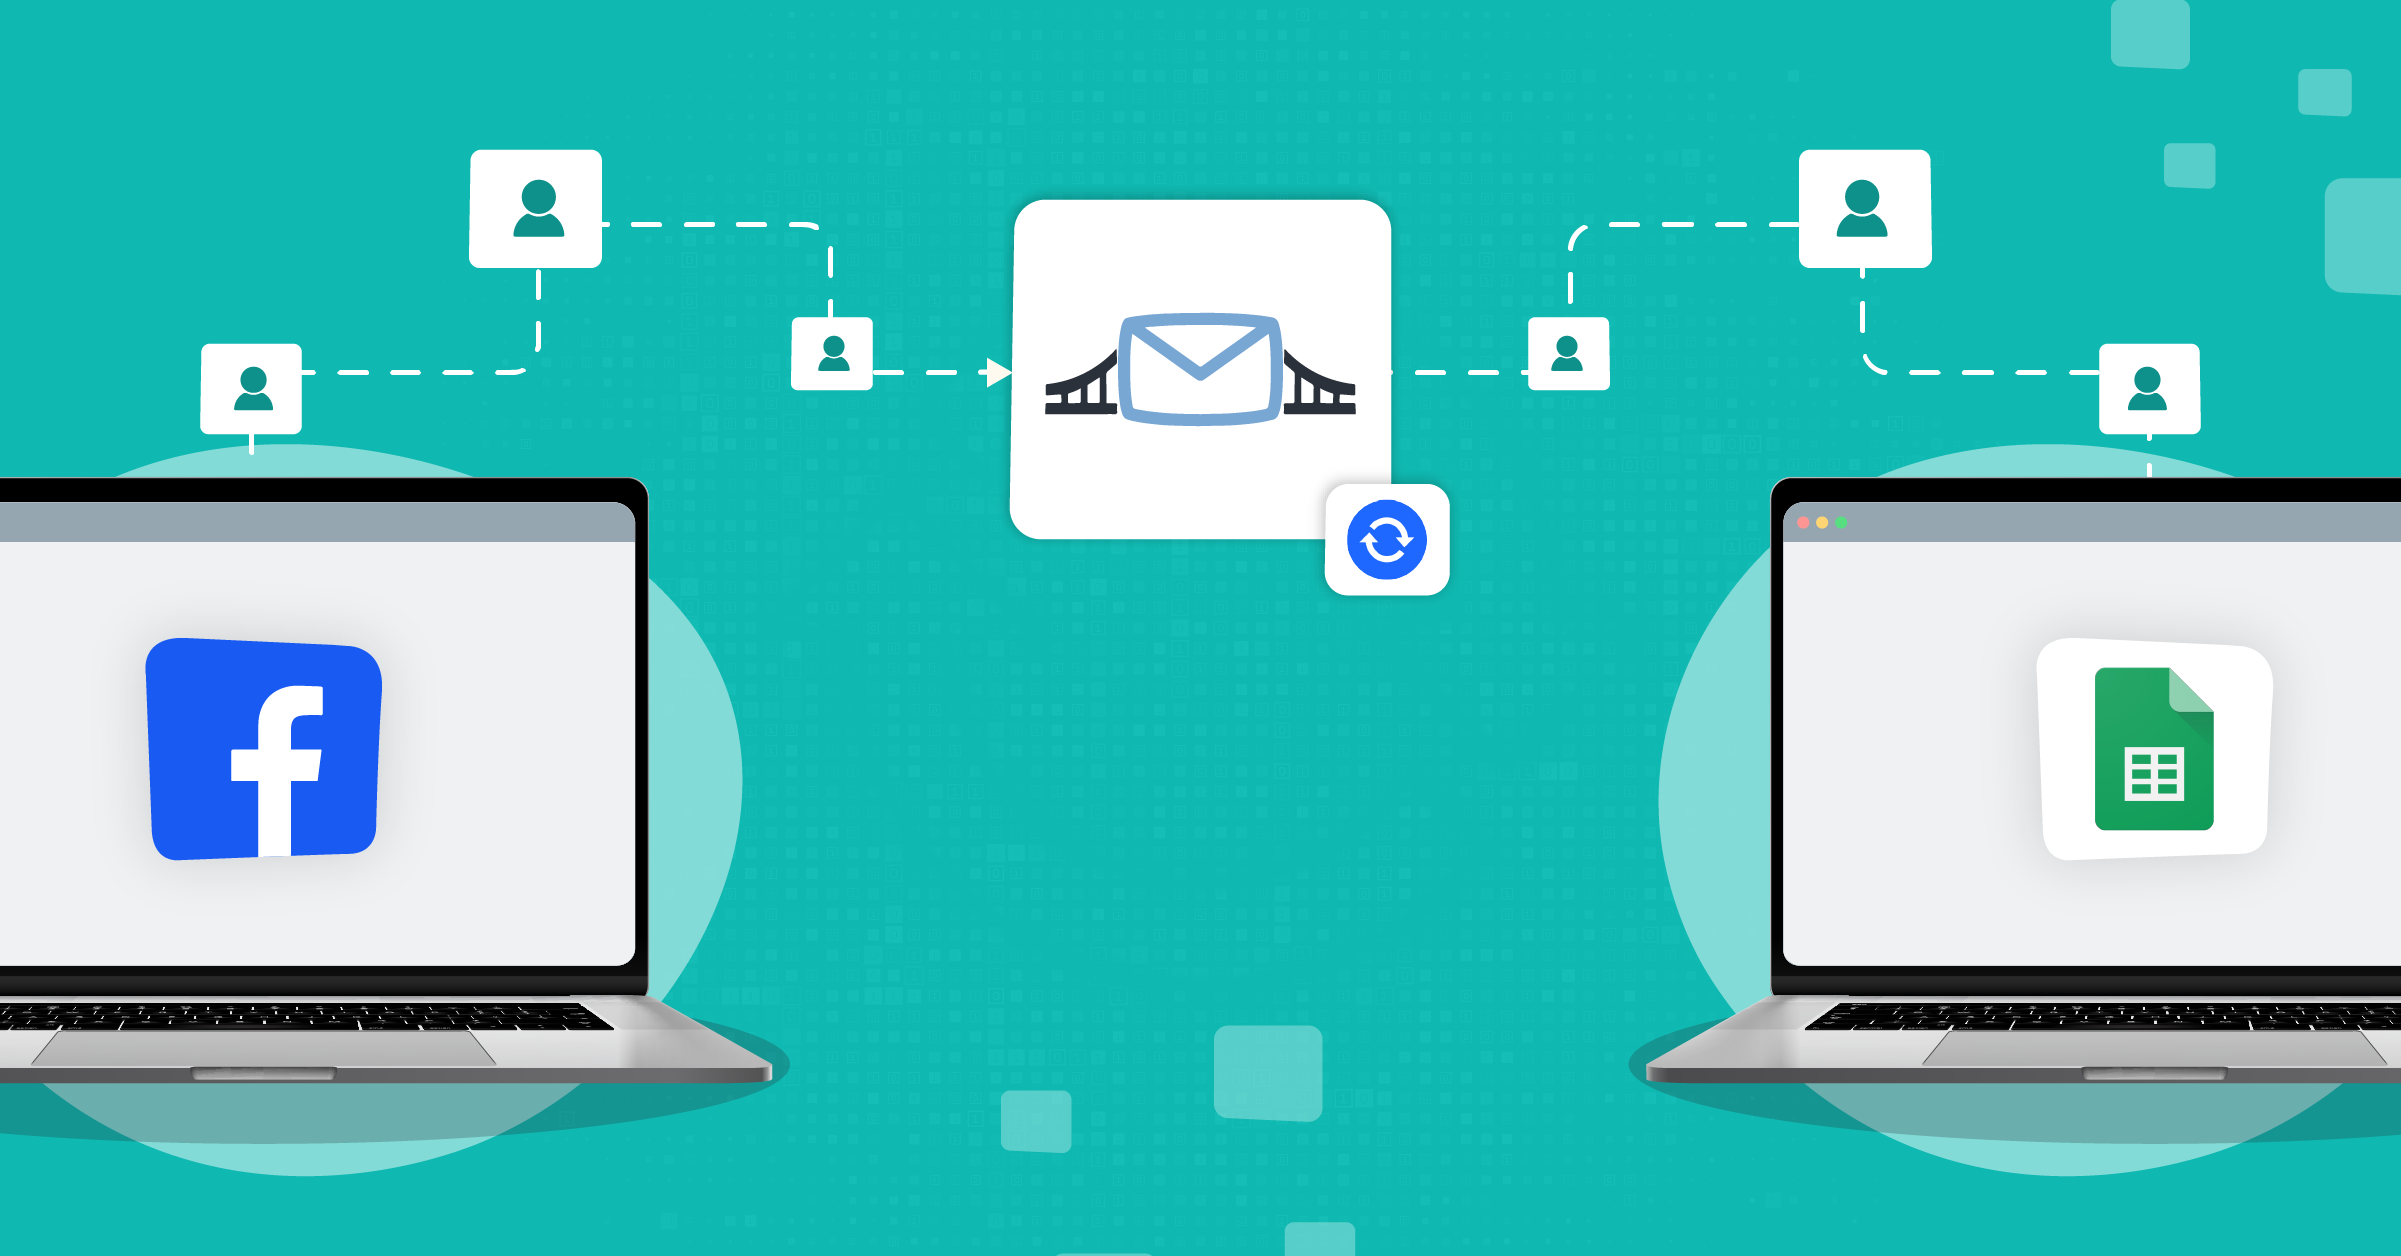
LeadsBridge addresses these pain points by acting as a bridge between Meta Ads Manager and Google Sheets, maintaining a constant API connection with both.
In this article, we’ll cover how to connect Facebook ads to Google Sheets, the perks of doing so, and practical steps to set up your connection in just a few minutes.
Why connect Facebook ads to Google Sheets?
Facebook ads are a workhorse for lead acquisition. But your raw campaign data is only as valuable as your ability to act on it. By piping that data straight into Google Sheets, you can:
- Own your data. Keep a live backup outside Meta’s ecosystem, ready for audits, BI tools, or quick pivots.
- Turn every metric into insight. Blend ad spend, automated lead management, CPM, and ROAS with first-party revenue figures, pivot tables, or GA4 exports in minutes.
- Cut out manual effort. No longer needing to manually download CSV files. All your incoming leads sync in real-time.
- Follow up faster. Instant syncing means your team can act within seconds, not hours. Set up alerts for nurturing new leads to stay ahead of competitors.
- Collaborate as a team. Google Sheets allows multiple users to view, edit, and comment simultaneously, boosting coordination while keeping data secure.
- Get better insights. Use Sheets’ analytics tools to track KPIs, spot trends, and optimize campaigns with real-time, structured data.
- Respond faster. You can also plug Google Sheets into Slack, Looker Studio, or your sales CRM and trigger alerts when your alert thresholds are met.
- Scale safely. Most native or no-code “hacks” break at volume. LeadsBridge is purpose-built to move your data rows without throttling.
Want more ways to squeeze value out of Sheets? Check our deep dive on using Google Sheets as a lightweight CRM.
Advantages of connecting Facebook lead ads to Google Sheets via LeadsBridge
Teams that contact a new lead within the first five minutes are 9 times more likely to convert them. Connecting Facebook lead ads to Google Sheets is the easiest way to respect that response window.
LeadsBridge gives you:
- Real-time lead sync and near real-time performance data.
- Full-funnel data capture including standard and custom events, UTMs, costs, even offline conversions.
- Zero maintenance. Build the bridge once and scale with your budget as you grow. The best part is that you can get started with your bridge with zero dollars
Ready to see it in action? Let’s build your first bridge.

How to connect your Facebook Ads to Google Sheets bridge: The step-by-step tutorial
Before you start
Make sure you’ve got:
- A LeadsBridge account. If not, sign up here beforehand.
- Admin access to your Facebook Ad Account and Page
- A Google Sheet with edit permissions (tip: create column headers first for easier segmentation down the line)
Step 1: Add the main information of your bridge
From the LeadsBridge Dashboard, click Create New Bridge
Choose:
- Source: Facebook Lead Ads or Facebook Ads
- Destination: Google Sheets
If you pick Facebook Lead Ads as the source, here’s what you’ll see (lead fields, UTM, etc.). But if you pick Facebook Ads as the source, here’s what you’ll see (campaign/ad/ad set metrics).
Then, name your bridge (e.g., ClientX_SummerPromo_Leads_June25)
It’s best if you use structured naming to stay organized, especially if you manage multiple accounts.
Step 2: Connect your accounts
a) Connect Facebook
- Click Authorize to log in with the Facebook profile that manages your ad account
- Approve LeadsBridge’s access to Pages, Ads, and Business Manager
- Select your Ad Account, Page, and Form (for lead ads)
b) Connect Google Sheets
- Click Authorize next to Google Sheets
- Choose the Google account that owns the target Sheet
- Grant “Edit” and “Drive” permissions
- Pick the Spreadsheet and Worksheet from the dropdown
Please note that Shared Drives with restricted permissions may not show up properly. So make sure your Sheet is in “My Drive” or update sharing settings.
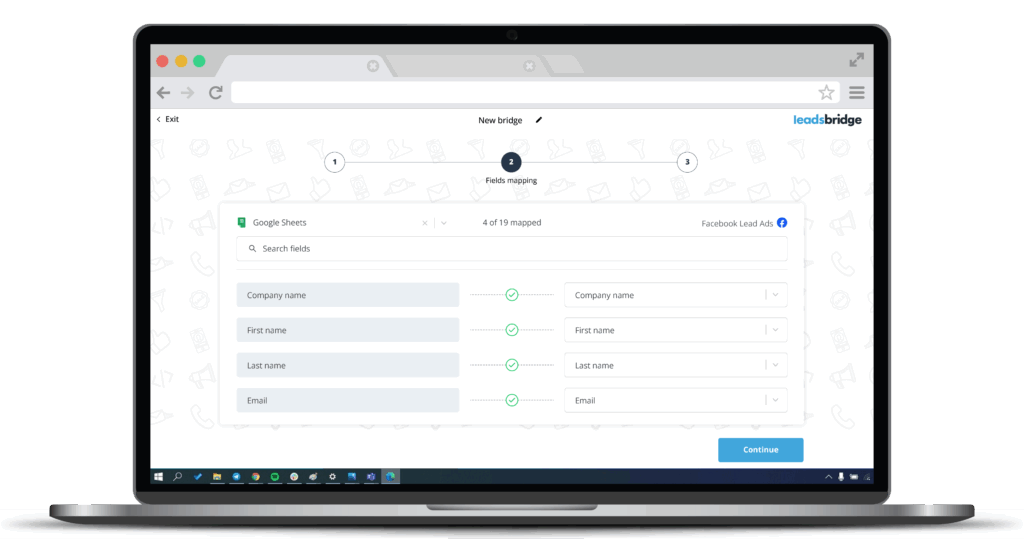
Step 3: Field mapping
LeadsBridge auto-matches standard fields like:
- Full Name
- Phone Number
- Ad ID / Campaign Name
- Submission Time
You can also:
- Manually map custom fields (like quiz answers or UTM parameters)
- Add static values (e.g., “Source: Facebook”)
- Use modifiers: Convert casing, format dates, append tags
Every column in your Sheet should either match a source field or be left blank intentionally.
Optional step: Run a test
- In the Field Mapping screen, click Test Connection
- LeadsBridge will send a dummy lead with sample data
- Open your Google Sheet. You should see a new row instantly
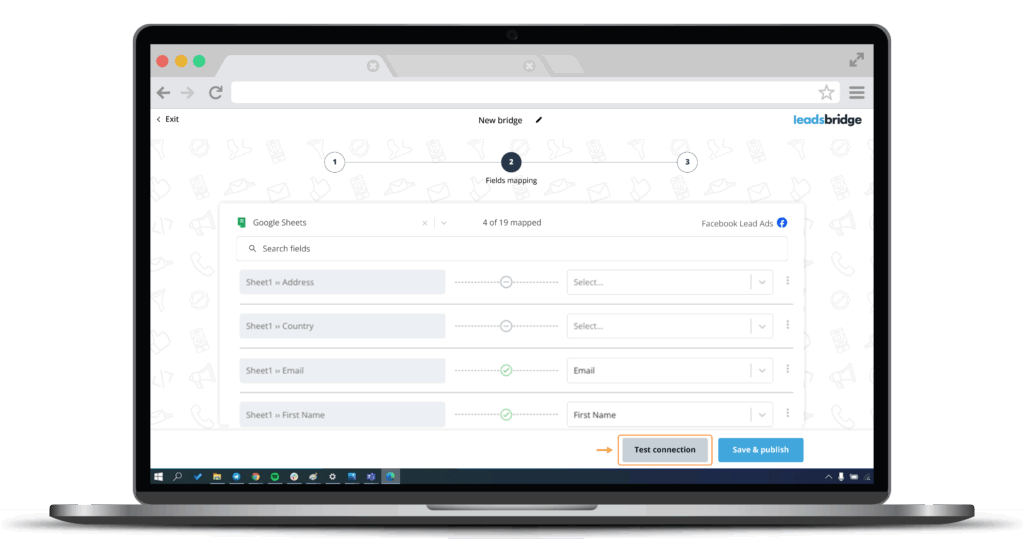
Once completed, click Save & Publish.
That’s it! Your bridge is now live and syncing in real time.
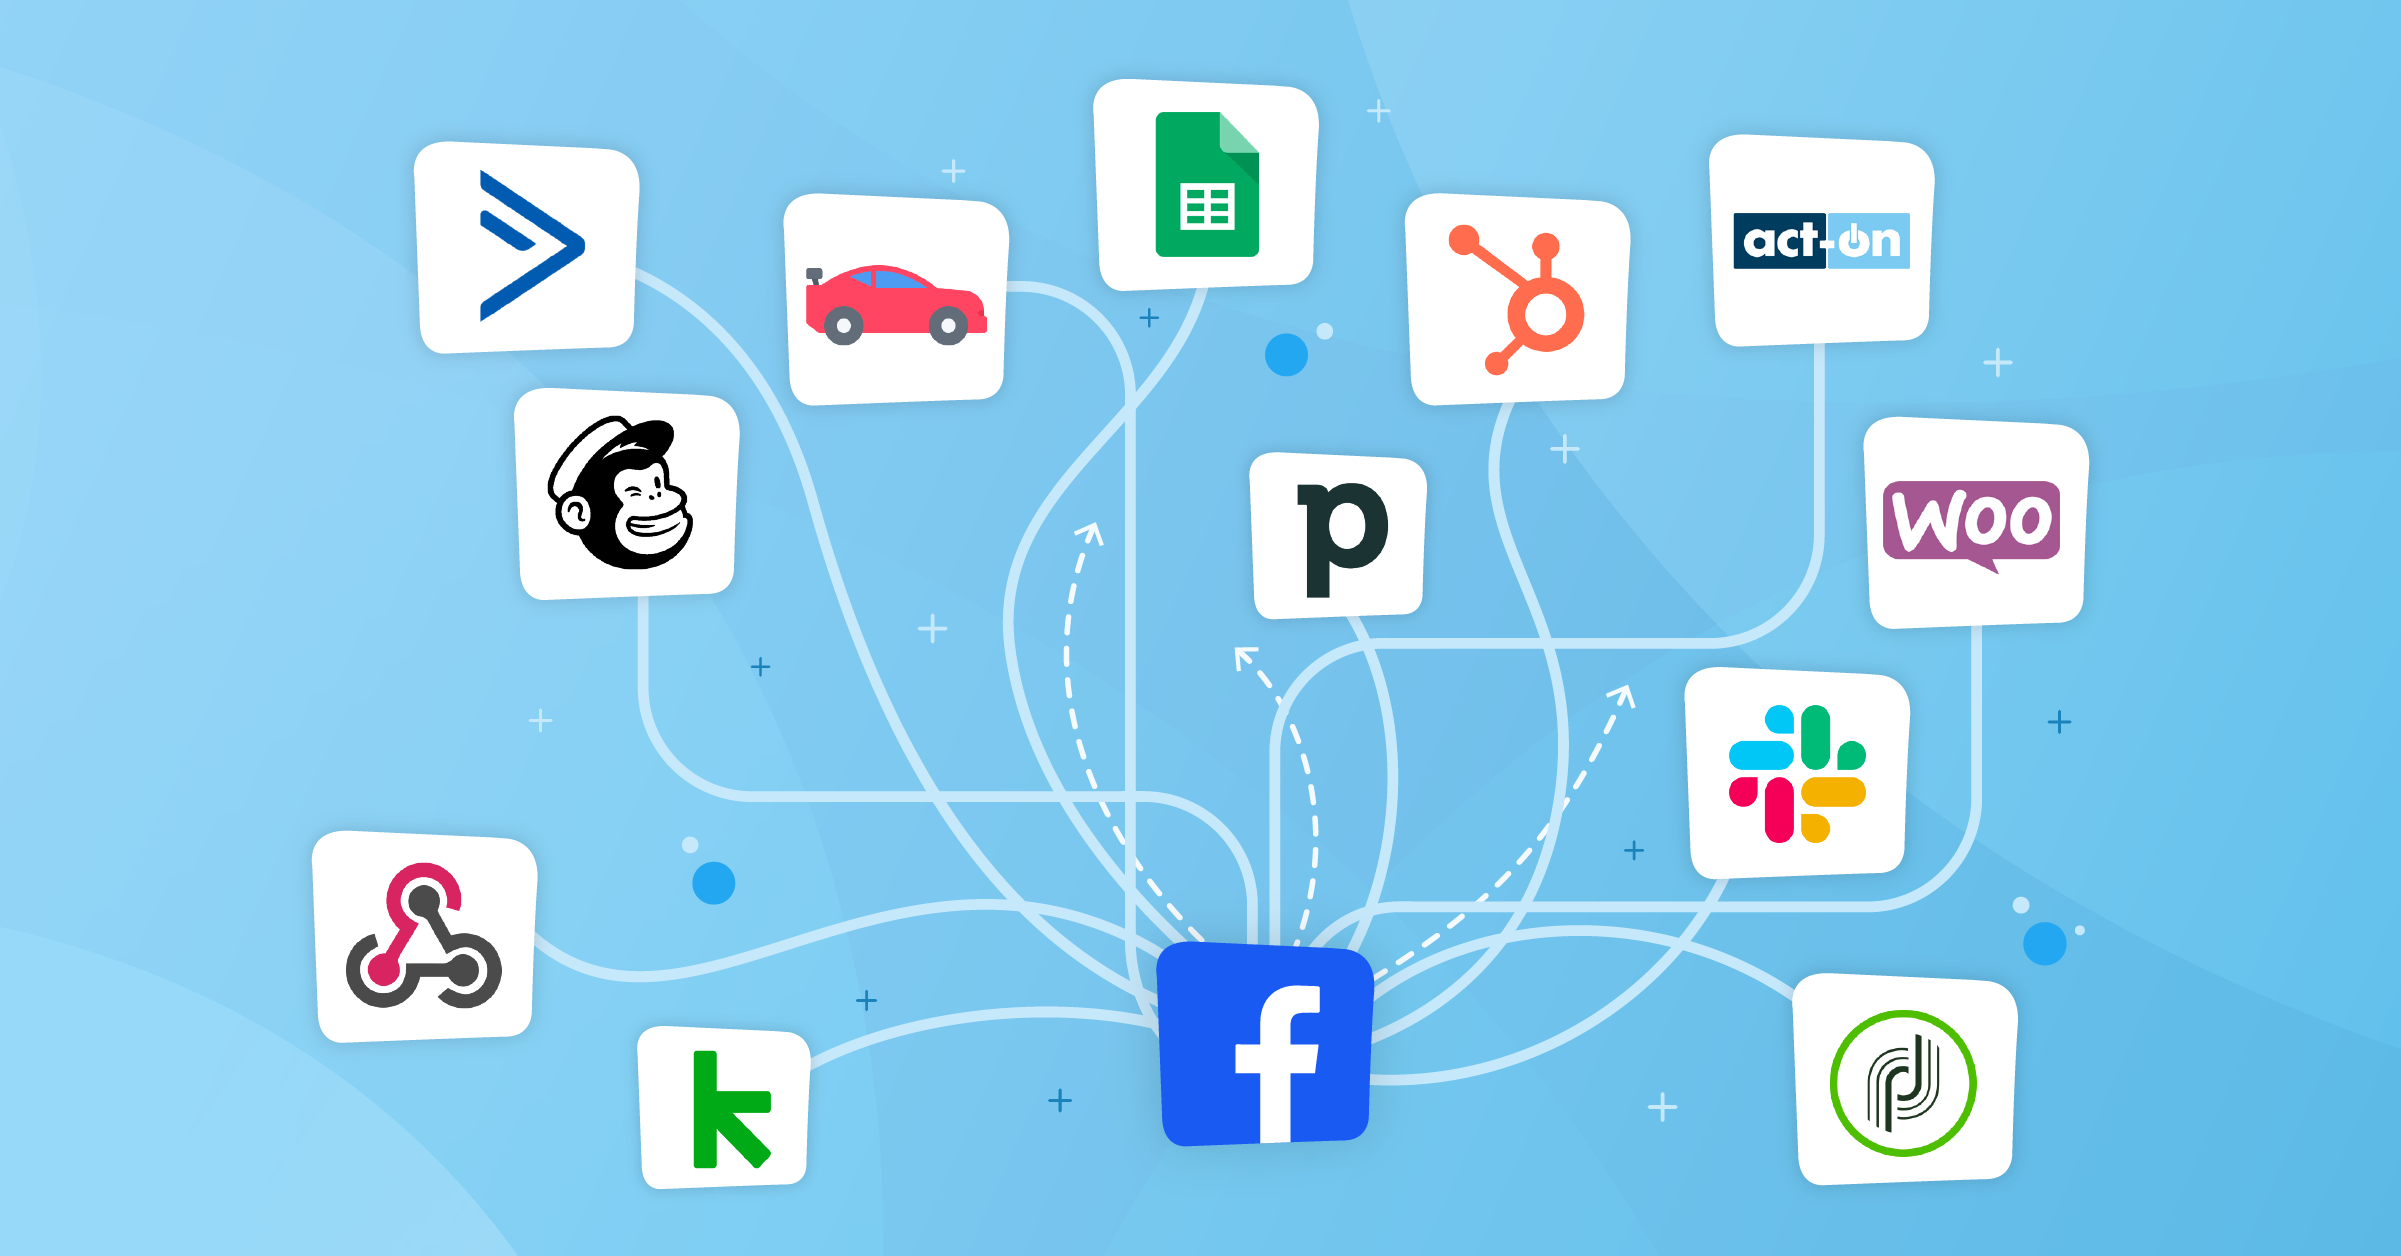
Must-have integrations and who can use them
Wondering about some of the most popular Facebook ads and Google Sheets workflows? Take a look at these connections.
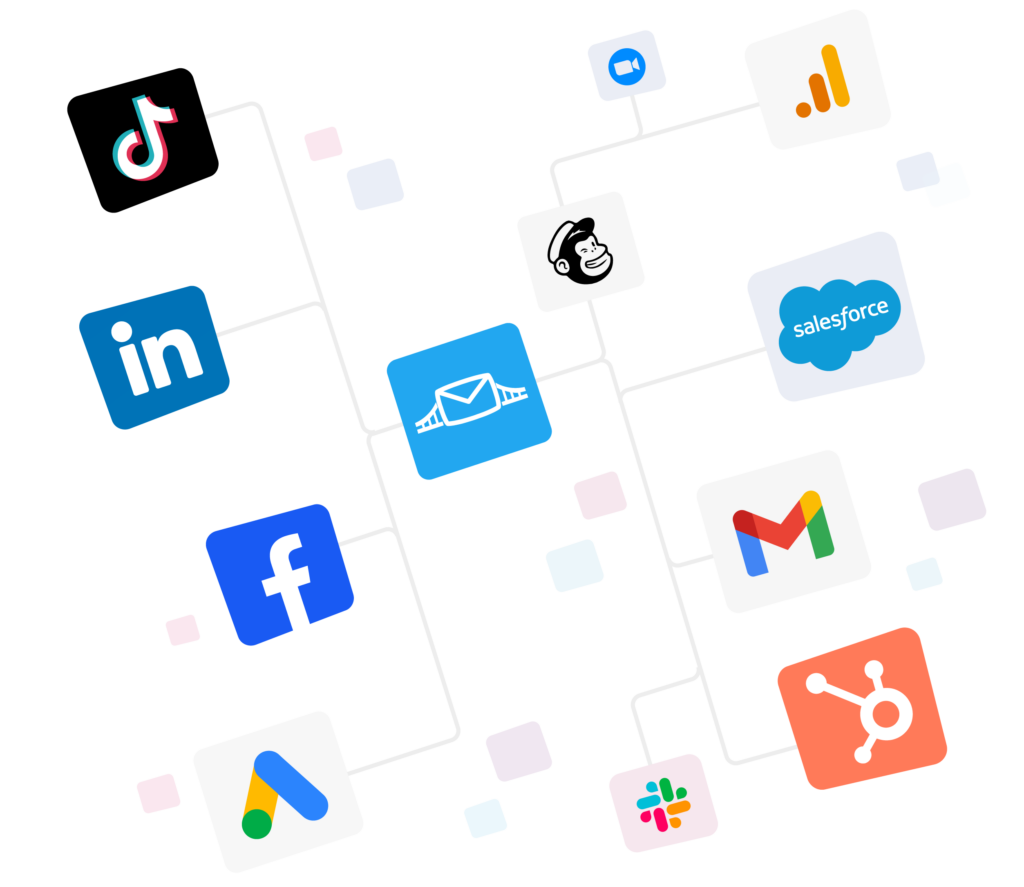
Once your first bridge is live, don’t stop there. Many users expand their automation to power:
- Sales ops dashboards: Combine lead flow with deal stages or rep response times
- Real-time alerts: Pipe new leads from Sheets to Slack or Discord
- Campaign analytics: Pull ad spend and CTRs into Sheets for executive reporting
- Multi-step workflows: Use Sheets as a hub to trigger Mailchimp or HubSpot actions
- Offline conversion sync: Connect Sheets to Google’s or Meta’s offline tracking for accurate ROAS
Must-have workflows with Facebook Ads and Google Sheets
Once your first bridge is live, you can use LeadsBridge to build out a full-stack workflow around Facebook Ads and Google Sheets.
With LeadsBridge, you can connect Facebook Ads and Google Sheets to:
CRMs and sales platforms
Use Google Sheets as a lightweight CRM, then sync qualified rows into HubSpot, Salesforce®, Zoho CRM, Pipedrive, or whatever your sales team actually uses.
That keeps your Facebook leads aligned with ownership, pipeline stages, and follow-up status without manual exports.
Meta Conversions API (CAPI) and off-platform events
Turn the data you’re already collecting in Google Sheets into conversion signals you can send back to Meta via CAPI (including offline events).
This helps Meta optimize using real outcomes (qualified lead, appointment booked, sale closed).
Meta custom audiences (from Google Sheets)
Use Google Sheets as a living audience source: add or remove people in Meta custom audiences automatically as rows are created or updated.
Perfect for exclusions (existing customers), re-targeting (unconverted leads), or segmenting by lead quality, lifecycle stage, or geography.
Conversion Leads workflows
If you’re using Meta’s Conversion Leads approach, LeadsBridge can help you connect your sheet-based lead outcomes back into Meta.
So campaigns optimize toward the leads that actually convert, not the ones that just submit.
This is where tracking lead quality stages (SQL, booked, won) pays off.
These integrations turn LeadsBridge into a central hub, with Facebook Ads and Google Sheets at the core and the rest of your marketing stack connected around them.
Not enough inspiration? Explore the best Facebook Lead Ads integrations for your marketing campaigns.
Final thoughts
LeadsBridge was built for data-conscious marketers. Whether you’re a freelancer managing five accounts or a performance team running enterprise budgets, you’ll get fast syncs, deeper data, and fewer headaches.
Check out all the available Facebook lead ads integrations here.