In today’s highly competitive marketing landscape, making well-informed decisions on lead acquisition can make all the difference. Luckily, there are solutions available to automate lead generation and maximize ROI.
Two of the most common methods are integrating Facebook lead ads and HubSpot natively, or with LeadsBridge. However, choosing the right integration can be challenging, so we’ve compiled this comprehensive guide to help you decide which option suits your business needs best. In this article, we’ll explore two different ways of integrating your HubSpot account with Facebook lead ads, providing extensive information on both native integrations and API-based workflows.
Additionally, we’ll offer best practices for using each solution effectively. With this guide, you’ll be able to acquire leads efficiently, while still being able to analyze your results accurately, using powerful reporting tools. Don’t miss out on this opportunity to optimize your lead generation and drive success for your business.
Why you should connect Facebook lead ads to HubSpot
Facebook lead ads will only allow you to download a CSV file with the collected leads. However, for many businesses, this manual operation is a waste of time and doesn’t allow you to take the most out of your lead generation campaigns.
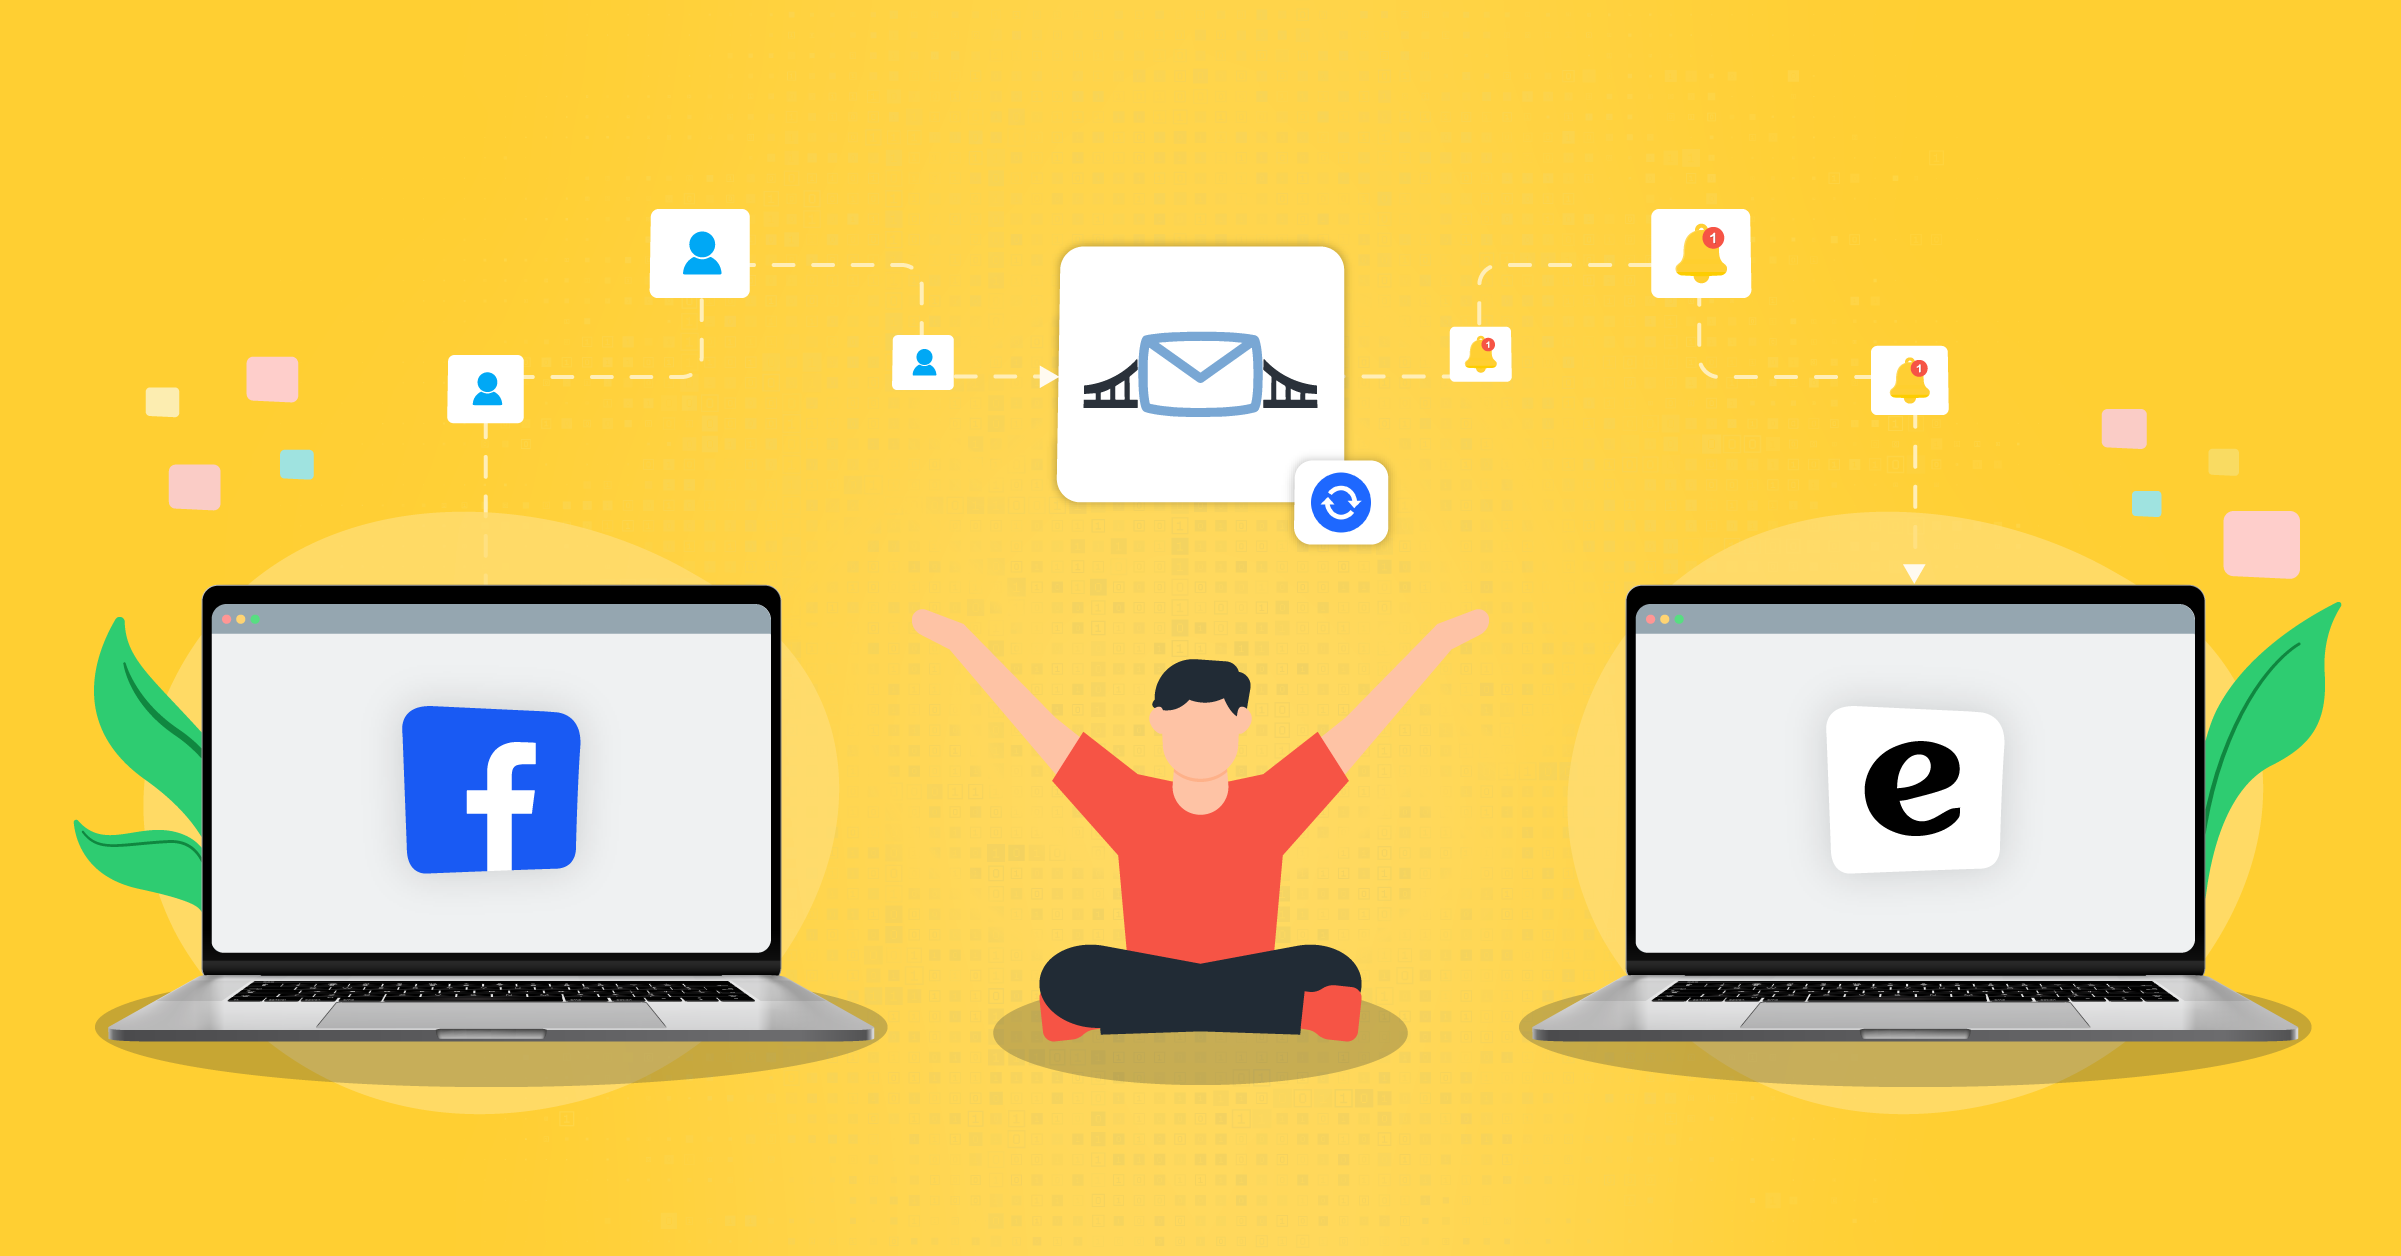
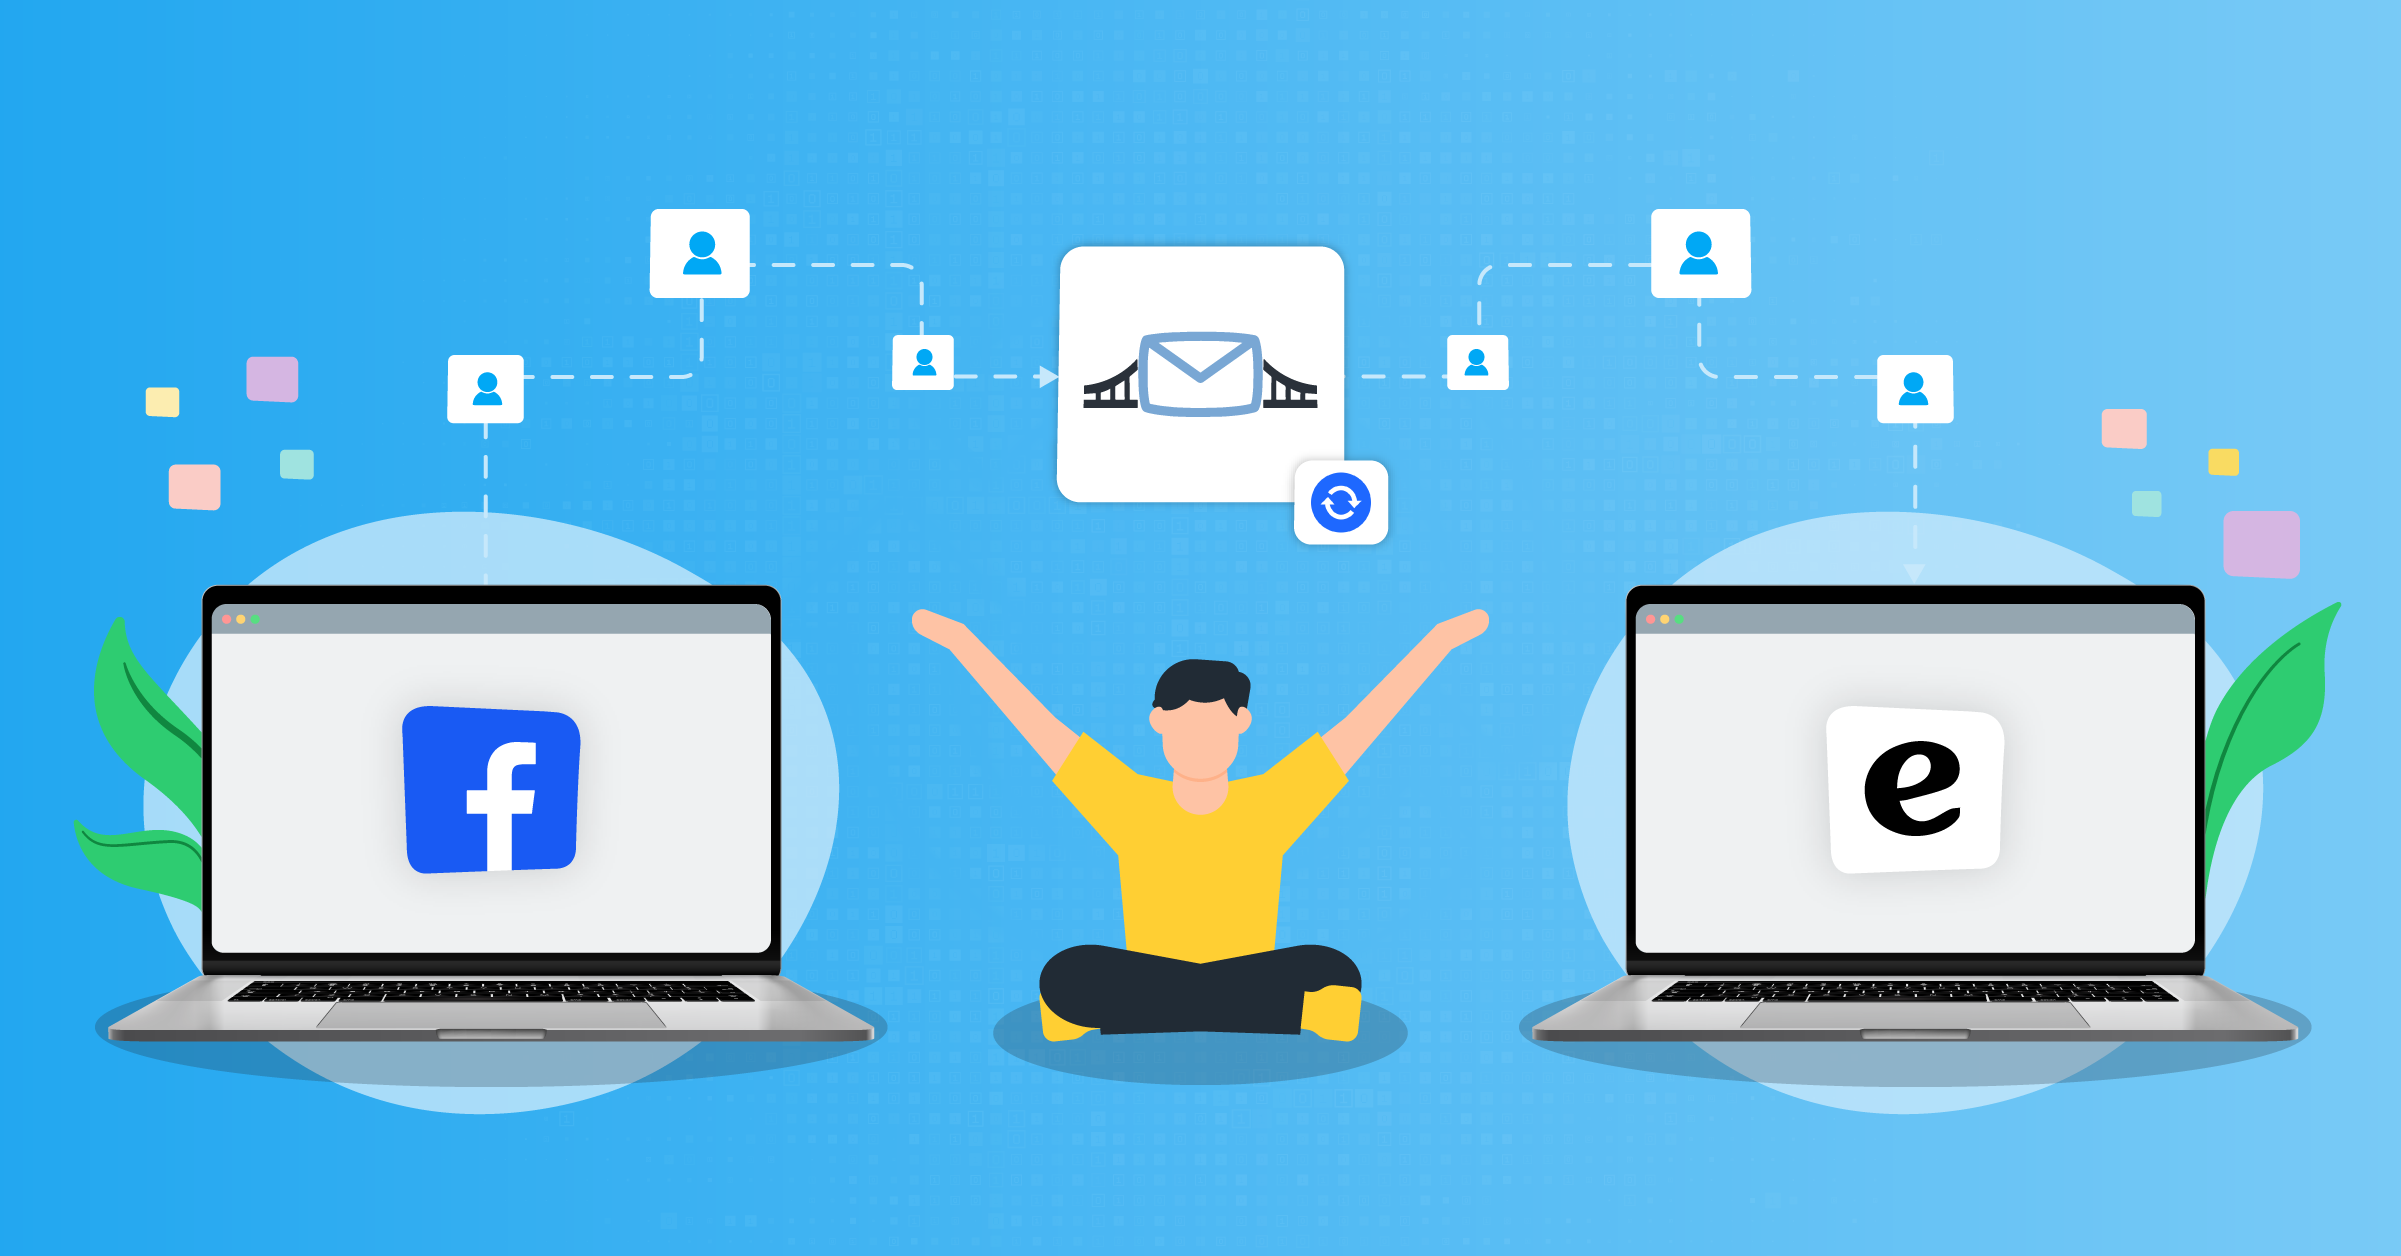
If you are a HubSpot user you can sync your new leads with your account. By doing so, you’ll be able to automate the follow-up processes after the signup, for example with a welcome email, an SMS, or a call.
But if you choose to automate this process with LeadsBridge, the results can be even more impactful. With LeadsBridge, you can:
- Integrate Facebook lead ads with a CRM, SMS or Email tool using LeadsBridge
- Define triggers to establish seamless automation (e.g. notifying sales reps)
- Set up a resulting action (e.g. sending welcome emails)
- Track offline conversions
- Automatically create custom audiences
- Choose the data you want to sync
- Sync with HubSpot and all of your favorite marketing tools
If you consider that welcome emails on average generate a CTR of 26.9 percent more, the integration between Facebook lead ads and HubSpot will allow you to dramatically increase the ROAS of your campaigns.
There are a few ways to facilitate these integrations. Let’s dive in and see how.
Connect Facebook lead ads to HubSpot
HubSpot, a leading CRM and marketing automation platform, offers native integration with Facebook lead ads. Connect Facebook Ads to HubSpot and streamline the process of capturing leads. Here’s what you can expect from HubSpot’s native integration:
- Seamless Connection: The integration is straightforward to set up and manage within HubSpot, making it a convenient option for users already invested in the HubSpot ecosystem.
- Basic Automation: It allows you to automate and export Facebook lead ads to HubSpot, reducing manual data entry.
- Native Features: You can leverage HubSpot’s robust features for lead nurturing, marketing automation, and sales.
However, while HubSpot’s native integration offers a solid foundation, it may fall short when it comes to control and capabilities.
LeadsBridge empowers a more dynamic Facebook lead ads HubSpot integration
Another way to connect HubSpot to Facebook is by using LeadsBridge Lead Ads Sync.
LeadsBridge is a third-party integration platform that specializes in connecting various lead generation sources, including Facebook lead ads, to your CRM, marketing tools, and more. LeadsBridge is an automation tool specifically designed for advertising and while it offers hundreds of tailor-made integrations, set-up is straightforward.
Moreover, LeadsBridge allows you to track the Offline Conversions generated to your Facebook campaigns, create custom audiences automatically, send SMS and welcome emails to your new leads, notifications to your sales reps, and much more.
The following steps will guide you to the Facebook lead ads integration to HubSpot.
STEP 1 – Enter the bridge’s main information
Before connecting Facebook lead ads and HubSpot, you have to first log in to your LeadsBridge account. If you do not have one yet, you can sign up for free here.
Firstly, head over to the left sidebar and click on “Bridges” to be taken to the Bridges section of your account. Click on the “Add New” button.

Once you have named your bridge by clicking on the edit pencil icon at the top, select “Facebook lead ads” as the source for your bridge and choose “HubSpot” as the destination. Click “Continue” to be taken to step two.


STEP 2 – Connect your accounts
The second step allows you to select the Facebook lead ads form you want to connect with HubSpot. To do this, you need to connect your Facebook Ad Account to LeadsBridge first by following these simple steps.
1) Click on the bar under your Facebook lead ads source to connect your Facebook lead ads account.
2) Authorize the connection by logging into your Facebook account.

3) After getting the following message, click “Continue”.
By doing so, you’ll be redirected to your Facebook account, where you only need to confirm your identity in order to authorize LeadsBridge to start the connection.

4) “Choose settings” by selecting your Facebook Ad account. Here you can select the Facebook Ad Account, Page, and lead ads Form that you want to use for the bridge.
Now you can connect the destination platform by linking your HubSpot account. Fill in the required information, such as your Username and Password, to connect your HubSpot account with LeadsBridge.
Once everything is set, click “Continue” to move on to the next step.

STEP 3 – Fields mapping
The 3rd step allows you to map your source information with your destination fields. You’ll see a field name with the destination and the source logos at the top, this indicates the name of the field on HubSpot. Underneath there’s a box where you may add the information you’d like to send.

With LeadsBridge, the HubSpot fields are automatically mapped based on the lead ads form, so in most cases, you only need to confirm that everything is aligned. Check each of the HubSpot fields available and match the information you wish to pass along from Facebook lead ads.
Click on the “Showed unmapped fields” if you want to type the information manually and pass it as a static value, or utilize key functions to customize information like reformatting dates and times, or modifying text, or phone numbers. You may also leave blank the box of a field’s information you don’t want to send through.
Now, you are ready for the final step!
STEP 4 – Test
The bridge is ready! In this final step, you’ll be able to send a lead from LeadsBridge to test if the configuration works properly.
To create a new test lead, click on “Test connection” in the Fields mapping setting. Fill in the required information when prompted and click “Run test.” If you did everything was imputed correctly, the button will turn green, meaning your lead was synced successfully and the integration is ready
Click “Save & Publish” to save your settings and turn active your bridge. That’s all, congratulations!
Additionally, if you want to receive a notification any time a new lead comes in, all you have to do is activate the email receipt feature by switching on the button at the end of your “Bridge completed” message.

From here, you’ll be redirected to the bridges section of your account with a green success message at the top right of the page and your bridge will now be active.
Final thoughts
Thanks to its disruptive technology, Facebook lead ads allows you to collect lots of leads without even using a website landing page. In this article, we compared 2 ways to sync your Facebook lead ads leads with HubSpot:
- The native HubSpot integration
- LeadsBridge integration
While HubSpot’s native integration offers convenience and simplicity for users already in the HubSpot ecosystem, LeadsBridge takes integration to the next level with a wider array of options, more control, and the ability to adapt to your evolving business requirements. Your choice ultimately depends on your business goals, existing tech stack, and the level of diversity and control you require.
Integrating Facebook lead ads with your CRM is a strategic move to streamline your lead management process. Whichever route you choose, remember that it’s not just about the integration itself but how well it aligns with your business goals and marketing strategy.
Connect Facebook Leads to HubSpot with LeadsBridge integration now.


