Whether you’re a hobbyist just selling knicks and knacks, or an expert marketer, it’s so much easier to have a way to sort through and analyze the content of your incoming emails. Of course, you could organize them in a database or spreadsheet manually, but that takes time and leaves much room for errors that reduce your data hygiene.
The data that emails provide are vital to the success of any business, which is why email parsers are a go-to application for many companies around the world and are essential for email marketing.
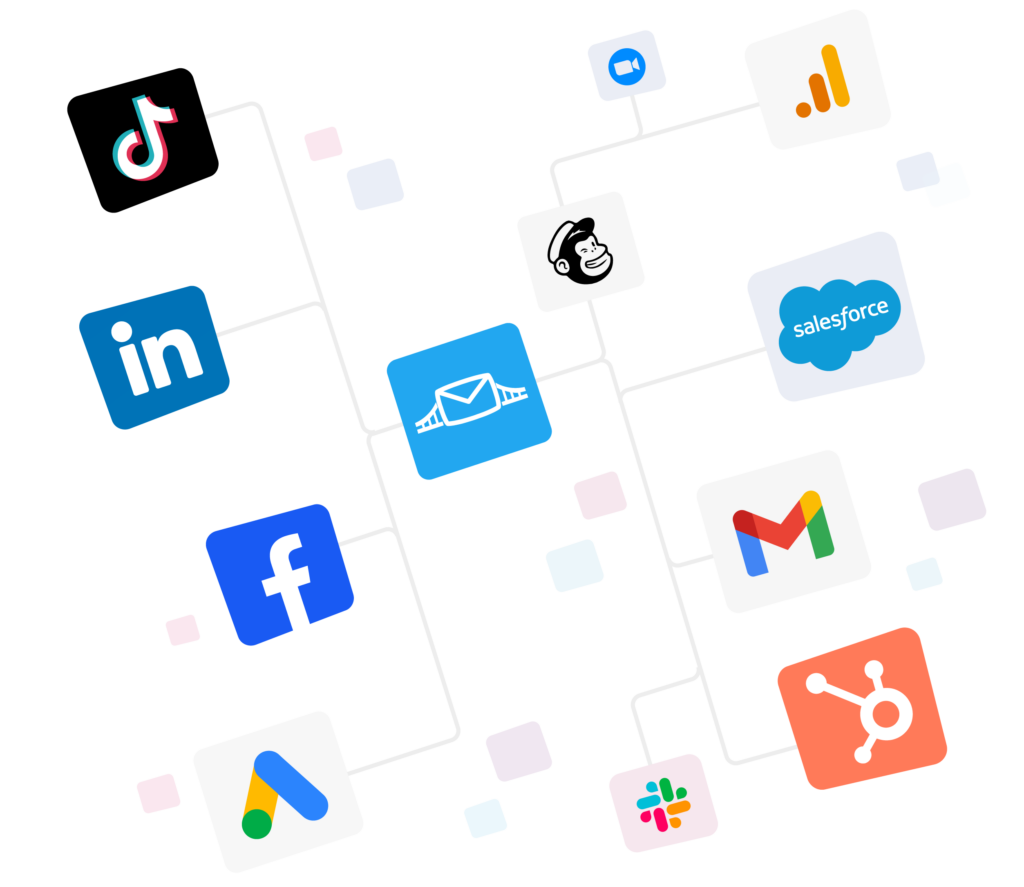
Email parser tools are commonly used to sync leads into a CRM or other marketing tools. These leads could come from a lead vendor or any lead generation form without an API connection with a lead management solution such as a CRM.
In this article, you’ll learn what an email parser is, what are its alternatives and how you can use them to send new leads to your CRM automatically. We’ll also discuss the integrations that can help you build automatic data bridges, streamline the entire process and stay ahead of the competition.

What is an email parser?
An email parser is a software, service, or tool that extracts data from emails and creates a structured data object with that information. Typically, this is done through a tool or by creating your own email parser with Python or SQL, which involves complex operations and a good command on technical knowledge.
Basically, this platform collects information from the emails you receive and puts it into a comprehensible form so that you can quickly and easily assess them and get insights.
Think of email parsing like a web scraper made specifically for emails (if you’re familiar with web scraping). It gathers text data, just like a web scraper would, except exclusively from emails in your inbox.
You can customize these tools to find email and extract the information that you deem important. For example, prices, dates, and other various keywords can be sought out by the application. You can also program an email parser to ignore everything else that’s unimportant to that specific campaign.
Why is email parsing software important?
Email parsing software is important, just as your time and effort are important. Email parsing software helps you automate your workflows. Let’s say that you’re a travel agency that gets hundreds of emails per day. Some of these emails come from clients that are in need of some specific information like prices, dates, and other package details.
With an email parsing tool, you could automatically sort through the emails and arrange them based on the different categories of questions being asked. By doing so, you’ll be able to assign these questions to someone in the support or sales teams to provide quick replies and ultimately increase conversions.
Furthermore, using email parsing software in this way allows you to cut down on manual and tedious labor and maximize serving the customer.
To streamline your entire communication with your subscribers and leads, learn how to automate your email marketing here.
The ultimate email parsing service
The process of accessing your email parser is an easy one. We want to create this integration from scratch:
To start, you’ll need a LeadsBridge account. If you haven’t created one yet, you can register here and get access to your free-forever email parser integration.
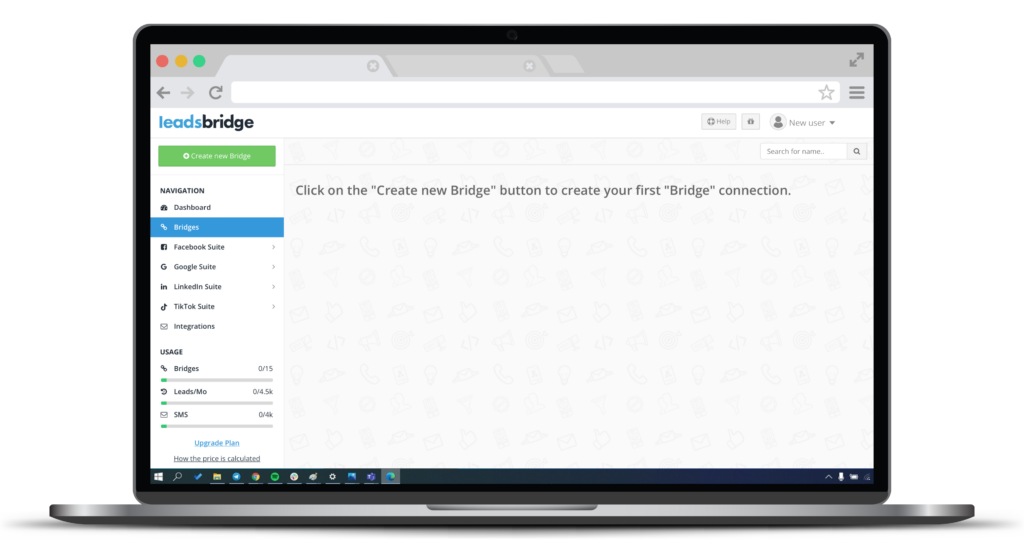
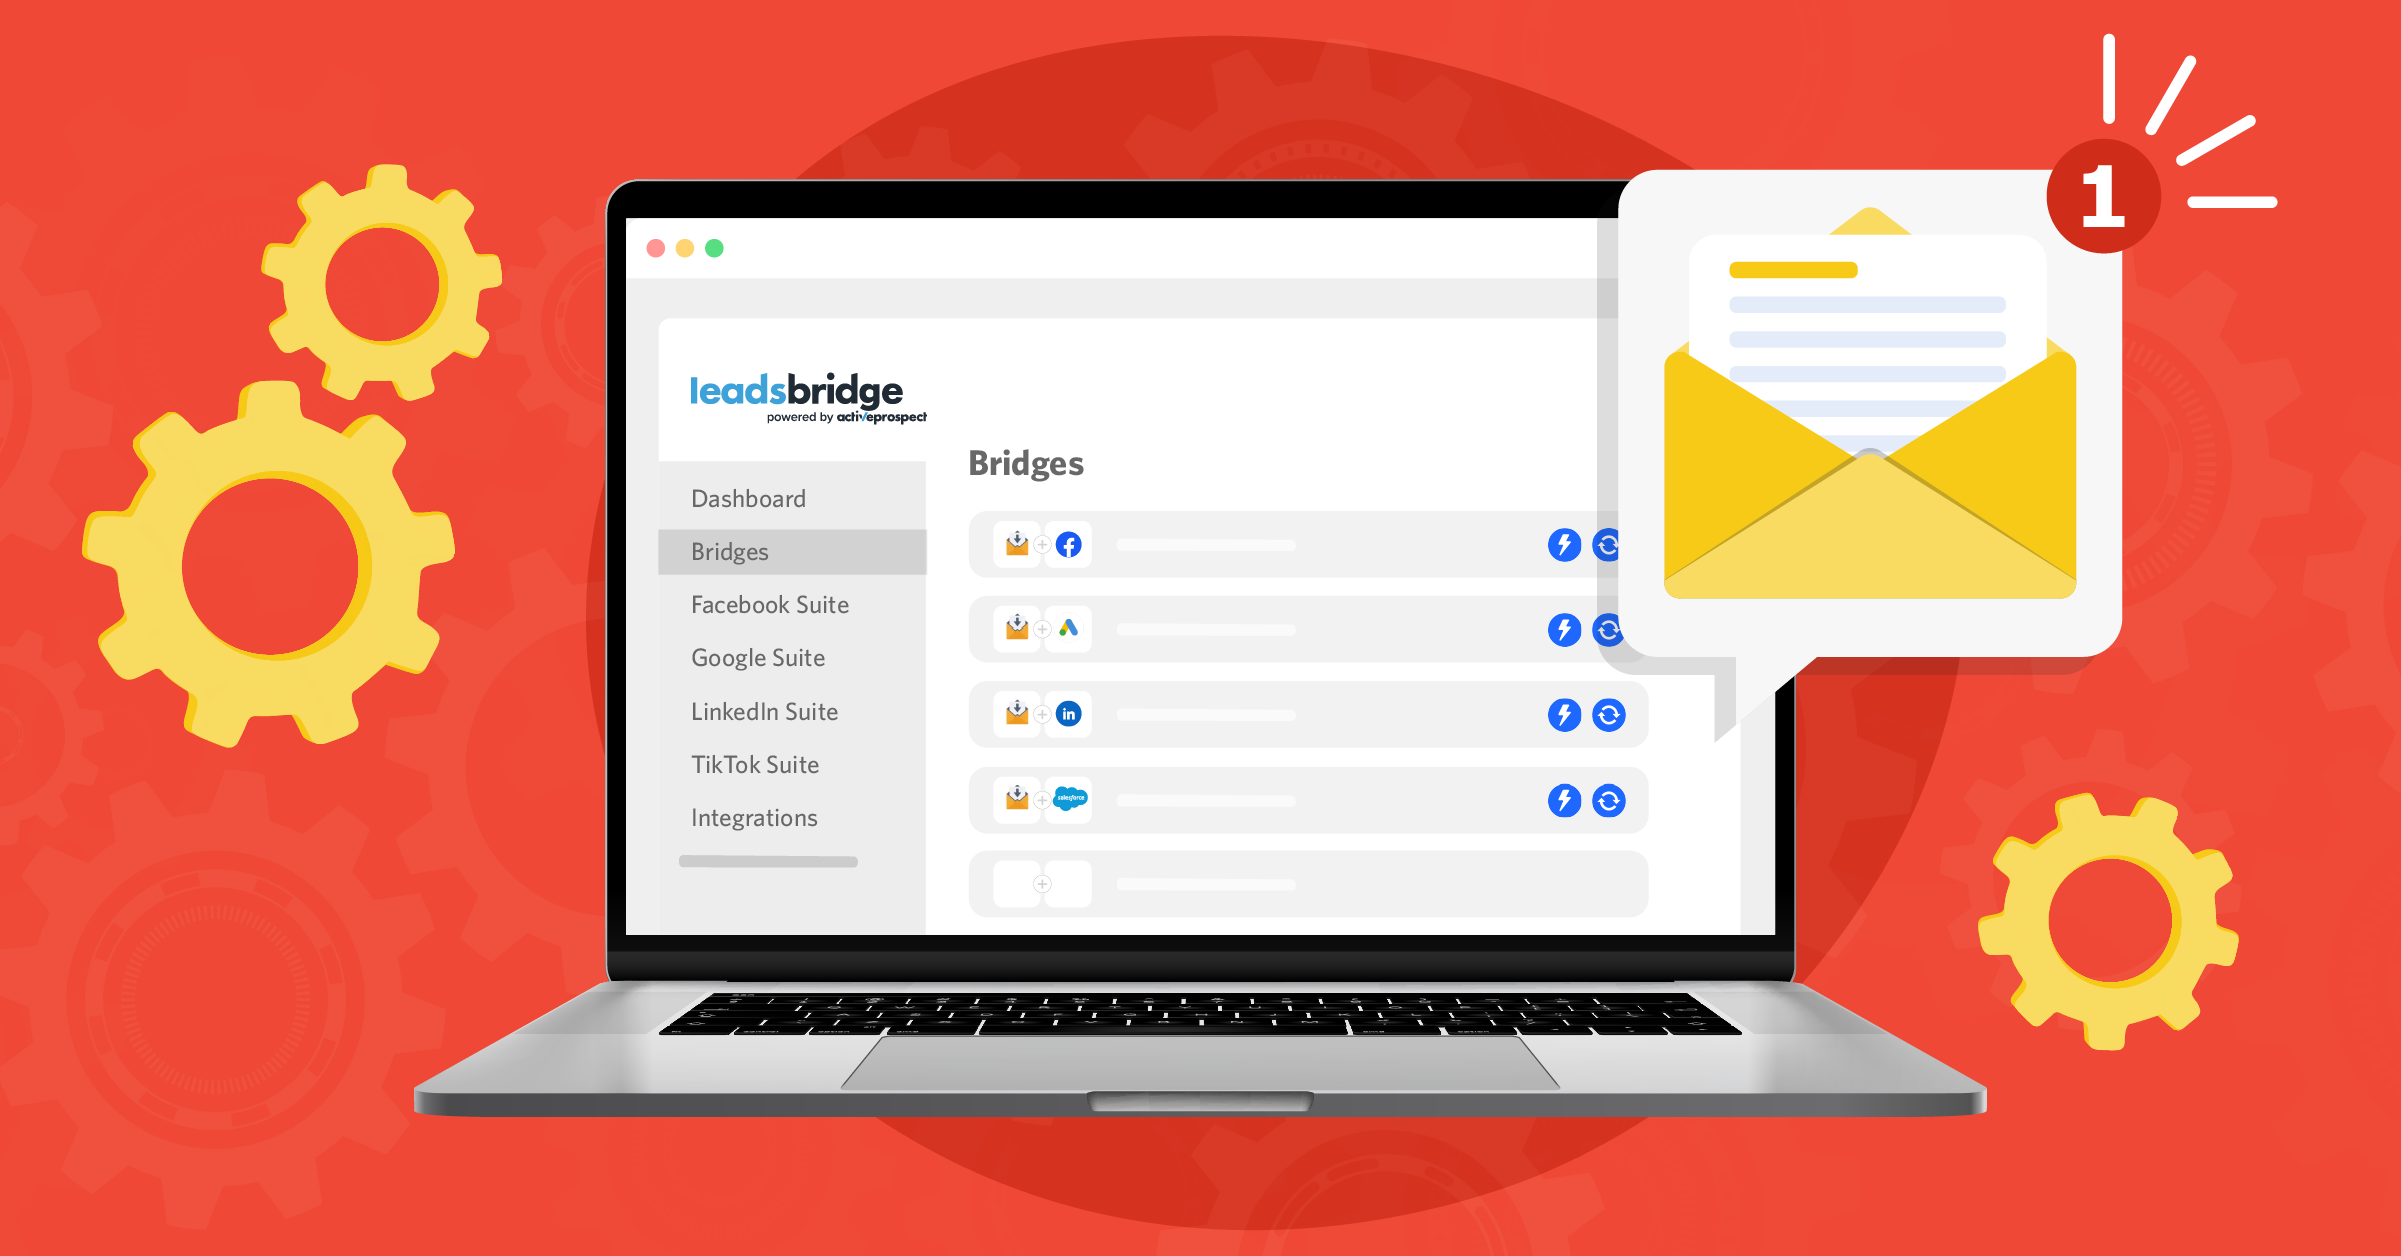
Step 1: Sign in and click on the green “Create new Bridge” button on the left sidebar. Then, you are presented with the following page:
Step 2: Here, you’ll begin creating the integration.
Find the “Incoming Email” in the dropdown menu under the “Select source” section. Then, you must choose your “Destination”. Of course, there are plenty of CRMs to choose from, but for the sake of this article, we’ll use Salesforce® as a destination. Once completed, click “Continue.”

Step 3: At this point, you can add a name and labels to be able to find your bridge later.

Then, click “Next”.
Step 4: Getting your new email address.

Since we’re using the email parsing service and selected Incoming Email as the data source, an email is automatically generated. Therefore, you’ll need to forward all the emails you need to be parsed to this newly generated email.
This arrangement is necessary to sort through all the emails. Remember that this address is only available for your account, and no one else will have access to it.
Once set up, any email that is sent to your existing marketing address will be automatically forwarded to the new address. This is accomplished by sorting through and finding the keywords that we are going to put in place in just a bit.
Step 5: First, copy the email address and run a test; you can simply send an email from any account like Gmail to the new address, and wait for the data to display below where it says “Waiting for New Lead.”

Then, click on “Filter Incoming Leads”
Step 6: Defining rules to accept incoming emails. Click on “Add Conditions” to include the right email categories. You incorporate these rules in a variety of ways, such as adding values manually, or choosing between similar or exact inputs.

Our parser will try to find a pattern in the body of the text in the email. Typically, it’s recommended to format the body of the email by including key-value pairs either by writing down each pair on a new line (like in the image above) or even by formatting everything in an evergreen JSON.
Now you should trigger a test email notification or forward the email containing the desired information. The system will recognize all fields that contain data and display them. It should look something like this:

Don’t forget to send a test lead from Incoming Email. This will allow the system to recognize all the attributes that you’d like to put in place and offer them as presets in the next steps of the setup.
- Make sure the LeadsBridge screen is saying “Waiting for New Lead”
- Go to Incoming Email
- Submit a test lead
- Once done, go back to LeadsBridge and verify that your test was sent successfully
- You should see the information processed correctly by the app
After testing everything, and if you are happy with the fields selected for the data source, it’s time to tie the fields together with those of the destination. Click “Next”.
Step 7: To configure the destination, you’ll need to authorize the access to your Salesforce® account.
By clicking the “Authorize” button, you’ll be directed to the Salesforce login page where you need to add your credentials, log in and approve access. Once completed, you are automatically redirected to LeadsBridge. A small pop up also appears on the top right corner to reconfirm the authorization.

Here, you can see that the “Objects” are set to contacts. This means that with every new email, Salesforce® will try to create a new contact based on the information given in the Incoming Email.
By clicking “Next”, you can edit your destination details further, such as the name and whether you want to activate LeadsBridge’s email receipt feature to receive an email for each incoming email. While configuring this stage, you can also choose to segment it if needed. Otherwise, the incoming contact will be sorted with every other unsegmented contact.
Please note that the email receipt feature is optional and available for all the data bridges you create.

Now, you can map the fields for Salesforce®.
Step 8: Field mapping and testing are the last two steps before finalizing your bridge. There are several choices for mapping fields between your two systems. Does your contact in Salesforce® have an email field? Then you can map it with the email field that you receive in the email.

Once you’re done with the fields mapping, hit next, and it’s time to test.

With this test, we’ll keep it simple with first_name, last_name, and email. These are probably some of the most common fields and the most vital for creating a new contact.
This test will allow you to input any information into the given fields, create a contact in Salesforce® (in this example), and see if the email parser picks up your designated fields. Once the test is complete, hit “Save & Publish,” and your integration will be complete.
Possibly the best part of this whole thing is that the email parser will work automatically after this point. Once the connection is made, there’s no need to maintain it or really ever think about it again. The same goes for all of our integrations. Once you’ve completed the steps, you’re free to focus on improving your ads through marketing automation for your business.
How to parse Gmail emails
One of the most popular email providers is Gmail. For most users, the need to parse emails coming through Gmail is crucial, which is why we have designed a specialized integration for it.
The way this data bridge works is nearly identical to the steps above, just with Gmail instead of Salesforce as destination. That being said, connecting Incoming Emails to Gmail is a quick and easy process.
Step 1: First, go to your LeadsBridge app dashboard and click on “Create new bridge”.
Next, you’ll input your Bridge’s main information (Name, labels, choose Incoming Email as the source, and choose Gmail as the destination). Once done, click “Next.”
Step 2: Here, you’ll begin creating the integration.
For this integration, choose the “Incoming Email” as your data source, and Gmail as your data destination. Once completed, click “Continue.”

Step 3: Add a name and labels to keep track of your bridges and find them easily whenever you need them. Then, click “Next”.

Step 4: Just like the last integration, you’ll get a new email where you can forward all the incoming emails you need to be parsed.
Step 5: Again, copy the new email address and send a test email to it. Then, wait for the data to display below where it reads “Waiting for New Lead.”

You can also decide where to put it in your system; as a recipient of your system notifications or as a cc in the emails you receive to extract the data from the email body.
Once completed, click on “Filter Incoming Leads”.
Step 6: At this point, you’ll need to define the rules by which your incoming emails, thus leads, are filtered.

You can click on “Recognize Other Fields” to test another email after setting your triggers and see whether the system recognizes all fields that contain data and displays them (as shown above).
After completing the test and making sure everything is correct, click “Next”.
Step 7: Configure the destination to complete your bridge. If you’ve used the same Gmail account to create your LeadsBridge account, you won’t have to log in again. In case you are using a different account, however, you are redirected to another page where you’ll need to fill out your Gmail credentials. Then, click “Next” to set up the destination of your integration.

On the next page, you can configure the destination further by editing the bridge’s name, the receiver, and reaffirming the required action for which this bridge is built.

By clicking the “Next” button, you’ll be shown another page; follow the instructions and click “Next”.
Step 8: Field mapping and testing are the last step before completing your bridge creating experience.
For this particular integration, there’s no need for custom filled mapping; everything is already in place.
The final step of this integration process is to test it. To create a new test lead, fill in the required information and click “Test Now”. If you did everything right the button will turn green, meaning your lead was synced successfully and the integration is ready. Also, you’ll receive an email on the designated address, informing you of the incoming of the new lead.

Click Save & Publish to save your settings and turn your bridge active.
Once all that is done, you’re done, too! You’ll be redirected to the “Bridges” section of your dashboard where you will see your new integration in action, and see a green “Enabled” mark, letting you know that everything is working properly.
Email parser alternatives
Despite the numerous advantages of using an Email Parser, it might not be offering all you need to automate your email campaigns. Let’s go through some of the most popular Email parser alternatives you can use to take your communication marketing to the next level.
Welcome Email
With an average open rate of 50% and 33% more engagement, welcome emails are must-have components of a successful email marketing strategy. As soon as users sign up on your website or your social platform ads, you will send an email that welcomes them and informs them about what to expect next.
You’ll need to set up a workflow and create a welcome email sequence to reach your newly acquired leads as soon as they opt-in. To run follow-up campaigns in real-time, you can use LeadsBridge’s automated welcome email integrations, such as:
Email Notification
If you want to receive instant email notifications about your incoming leads or campaign updates, LeadsBridge offers you a solution at no cost. This service is an automated bridge that enables streamlining your communication with your leads and your advertising on the top social platforms. For instance, set it up to get Facebook Lead Ads email notifications free.
The automated bridge between your favorite marketing tools and Email Notifications notifies you as your leads add a new entry or submit a form. These notifications are essentially actionable insights that yellow you take actions that set your marketing for success.
Check out this step-by-step guide to learn how to send Facebook leads to email for free.
Inbox Sync (BCC)
The Inbox Sync tool allows you to collect and send lead data from your email exchanges to your favorite CRM. To do that, it uses a forwarding address provided by LeadsBridge. After creating this data bridge, you can establish communication with your contacts and reply to their email as usual. But you’ll have to add the dedicated email in the BCC section.
The Inbox Sync integration can read the lead data and send it to your CRM, autoresponder, or destination platform.
Wufoo Incoming Email
The lead management operations of the Wufoo Incoming Email platform are quite straightforward. It enables you to set up email notifications when users submit your form or when an existing subscriber (or lead in your Wufoo account) adds a new comment to an entry.
Wufoo Incoming Email integration streamlines the data management process involved. The automation helps you get real-time, actionable insights and respond to your leads’ queries almost instantly.
Email Grabber
Email Grabber is essentially an email extractor that navigates automatically through all the links and collects email addresses. You can use these collected data to run all types of email marketing campaigns later.
The Email Grabber data bridge enables you to customize your marketing email templates to enhance your campaigns. This integration is often used for systems requiring a specific email format to process leads correctly.
Google Contacts
Google Contacts is an online address book that merges the data collected across your Google products as well as other platforms.
The Google Contacts integration facilitates data collection from leads who try to reach out to you, so you can get in touch.
Besides data collection, this integration allows you to organize them in groups and use these segmentation concepts for Google Contacts.
By building an automatic data bridge, LeadsBridge helps you integrate Google Contacts with the marketing apps you use every day and sync your leads’ data in real-time.
LeadByte
LeadByte is a lead management and autoresponder platform that allows you to capture and nurture leads as they come in. In short, you can use it to boost your lead generation efforts and automate your nurturing and remarketing campaigns.
LeadsBridge allows you to create numerous LeadByte integrations for free to transfer your lead data between your favorite advertising platform and this one-in-a-kind auto responder.
LeadsBridge’s Email receipt feature
LeadsBridge helps you to keep track of your incoming leads with the email receipt feature. As a result, you can get better insights into your lead generation efforts and receive an email notification for each lead coming in. To activate it, all you have to do is to turn on the toggle at the end page of your bridge creation experience and start receiving notifications right in your mailbox. Remember, this option is available for any of our integrations.
When it comes to email automation, we also offer several other options. Schedule a demo to learn more.

Benefits of using the LeadsBridge email parser
Your leads and contacts share miscellaneous data every day through emails. It could be invoices, orders, pictures, and other files–these data typically sit in your inbox. You’ll need to sift through them, respond to some, and save some of this data while discarding a portion of them altogether. The email parser tools add excellent precision to your campaigns by helping you to do just that. However, extracting data is a fairly impossible task to do manually.
This is where LeadsBridge comes in. You can use our platform to build data bridges that streamline your email management and automatically consolidate all the data into one accessible space.
In practice, LeadsBridge allows you to integrate the Incoming Email or other email marketing platforms with the most popular apps, so you can automate your entire email management workflows.
Takeaways
All-in-all, there are many reasons for any business to want to use email parsing software. For most, it’s all about creating leads and gathering contact information.
When using an email parser, there are many things to consider. For one, you have to find a reliable and trustworthy service provider that you know can handle your and your leads’ information.
That’s why so many others choose our platform. With our up to date privacy practices, we provide you with advanced data hygiene solutions that also result in higher matching rates thanks to our secure data validation process. The email parsing service is just an added bonus! With just a few simple clicks and inputs, you can automatically sort through and segment your emails according to priorities and customer needs. It really is that simple.
Discover all our Incoming Email integrations today, and start properly email parsing.