Facebook ads are a powerful tool for reaching new audiences.
But, to serve the right ads at the right time, you need to know who’s doing what on your site. The Meta Pixel (previously the Facebook Pixel) can track audience activity, so you can deliver highly targeted campaigns to new and existing audiences.
Here’s everything you need to know about tracking visitor activity and how to install Facebook Pixel.
What is Meta Pixel?
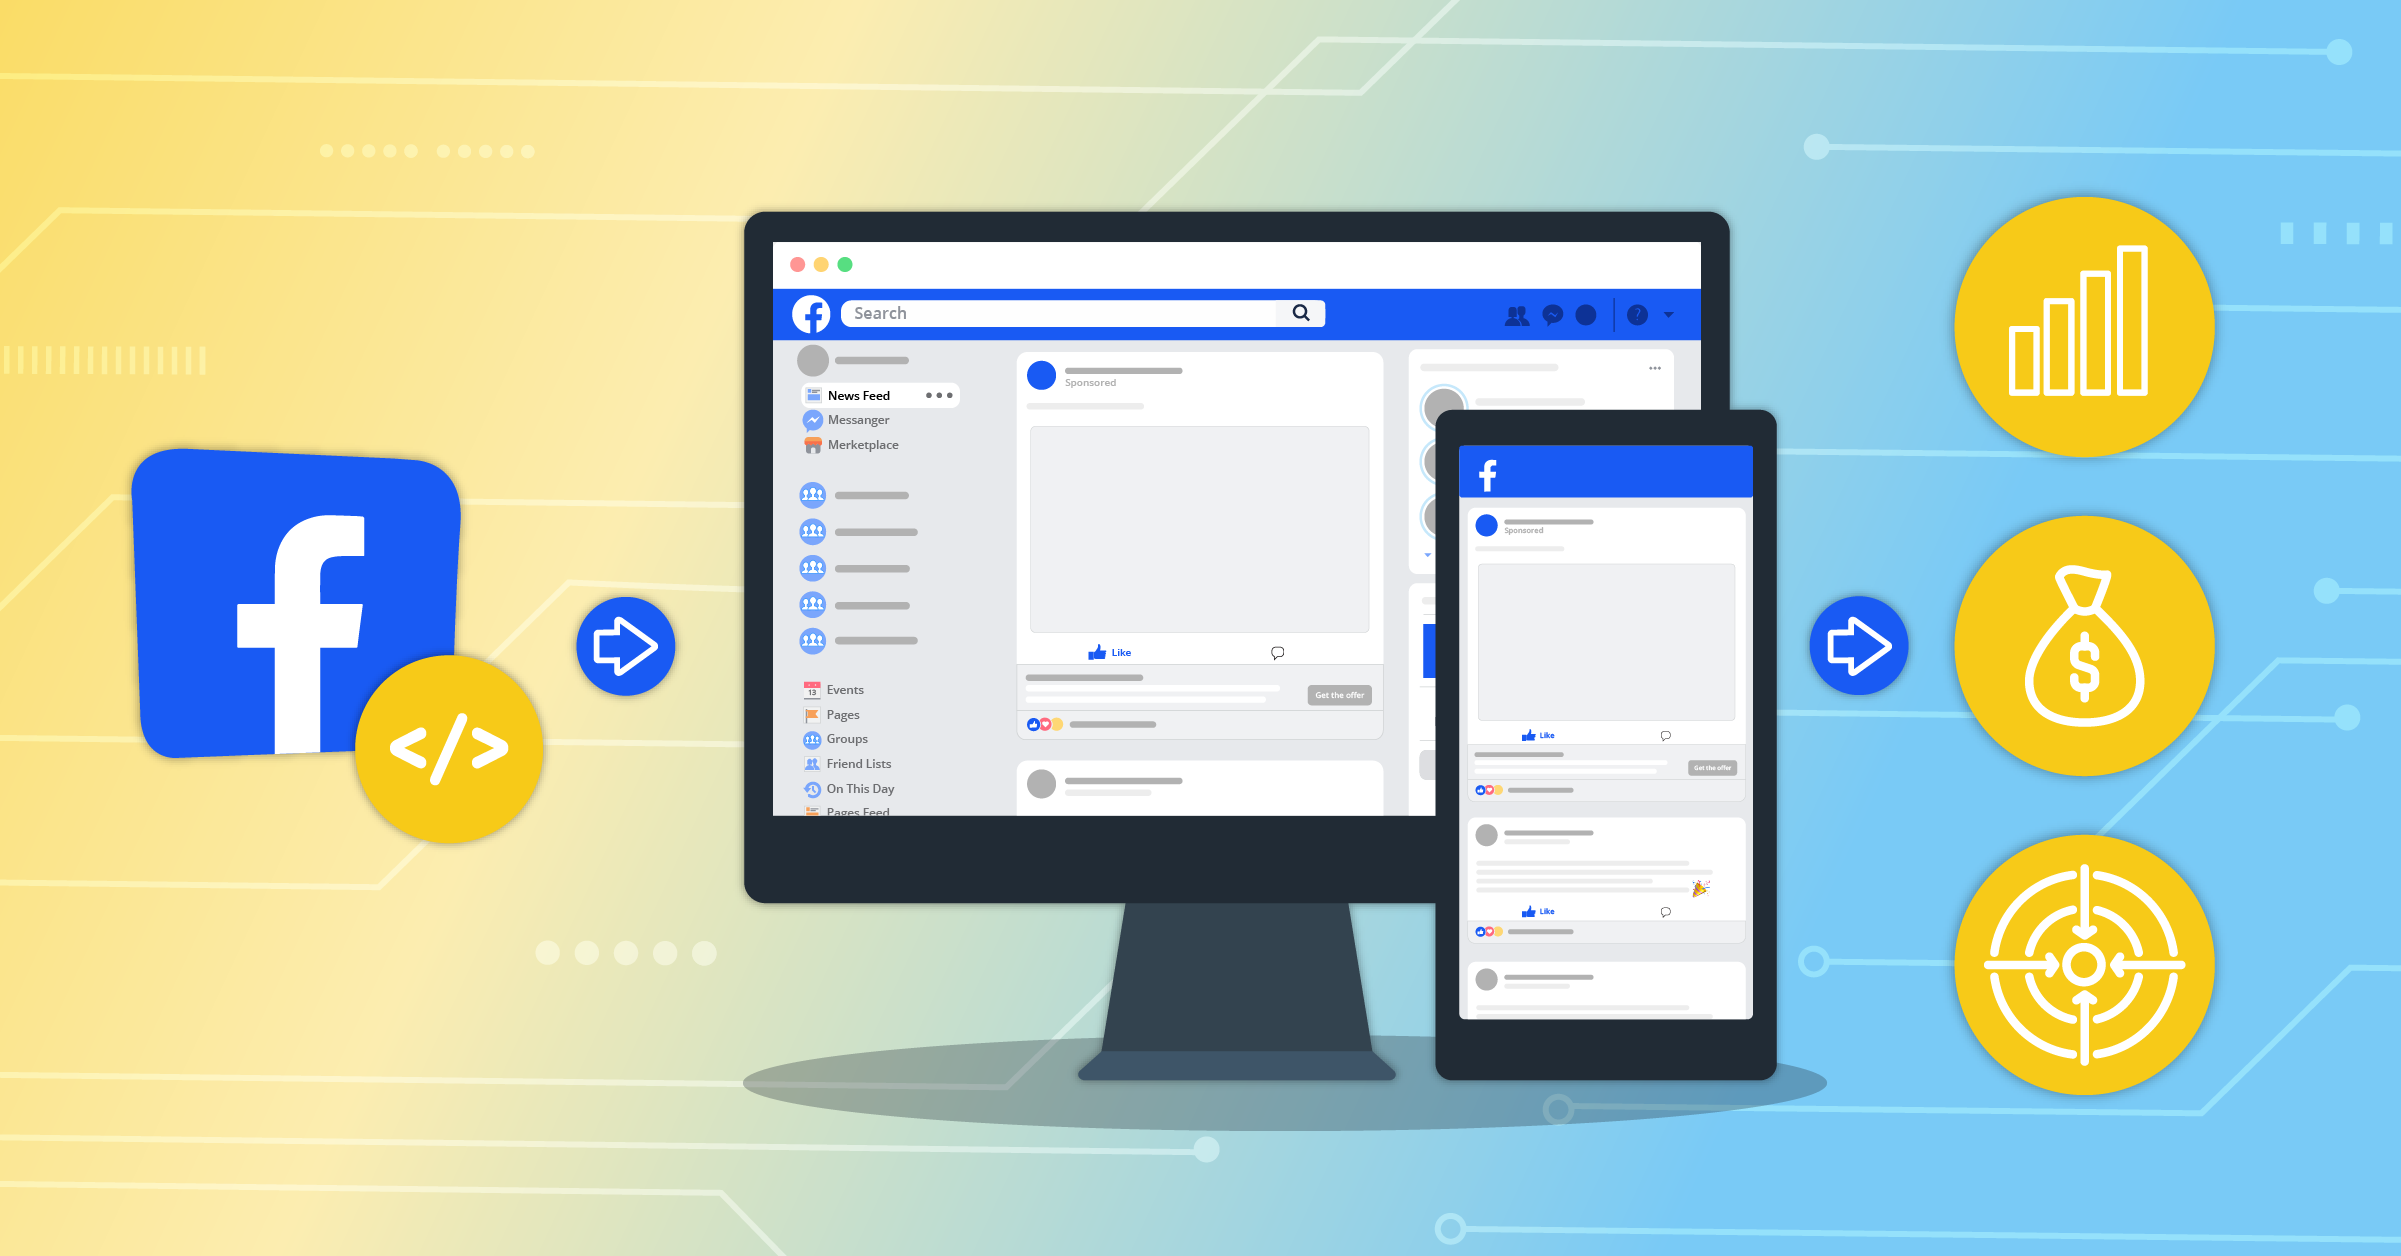
The Meta Pixel is a Javascript code you add to your website to track visitors and the actions they take on your site. The Pixel documents when someone takes an action that you choose, like placing an order, clicking a link, or visiting a specific page.
These actions are known as Events, which are boiled down into a handful of options, including:
- Page Views: When a visitor views a specific page
- Add-to-Cart: When a visitor adds an item to their cart
- Purchase: When a visitor makes a purchase
- Scroll Depth: When a visitor scrolls down the page for a certain length of time
- Time on Page: When a visitor spends a minimum amount of time on a page
The Pixel can also track the URLs someone has visited and the devices they used to navigate your site. It uses these insights and data to group website visitors together into target audiences you can engage with ads.
For example, it can segment people who have made a purchase so you can serve them ads based on them being existing customers.
Why you need Meta Pixel on your website
When installed, the Meta Pixel has a number of benefits:
- Improve ROI on your Facebook ads: Pixel data ensures your ads are seen by the people who are most likely to engage with them.
- Learn more about your visitors: Discover your most-visited pages and the actions your audience is likely to take on each page.
- Serve retargeting ads: Deliver ads to warm customer segments with retargeting campaigns.
- Create custom and lookalike audiences: Build ad audiences that look similar to your best customers or most engaged visitors. Use LeadsBridge to create quick and focused custom audiences from your Pixel data.
Why would an advertiser install a Meta Pixel?
Great question!
Installing a Meta Pixel for your Facebook ads can really level up your game. It provides precise details about who engages with your ads and how they perform. You get valuable insights by tracking user activities like page visits, time spent, and more.
This information lets you build targeted ads for specific groups, reach genuinely interested audiences, and even expand your reach by creating ads for audiences similar to your existing customers.
What’s even more remarkable is that you can exclude certain groups, avoiding showing ads to those who have already converted or aren’t highly engaged.
So, as an advertiser, you’d install a Meta Pixel if you want better results and efficiency. It’s like having a smart assistant for your ads that helps you make the most out of your advertising efforts.
How to install Facebook Pixel (now Meta Pixel)
Ready to get started and learn how to install Facebook Pixel? Here’s a simple guide.
1. Create a Facebook Pixel on Meta
Wondering how to find Facebook Pixel ID? Before you do anything, you need to create a Facebook Pixel to add to your site.
- Go to your “Events Manager”.
- On the left side menu, click “Connect data sources”.

- Select “Web” and click “Connect”.

- Once redirected, give your pixel an indicative name and click “Create pixel.” Here, you can click “Learn more” to see how the pixel works before proceeding to the next step.

- Enter your website URL to check for easy setup options, and click “Check”.

2. Add the Meta Pixel to your site
Once you’ve created a Pixel, it’s time to install it onto your website:
- Go to the Meta Events Manager.
- Select your pixel.
- Click “Continue Pixel Set Up”

At this point, you have two options: Manually add the Meta Pixel code to your website or use a partner integration.

Manually add the Meta Pixel code to your website
- Select “Install Code Manually”.
- Copy the pixel base code.

- Find your website’s header or locate the header template in your CMS or web platform.
- Paste the base code at the bottom of the header section, just above the closing head tag.
- Click “Continue”.
- At this stage, you can turn on “Automatic Advanced Matching” and verify the customer information you want to send. This is only optional, and I’ll explain more about it later on.

- Click “Continue”.
- Add Events using the Events Setup Tool or by manually adding the relevant code to your website. More about Meta Pixel events later.

- Go to pixel overview, and if everything checks out, click “Done”.
Use a partner integration to add the Pixel to your website
- Click “Check for Partner”.
- Select the relevant partner from the list.
- Follow the on-screen setup instructions.
Is it working? How to check Facebook Pixel
We highly recommend checking your Facebook Pixel is working once you’ve installed it, otherwise you can miss out on tons of valuable data.
To do this, load a page or two on your website and do some of the actions you assigned conversions to when you set up the Pixel. It can help to use a couple of different devices here.
Once you’ve done that, go to “Ads Manager” and click the “Pixels” tab to see a list of the Pixels you’ve created. There should be a green dot, a date, and a time next to each Pixel which shows the last time the Pixel tracked any activity.
If the dot isn’t green, go back to your site and do a few more actions. Come back later to check, as it can take time for the actions to show up in Ads Manager.
If it’s still not working when you check back later, there are a couple of other ways you can do Facebook Pixel testing:
- Use the Meta Pixel Helper Chrome extension
- Use the Test Events tool
- Run a manual code inspection (you might need the help of your dev team to do this)
Where to find Facebook Pixel?
You can navigate to your landing page Settings to find your Facebook Pixel. There, you’ll access conversion data on the Facebook Pixel page within your Events Manager.
If you already have a pixel set up, use the existing one. Alternatively, create a new Facebook Pixel from the start (see here).
1. After selecting your business portfolio Meta Business Suite, go to the All tool section and find Event Manager.

2. Click on “Data sources” from the left sidebar menu.
3. All the Pixel IDs you’ve already installed will be displayed. You can also search for a specific Facebook Pixel ID by typing its name in the box.
4. Once selected, you can assess the PageView performance of your page in the Events Manager.
5. Click on the pencil icon or the Setting tap to modify the details.

You’ll also have the option to “Test events”, run “Diagnostics” in case you find some issues, and see the “History” selecting each option.
How to use the Facebook retargeting Pixel with Facebook Conversions API for CRM
Changes to data collection in the iOS14.5 update have made it increasingly difficult to track user behavior across your site. We recommend using the Facebook Pixel in tandem with Facebook Conversions API for CRM to get data directly from your servers_it’ll help you fill in any data your Facebook Pixel is missing.
To do this, you can use one of Facebook’s official integration partners or create some custom code yourself (again, you might need the help of your dev team for this).
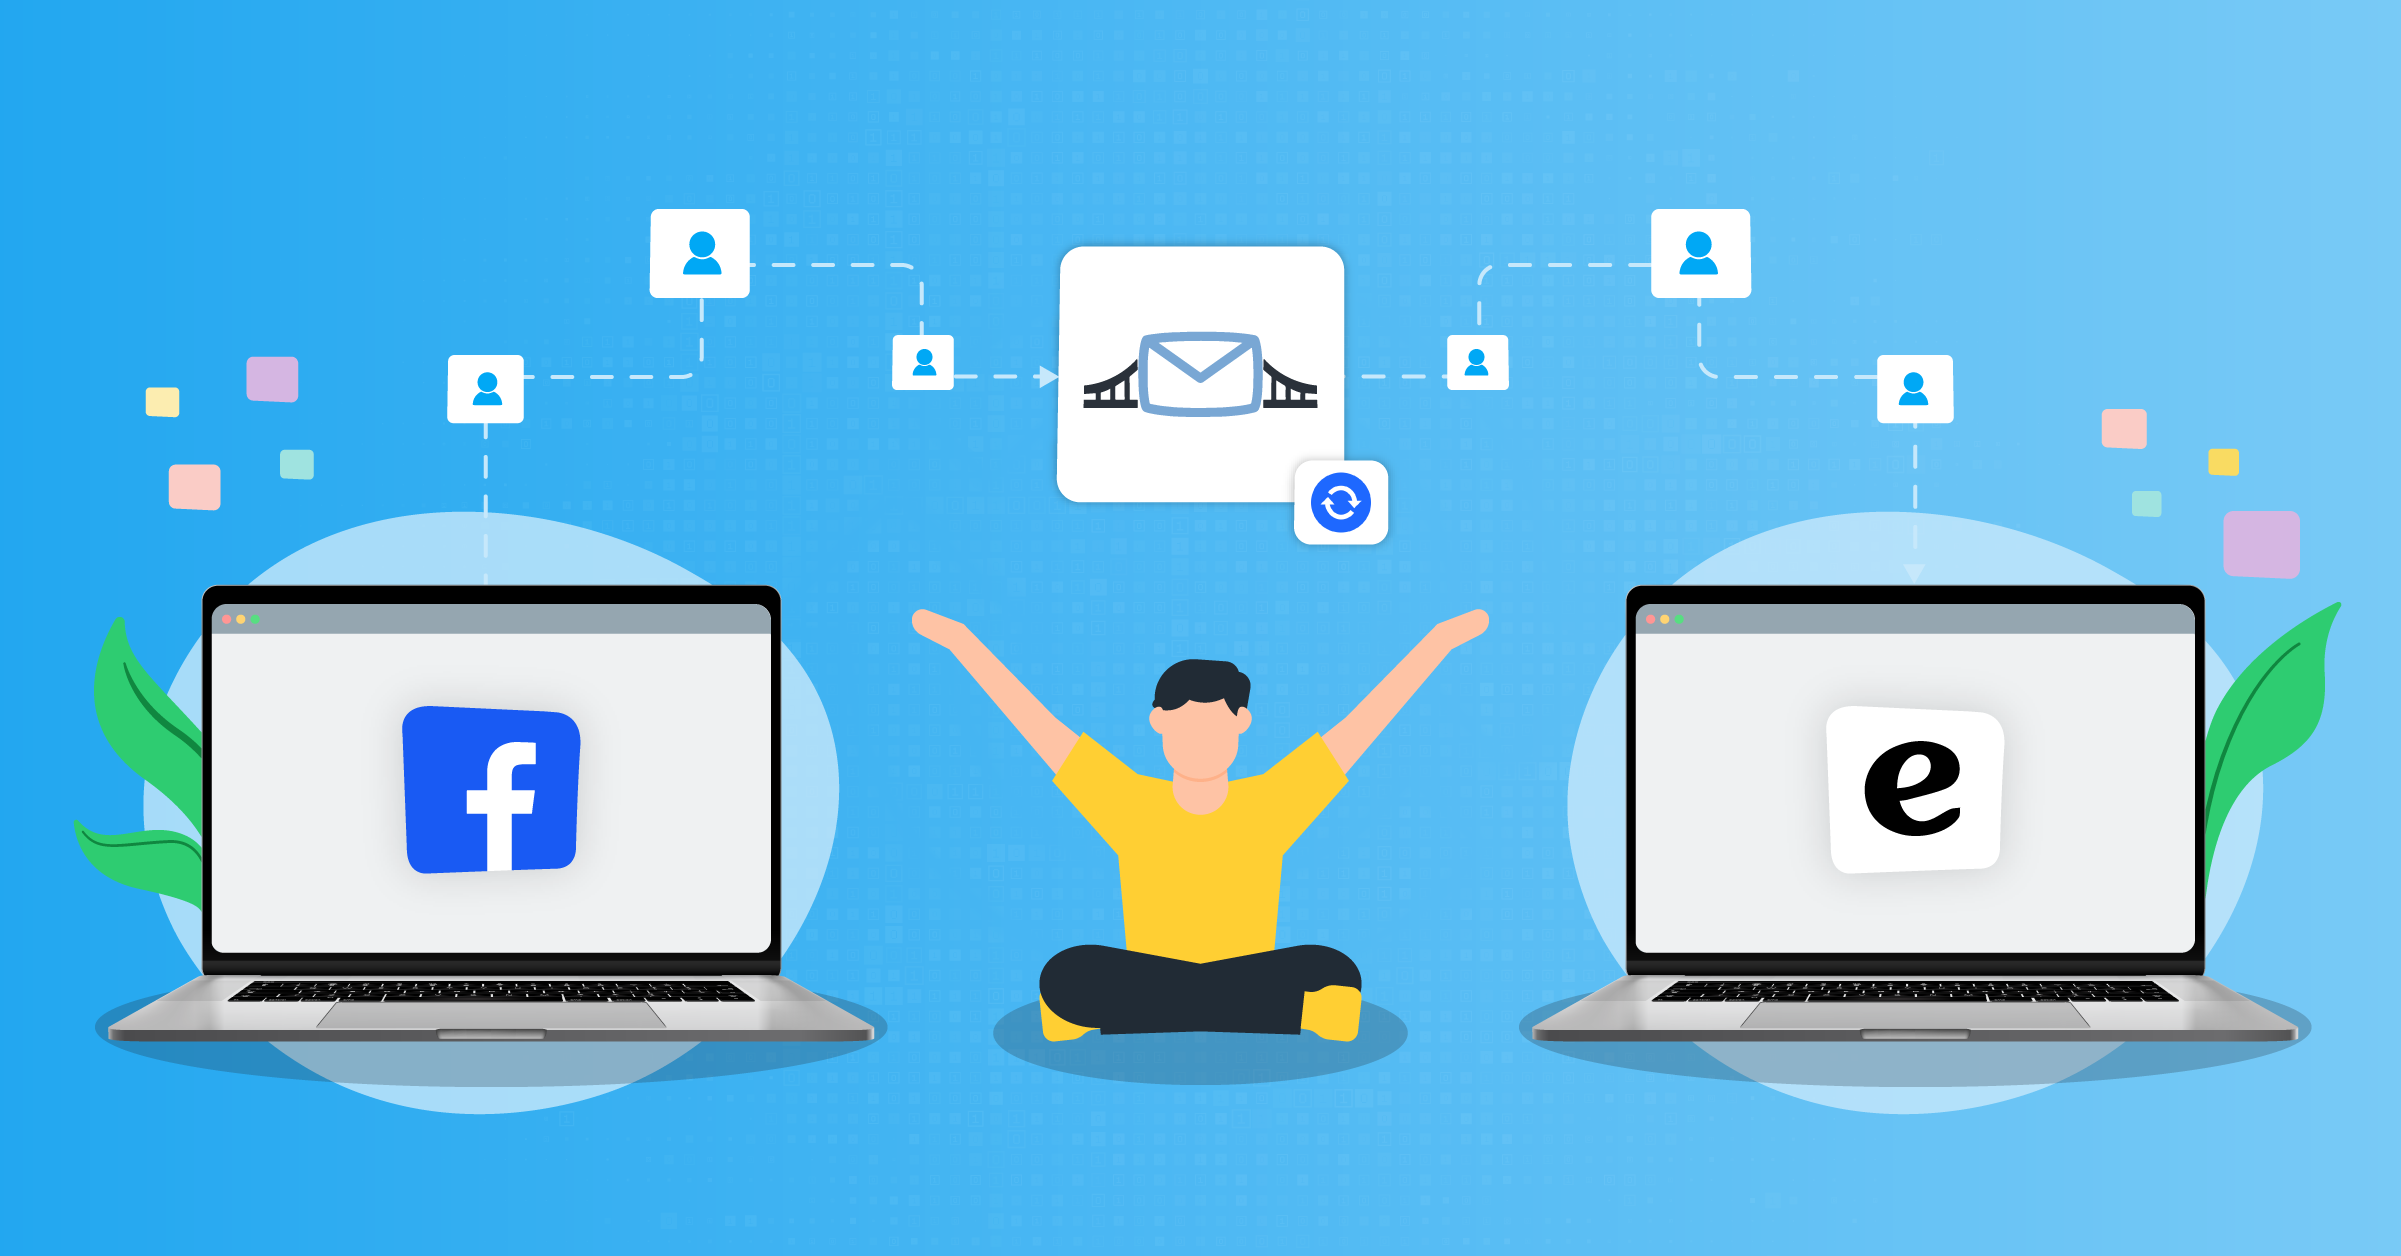
Alternatively, you can use LeadsBridge’s integrations for enhanced Facebook retargeting. LeadsBridge has over 380 integrations, including integrations with Facebook Conversions API for CRM and Facebook custom audiences.
The Facebook Conversions API for CRM integration makes it easy to pull leads from your email marketing platform, CRM, and spreadsheets. You can create personalized ad experiences for your existing customers without having to rely on cookies.
With Facebook Conversions API for CRM integration in place, you can now access performance feedback that helps you improve targeting. But how can you target high-quality audiences?
That’s where the Conversion leads performance goal comes in. Its job is primarily to focus and improve your lead quality. Instead of aiming to showcase your ad to a broad audience with the hope of form submissions, it strategically targets individuals believed to have the highest likelihood of becoming actual customers.
Keep in mind that if you want to use this feature, you’ll first need to integrate the Facebook Conversions API for CRM.
Then there is Facebook custom audiences integration; an effective way to pull audience segments from your existing tools, such as your email marketing platform and sales software. These integrations ensure you’re using the best data and information to serve targeted ads to your audience.
Frequently asked questions
Can I have more than one Facebook Pixel on my site?
Yes. If your organization works with multiple marketing teams, its tracking is probably branched into different aspects. For example, a team might focus on performance marketing while another handles branding activities.
That’s why each of these teams might use its own pixel to track specific events or campaigns. Nevertheless, managing multiple pixels requires a bit of tact and experience to avoid errors.
Using multiple pixels can lead to unexpected behavior, like overlapping or redundant event tracking. For example, if two pixels on the same page can incorrectly run or events may be recorded by both pixels, which can well skew your data reporting.
You can use Facebook’s trackSingle and trackSingleCustom functions to tackle such issues. These functions allow you to specify which pixel should fire for each event, so that events are tracked accurately for each pixel.
What is my Facebook Pixel ID?
Your Facebook Pixel ID is a unique identifier for the tracking pixel you create in your Meta Ads Manager. Integrating the pixel with websites and tracking user interactions is essential to optimizing your Facebook ads.
To find your Facebook Pixel ID, follow these steps:
- Create a Meta Pixel: If you don’t already have one, you need to create a Meta Pixel. This can be done in your Meta Ads Manager under the ‘Pixels’ section of the ‘Events Manager’.
- Access your Pixel: Navigate to the ‘Pixels’ tab in your Meta Ads Manager. Here, you will see a list of all the pixels you have created.
- Copy your Pixel ID: Click on the pixel for which you need the ID. The Pixel ID can be found in the Pixel’s settings and details page. It is typically a 15- or 16-digit number.
- Add it to your site: Once you have your Pixel ID, you can add it to your site. For platforms like Squarespace, you will paste this ID into the appropriate field in your website’s integration settings to connect your site with the Meta pixel.
Can I transfer a Facebook Pixel to another account?
Yes, you can transfer a Facebook Pixel to another account, given that you follow the correct steps to make sure that the Pixel data remains intact.
All you have to do is use Meta Business Manager to assign ownership of the Pixel to another Business Manager account.
This is especially helpful if you’re working with multiple clients or need to hand over management to another team. However, you’ll need to have administrative access to both Business Manager accounts to complete the transfer.
Can I use one Facebook Pixel for multiple websites?
Yes, you can use a single Meta Pixel across multiple websites. This allows you to track visitor activity across different domains and gather a whole range of data for all your digital properties.
By using one Pixel ID, you streamline data collection and can create custom audiences or conversion tracking that spans across all your websites. However, it’s important to manage each site’s events and triggers separately to make sure your tracking is accurate.
Get started with the Facebook Pixel
Now you know how to install Facebook Pixel, you’ll be able to get enhanced insights into your audience and the actions they take on your site which you can use to serve highly-targeted ad campaigns to the right people. Make sure you install it correctly, either manually or through one of the partner integrations, and check it’s working.
To get the most out of the Pixel and your Facebook Conversions API for CRM’s data, leverage LeadsBridge’s integrations.


