Without a doubt, Facebook marketing is a worthy investment. It gives you ads that reach the right people, ensures more people see your content, and helps you get more visitors.
But how can you manage your paid ads better, handle more of them, and still have time for other important tasks?
The solution is to use Facebook ads automation.
- What is Facebook ads automation?
- What are Facebook automated ads?
- Top 3 main automated rules for Facebook ads
- Practical tips for using Facebook’s automated rule
- How to create an automated ad (from your Facebook Page)
- Streamlined data management: How to automate Facebook ads via integrations
- How to automate Facebook ads reports
- Integrations for your Facebook advertising campaign
- What to take away from this?
So how do you automate Facebook ads?
This guide will explain everything you need to know about Facebook ads automation. The topics range from the basics to advanced strategies like setting up automated integrations such as:
What is Facebook ads automation?
Facebook ads automation involves using tools and features to streamline:
- The creation;
- Management;
- And optimization of your ad campaigns.
This can include Facebook’s built-in automated ads, third-party automation tools like LeadsBridge, and automated rules that help manage your ad performance.
Speaking of Facebook lead automation, here is how creating an interconnected marketing technology stack can give you a competitive edge:
Minimize routine workflows
First, you’ll cut down on repetitive tasks. This makes sure your best ads can easily be tweaked and launched in new ways. Instead of doing everything manually, automate the launch of ads across different channels using templates that work well for your preferred audiences and strategies.
More effective Facebook ad scaling processes
You can speed up how quickly you handle ads by uploading them and downloading your Facebook leads.
It also helps manage all your ad-related tasks in one place; anything from creating ads to starting campaigns. Eventually, this allows you to scale up your Facebook ads in an optimized manner.
Improving your team’s efficiency
Your team’s workflow can be more streamlined, too. Automation allows you to oversee the whole process. This makes it easier for your team to spot any delays or problems in the process.
Plus, you save time by having a single system for launching campaigns, uploading ads, and using customizable templates.
What are Facebook automated ads?
Facebook’s automated ads make it easy to create and manage your ads. Once set up, Facebook uses its technology to find the right people for your ads based on:
- Your ad objectives;
- Who you want to reach;
- How your past ads have performed.
Facebook ads automation means telling Facebook what matters most for your business, and so it can suggest customized ads to help you meet those goals. As time goes on, these automated ads get smarter through insights into what works best. They’ll suggest changes and adjust who sees your ads and how much you spend to get you the best results.
You can use Facebook automated ads to:
- Create goal-oriented campaigns. Set your business goals. And on your behalf, Facebook will tailor your ads to achieve them.
- Engage your customers with dynamic creative. In just a few clicks, this feature allows you to automatically generate multiple versions of your ad to find the best-performing combination.
- Get the most out of your budget. It also gives Facebook the authority to automatically adjust your budget across different ads to get the best return on investment (ROI).
Facebook ads vs. Facebook automated ads
Your standard Facebook ads let you create custom audiences using your customer lists, website data, and more. On the other hand, automated ads simplify this by starting you off with a preset audience. Nevertheless, you still have the option to optimize your Facebook ad automation according to your preferences.
Here’s more on how to optimize your Facebook ads
Promoted content vs. Facebook automated ads
The main difference between Facebook’s automated ads and promoted posts is what they aim to accomplish. Automated ads are all about finding people who are likely to do what you want them to do, like making a purchase or signing up for something.
Promoted posts, however, are mainly good for getting more likes and interactions on your posts. This isn’t the best if you’re trying to get conversions or leads.
Another key point is that automated ads are meant to run for a longer period. This gives Facebook time to optimize and improve the ads to get better results over time.
Do Facebook automated ads work?
Yes, Facebook automated ads can be highly persuasive, provided they are used correctly. Much of your ads’ success depends on your business goals, the quality of your creative content, and how well your audience is defined. Several types of businesses can benefit from these ads, but they are mostly great for:
- Local businesses can use automated ads to reach nearby customers effectively.
- E-commerce brands can use them to drive traffic to product pages and encourage purchases.
- Service providers can get tailored ads for specific objectives and generate high-quality leads.
That said, here’s why Facebook automated ads often work well:
Great for targeted optimization
Facebook automated ads leverage advanced machine learning to identify and target the most relevant audiences based on your goals. This means your ads are shown to people who are most likely to engage, click, or even convert.
Easy setup and management
Facebook automated ads streamline the ad creation process by using Meta’s ad recommendations and templates. This simplifies ad management, especially for small businesses or marketers who might lack expertise in some areas.
Room for continuous improvement
Facebook automated ads learn what works best for your campaigns. They adjust targeting, bidding, and ad delivery based on real-time performance data. This means you’ll have better results over time as they optimize.
Budget efficiency
Automated ads intelligently allocate your budget across different ad sets or campaigns. This way, you can make sure you get the most bang for your buck while avoiding overspending on poorly performing ads.
While Facebook’s automated ads are powerful, they may not always deliver optimal results without proper input. You might want to watch out for the following instances and address them as soon as you spot them.
- Poor creative content can limit your ad’s effectiveness.
- If your audience is too broad or poorly defined, the ads may not be able to reach the right people.
- Limited customization options may not suit businesses with very specific targeting needs.
Top 3 main automated rules for Facebook ads
When setting up Facebook ads automation, there are three aspects of automated rules that you should consider:
- Trigger criteria: The specific condition that activates the rule, like a low click-through rate.
- Action: What the rule does when triggered, such as pausing the ad or adjusting the budget.
- Target: The campaign, ad set, or ad affected by the rule.
Keep in mind that when you make a rule for your Facebook ad or campaign, you pick what should trigger that rule. These are called conditions.
For example, if you want to track when someone clicks on your ad and buys something worth between $1 and $10, you would choose “Cost per initiate checkout” as your condition.
You can set specific values for this. You can add more than one condition to a rule, but for the rule to work, all the conditions need to be met. You can find out more about available conditions here.
Practical tips for using Facebook’s automated rule
- Set a rule to automatically stop ads that aren’t performing well. This helps you save money by not spending on ads that don’t work.
- Create rules to increase the budget for ads that are doing well and cut the budget for those that aren’t. This makes sure you’re spending your money where it works best.
- Set up alerts to let you know when specific things happen, like if the cost per click on an ad goes too high. This way, you can step in and make changes if needed.
How to create an automated ad (from your Facebook Page)
Before starting your Facebook ads automation journey, you’ll need a Facebook Page and the necessary access to manage ads (if you are not the page owner).
- Create your automated ads.
- Go to your Page and click “Advertise”.
- Select “Get started with Automated Ads”, then click “Get started.”

- Answer the questions about your business to help tailor your ads.

- Set up your ad details.
- Goal: Choose a goal based on our recommendation or select your own.
- Ads creative: Supply images, headlines, and text. You can create multiple ad versions.
- Audience: Use a recommended audience or define your own based on specific traits.
- Budget and placements: We suggest a daily budget and ad placements, but you can customize these.
- Payment: Confirm or update your payment method.

- Launch your ad by clicking “Promote now.”
Automated ads run continuously to improve results. So, you can pause or stop them anytime since there’s no set end date.
How to create an automated rule in the Meta Ads Manager
Creating automated rules in Ads Manager helps streamline your ad management by making automatic changes or sending notifications when certain conditions are met. Here’s a step-by-step guide to setting up an automated rule:
- Go to Ads Manager: Open your Meta Ads Manager.
- Select Campaign, Ad Set, or Ad: Tick the box next to the campaign, ad set, or ad to which you want to apply a rule.
- Open the Rules menu: Click on the “Rules” drop-down menu. Then, select “Create a new rule.”
- Set up your rule: A new window will appear to set up your rule. Choose from the following options:
- Custom rule: Create a custom rule by selecting conditions.
- Reduce auction overlap: Automatically stops your ad sets from competing against each other.
- Reduce audience fragmentation: Helps ad sets spend their budgets more efficiently by combining audiences.
- Configure custom rule (if you choose this option): First, enter your rule name. Then, choose the campaigns or ad sets to which you want to apply the rule. Select an action from the “Action” drop-down menu (e.g., pause ad, adjust budget).
- Set conditions: Choose the conditions that will trigger your rule (e.g., CPC exceeds a certain amount). Then, click “Add” to include the condition. If you want to add more conditions, select the “+” button.
- Adjust time range and schedule: Set the time range and schedule for when the rule should run.
- Configure notifications: Confirm the type of notification you want to receive (Meta notifications or Email). Add subscribers to your rule if you want multiple people to receive notifications.
- Create Your Rule: Lastly, click “Create.”
Your rule is now active and will run continuously, typically every 30 minutes, until you turn it off. You can track its activity in the “Automated rules” section of Ads Manager.
Streamlined data management: How to automate Facebook ads via integrations
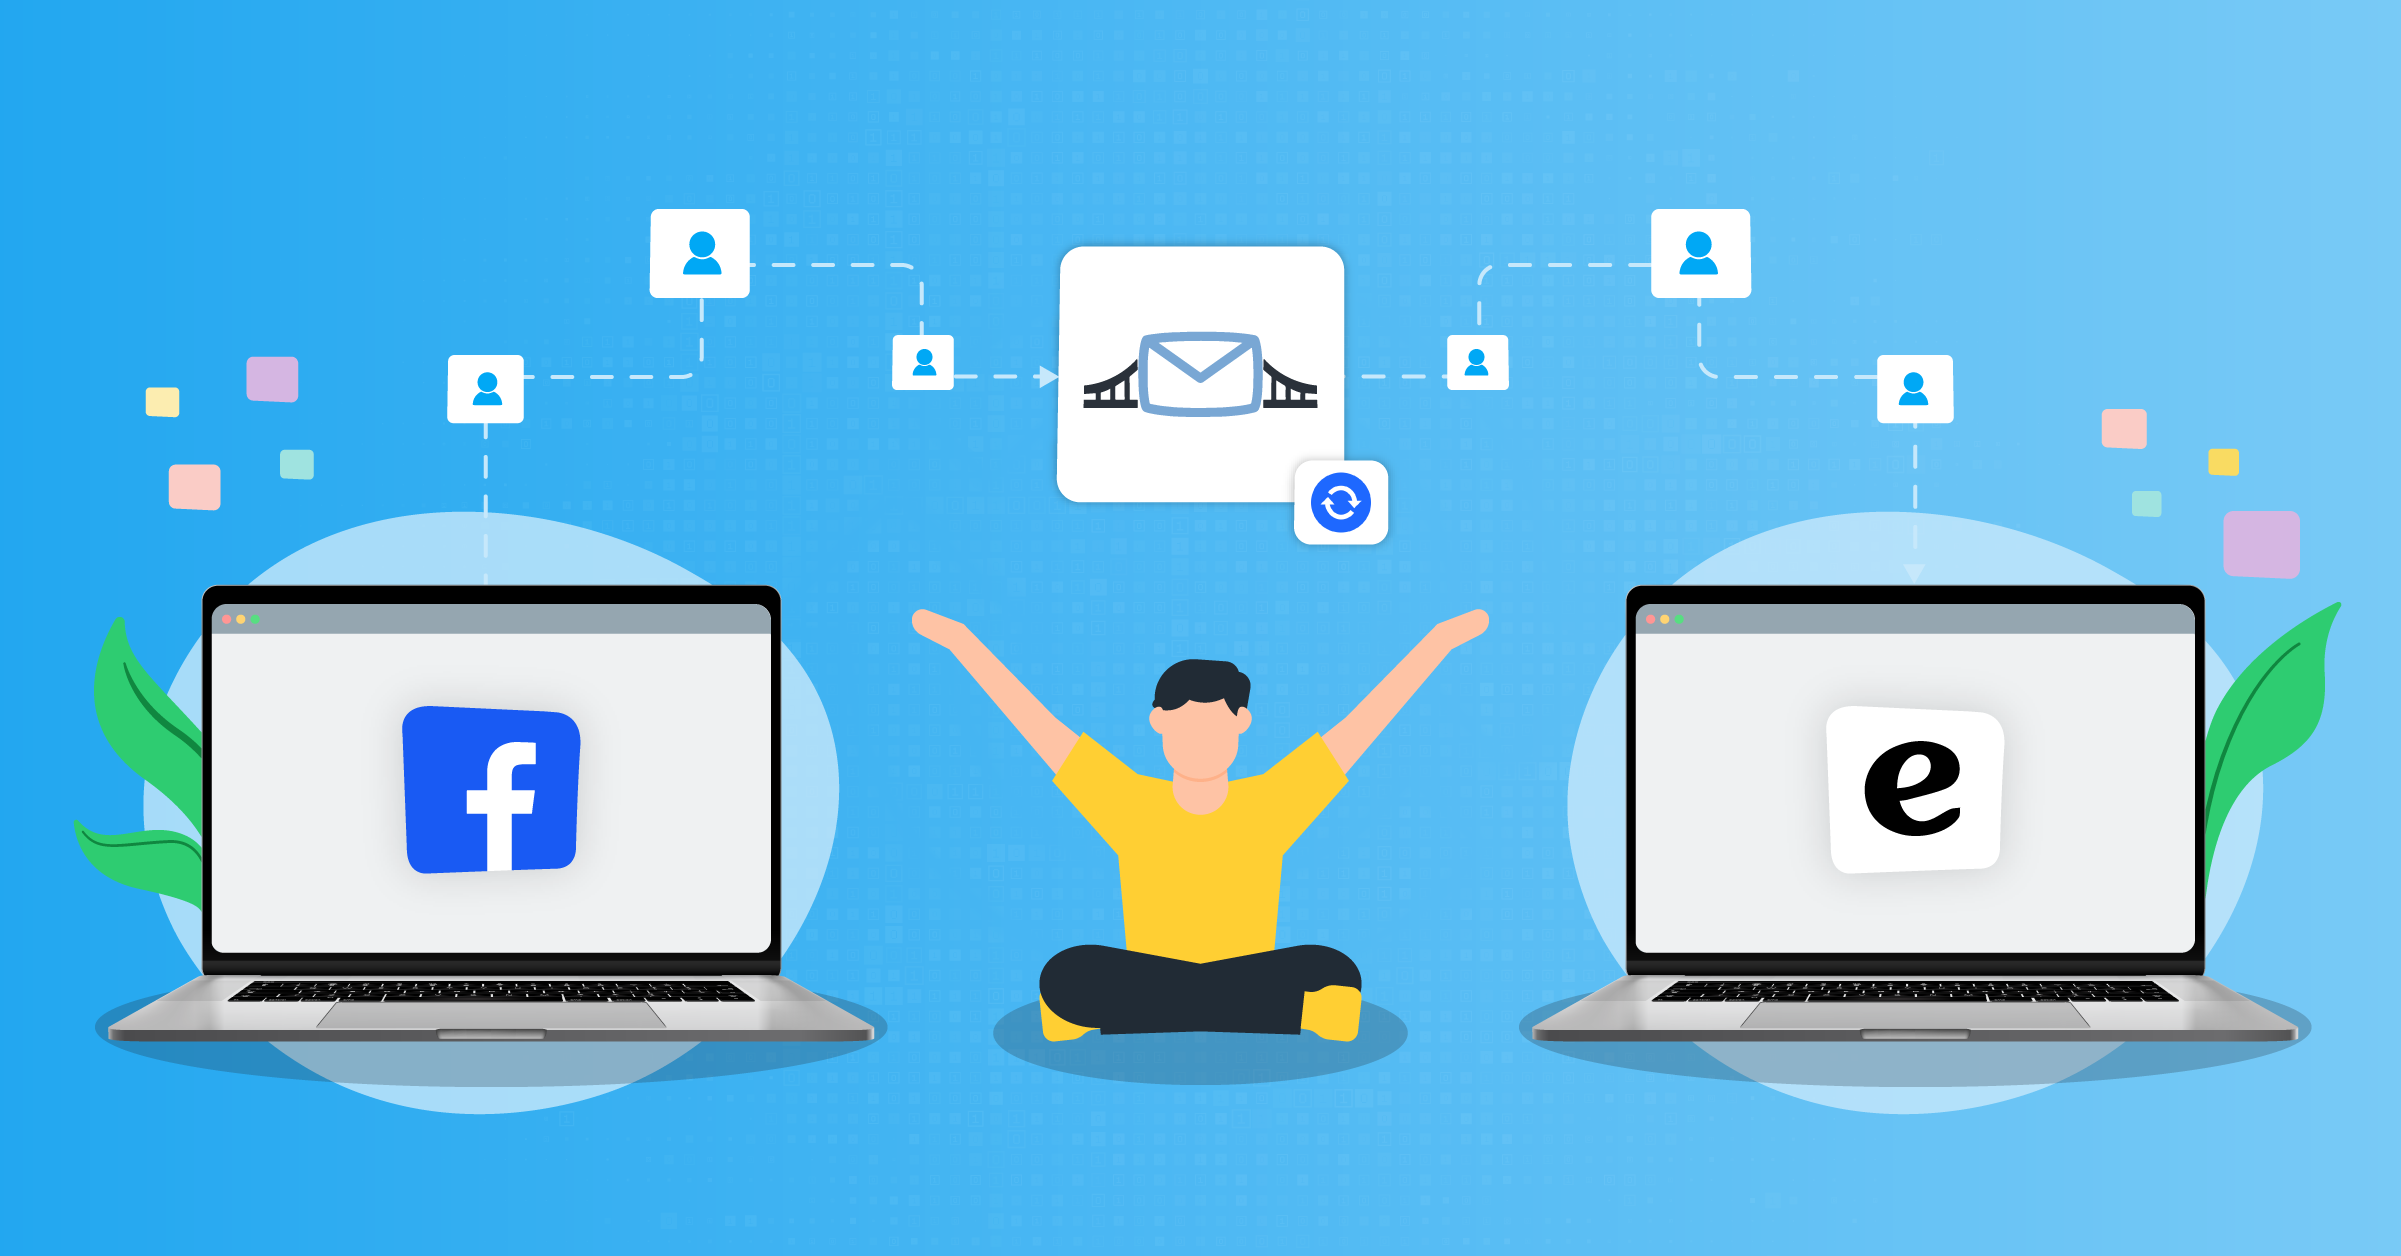
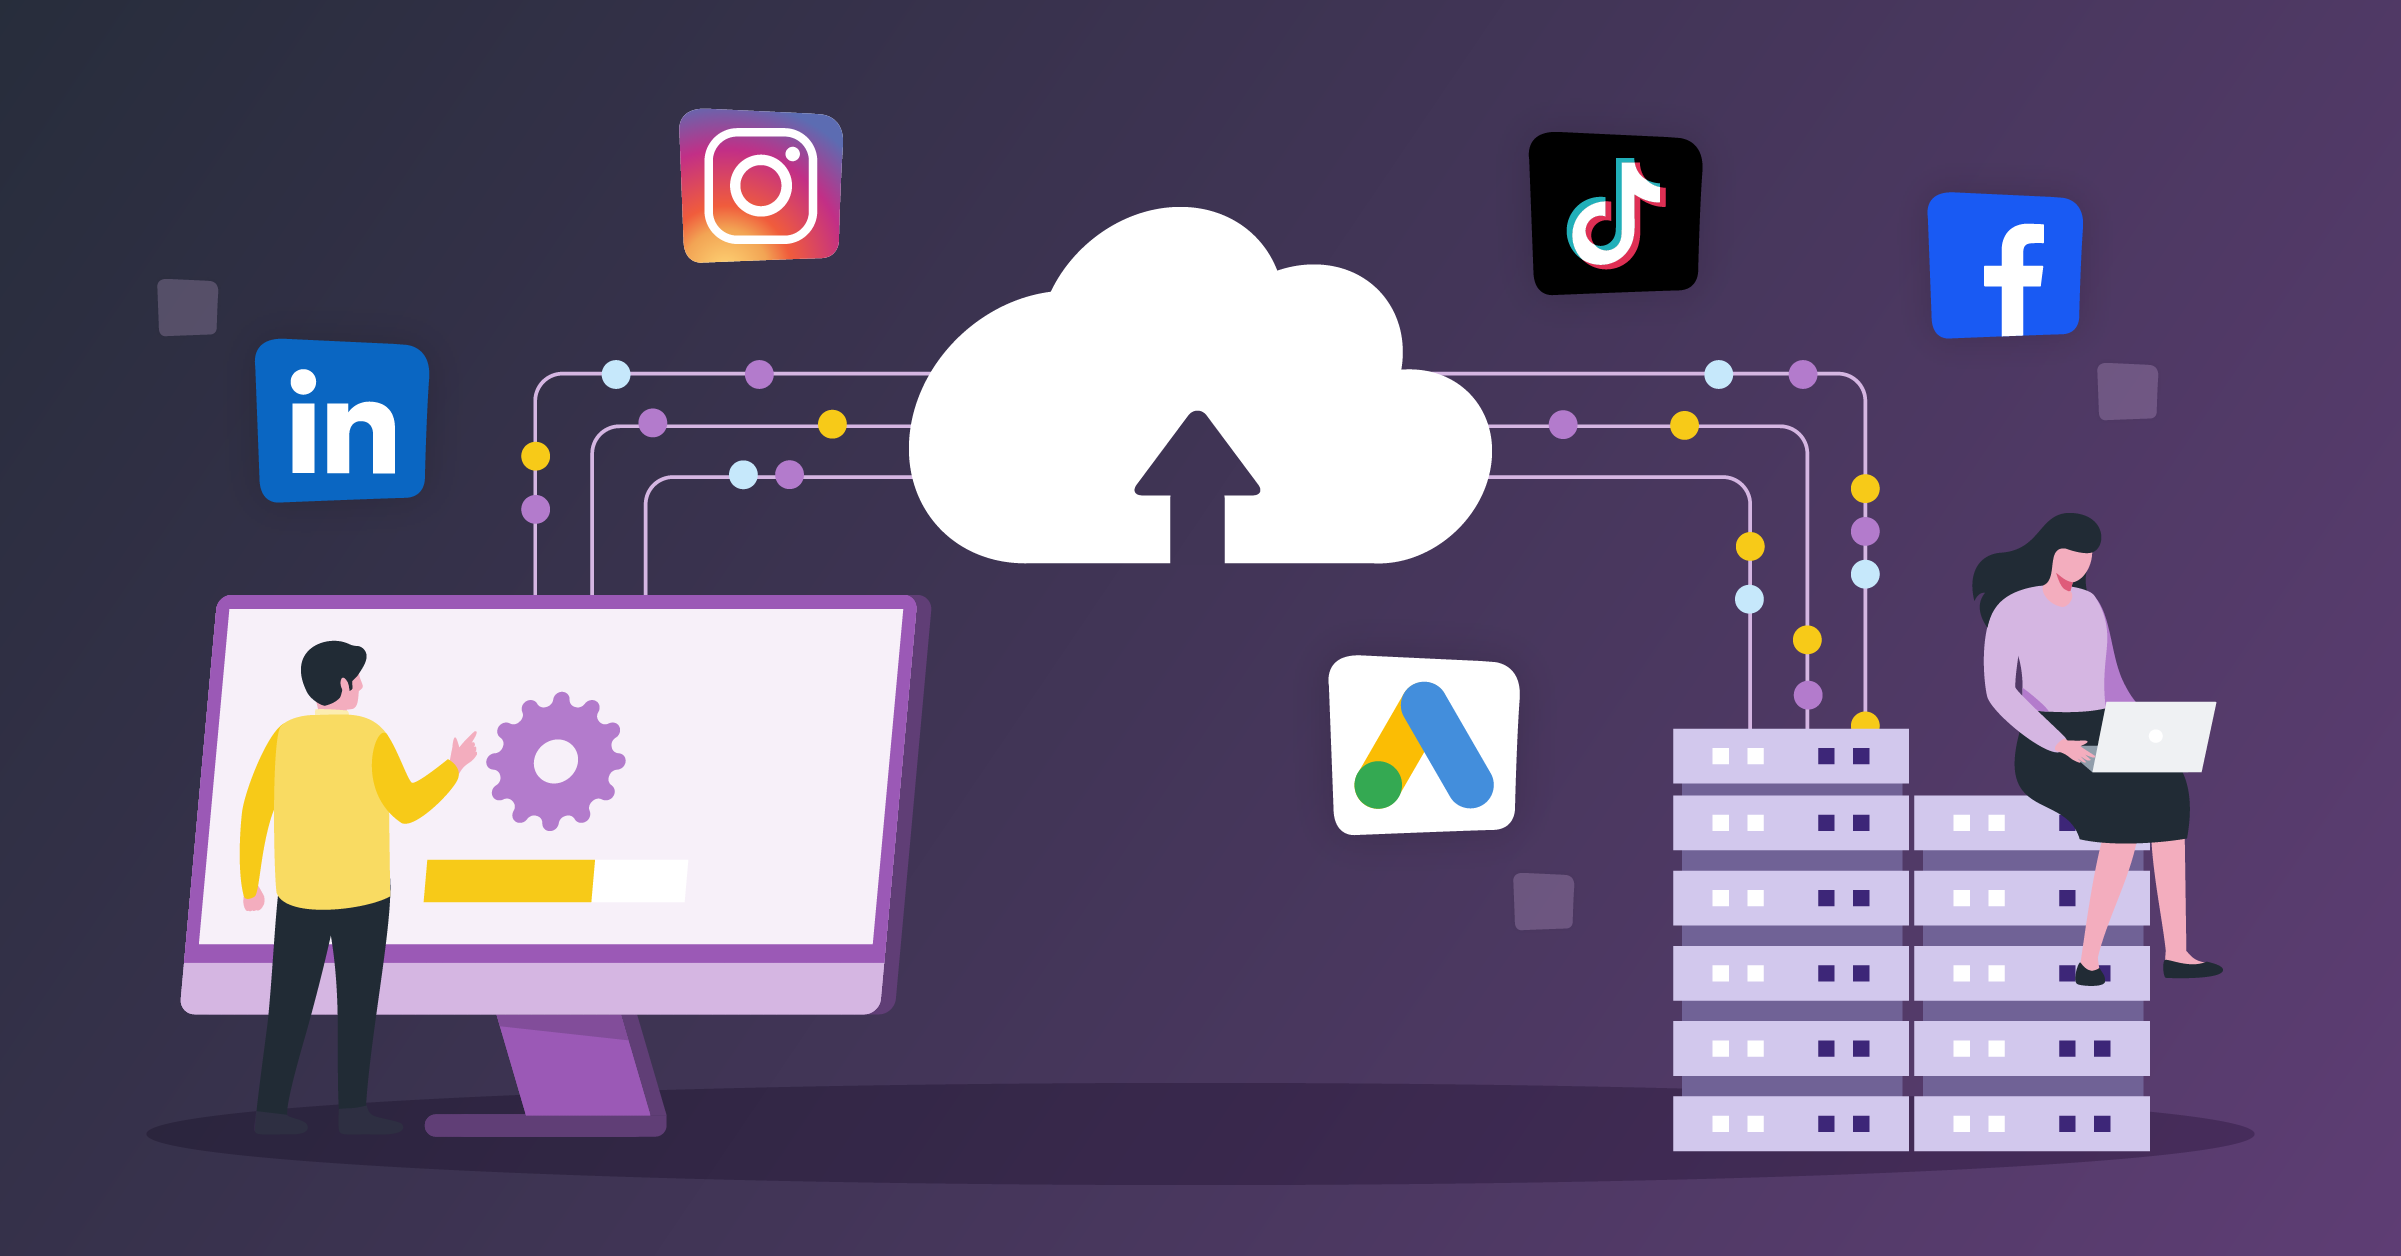
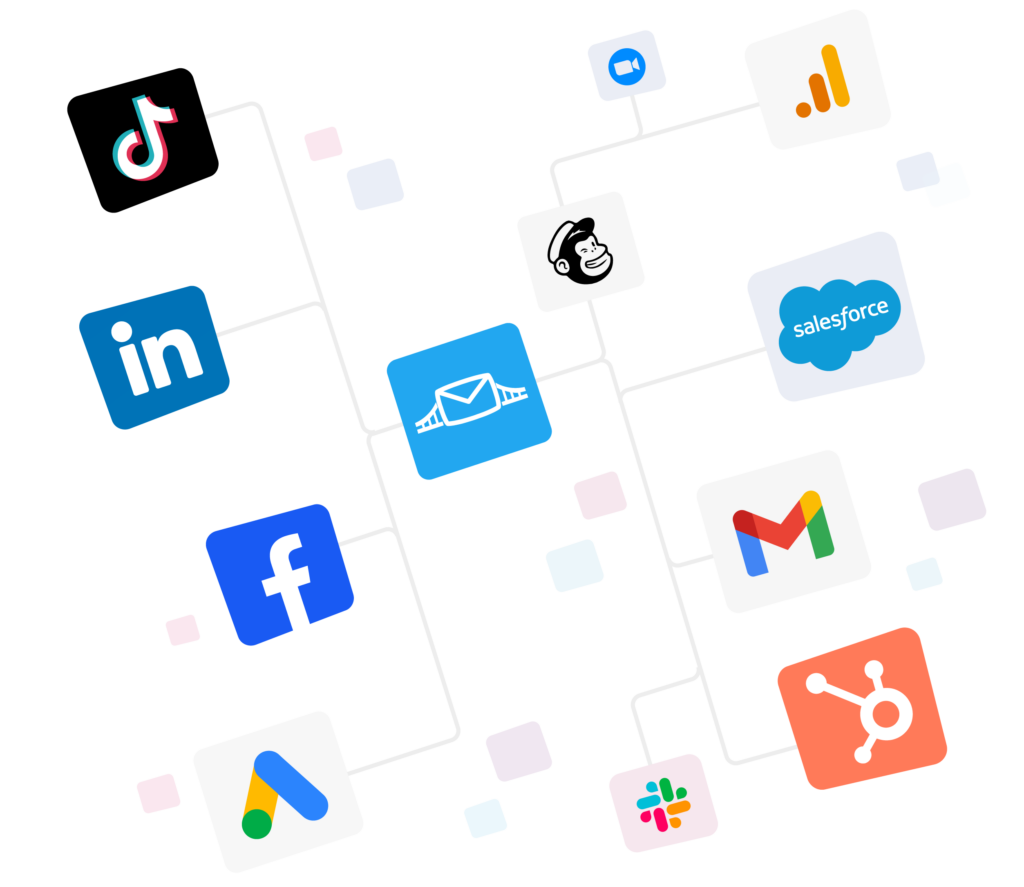
Facebook ads automation is also about automating your lead data management. LeadsBridge allows you to automate your data management when running Facebook ads. You can integrate Facebook seamlessly with your CRM and other marketing platforms.
Of course, you can download and upload your lead data to and from Meta Ads Manager multiple times a day. But, as you can see, that doesn’t sound convenient or practical. Any delay can cause you to lose track of your ready-to-purchase leads. Or provide Facebook’s algorithm with outdated data, which can result in inaccurate audience targeting.
Here’s how to start automating your lead data management:
Step-by-Step guide to automating Facebook ads with LeadsBridge:
Before connecting Facebook lead ads to your marketing app, make sure to log into your LeadsBridge account or sign up for free here if you don’t have an account yet.
Step 1: Set up your bridge
- Click “Create new Bridge” in the dashboard.

- Enter the required details.
- Choose “Facebook lead ads” as the source and select your marketing app as the destination.
- Name your bridge for easy identification.

Step 2: Connect your accounts
- Add Facebook lead ads as the source.
- Authorize your Facebook account and select your ad account settings.

- Connect the destination app by linking the required account.

Step 3: Map your fields
- Ensure all data fields are correctly mapped.
- Adjust or leave fields blank as needed.
- Double-check all settings.
Test and activate
- Run a test with a sample lead under the Field mapping section.
- If successful, click “Save & publish.”

Your bridge is now active and ready to use.
Learn more about setting up Facebook integrations with your favorite marketing app here.
How to automate Facebook ads reports
Want to save time on tracking your Facebook ads? You can set up automated reports that are emailed to you or your team on a regular schedule. Reporting matters because it provides actionable insights to measure performance, optimize strategies, and effectively target your goals.
Before getting started, you must have administrator, advertiser, or analyst access to the ad account. Once that’s taken care of, follow these simple steps:
Step 1: Open ads reporting
Go to the Ads Reporting section in Meta Ads Manager.
Step 2: Find Your Report
Find it in the main menu under “Analyze & Report.” Then, open the report you want to automate in Ads Reporting.
If you’re creating a new report, select “Export” and then select “Create custom report.”
Step 3: Schedule the report
Depending on your Ads Reporting layout, do one of the following:
- Option 1: Look for a link near the report name (top-left corner). Turn on the email schedule, add the recipient’s email, and click Apply.
- Option 2: Click the settings (cog) icon in the top-right corner. Toggle the email scheduling option, add the recipient, and click Apply.
Step 3: Save and confirm
- Click Save to finalize the setup.
Remember that automated email scheduling only works for single-account reports. For cross-account data, you’ll need to export manually. You can export the report as a file (e.g., CSV or PDF).
Integrations for your Facebook advertising campaign
Here are some ways LeadsBridge can help your Facebook ads automation workflow:
- Act immediately on new leads by syncing data in real-time.
- Create precise audience segments, improving ad relevance and performance.
- Automate repetitive tasks, freeing up time for strategic planning and creative work.
- Measure the actual impact of your ads for better campaign insights.
Lead ads integrations
LeadsBridge lets you automatically transfer leads from Facebook to your CRM. Lead ads integrations also allow your sales team to follow up with leads as they come in and according to their journey.
Audience targeting integrations
You can also sync your CRM segments with Facebook to create custom audiences for personalized campaigns as well as retargeting campaigns.
Building lookalike audiences and targeting users who have interacted with your website (using Meta Pixel tracking data) or previous ads are among other benefits of custom audience integrations.
Apart from custom audiences, you can channel your efforts toward reaching the most relevant audiences to save on ad spend and improve ROI.
The Conversion leads performance goal lets you access all these benefits and more. However, to leverage this option, you’ll have to implement the Conversions API first.
Campaign tracking integrations
Tracking conversions and understanding how your online ads are driving in-store sales is important. Setting up a Conversions API helps you track and measure the performance of your campaigns. That of course requires you to connect your CRM to Facebook via an automated integration.
What to take away from this?
Facebook automated ads offer an easy method for you to develop a tailored advertising strategy. By using automated rules and integrating with tools like LeadsBridge, you can save time, optimize your budget, and achieve better results.
You can take your automation a step further by streamlining your lead data management via LeadsBridge integrations. This lets you cut out data quality challenges that cause many advertising campaigns to fail.


